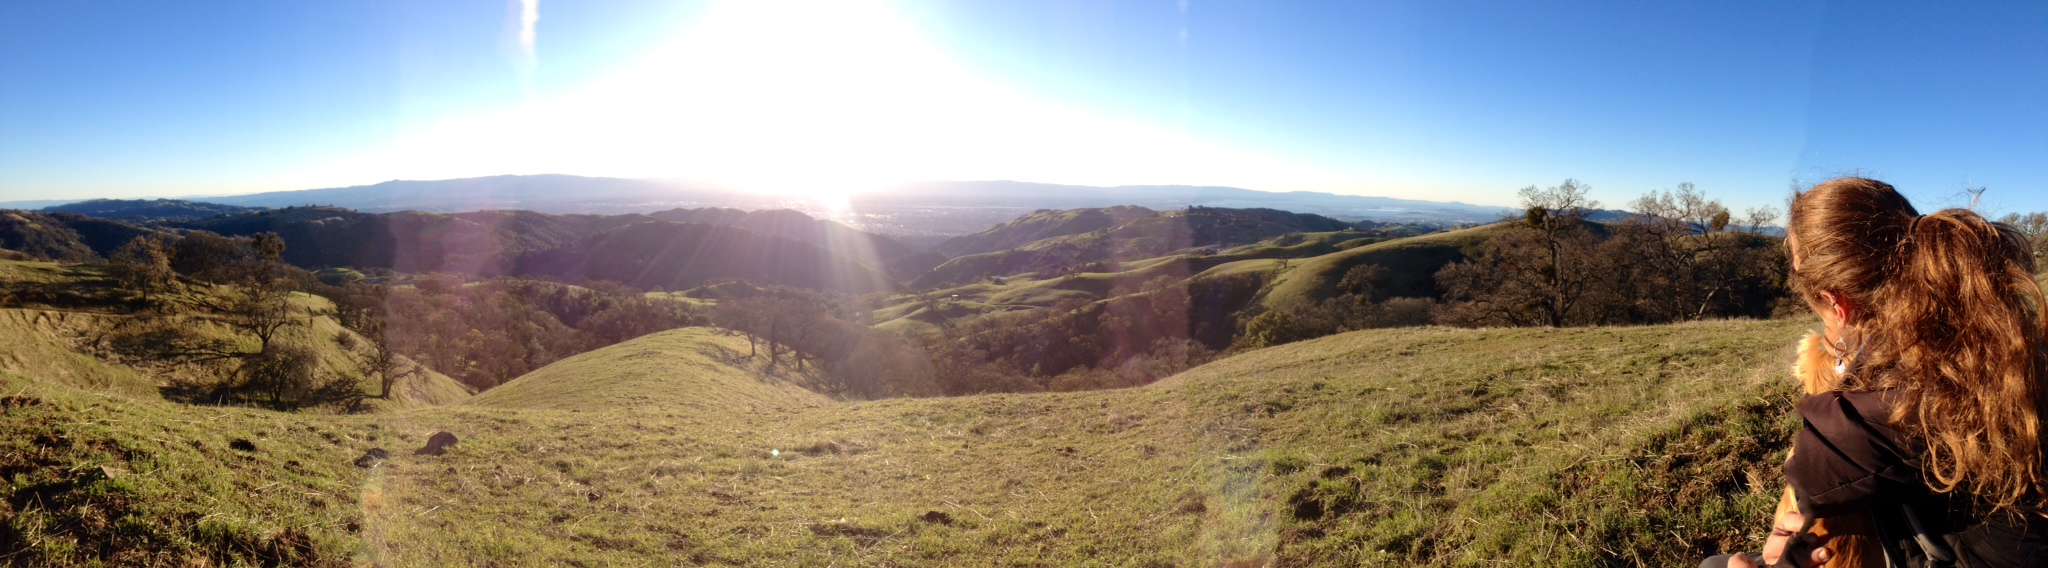
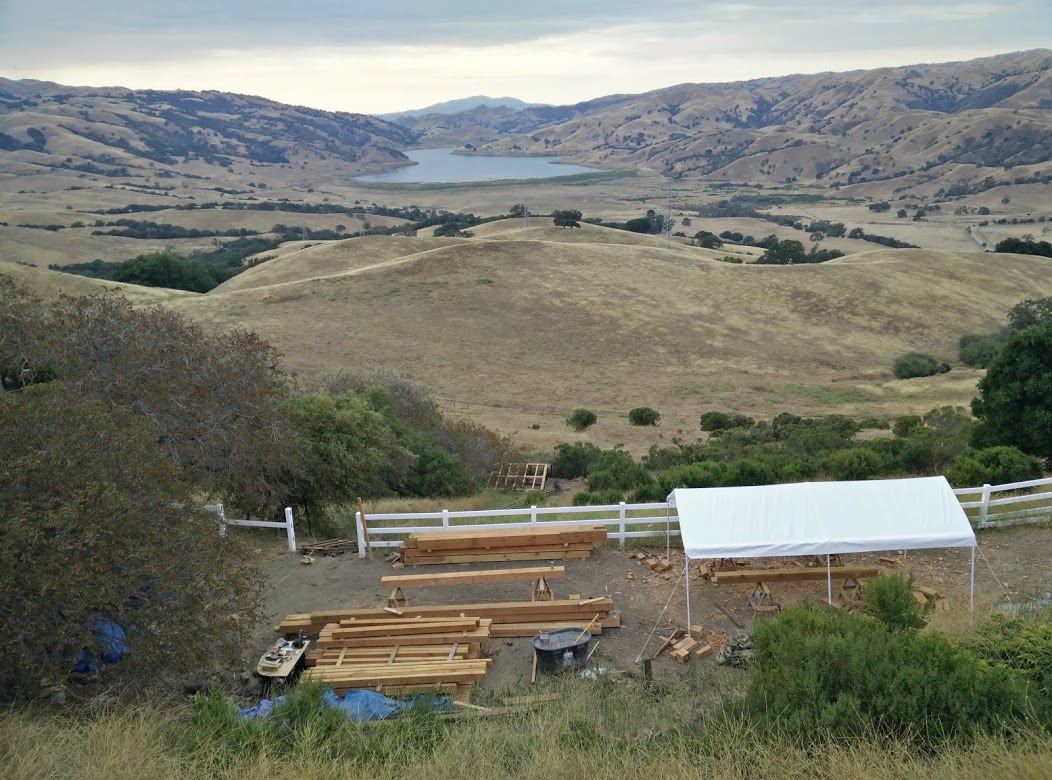
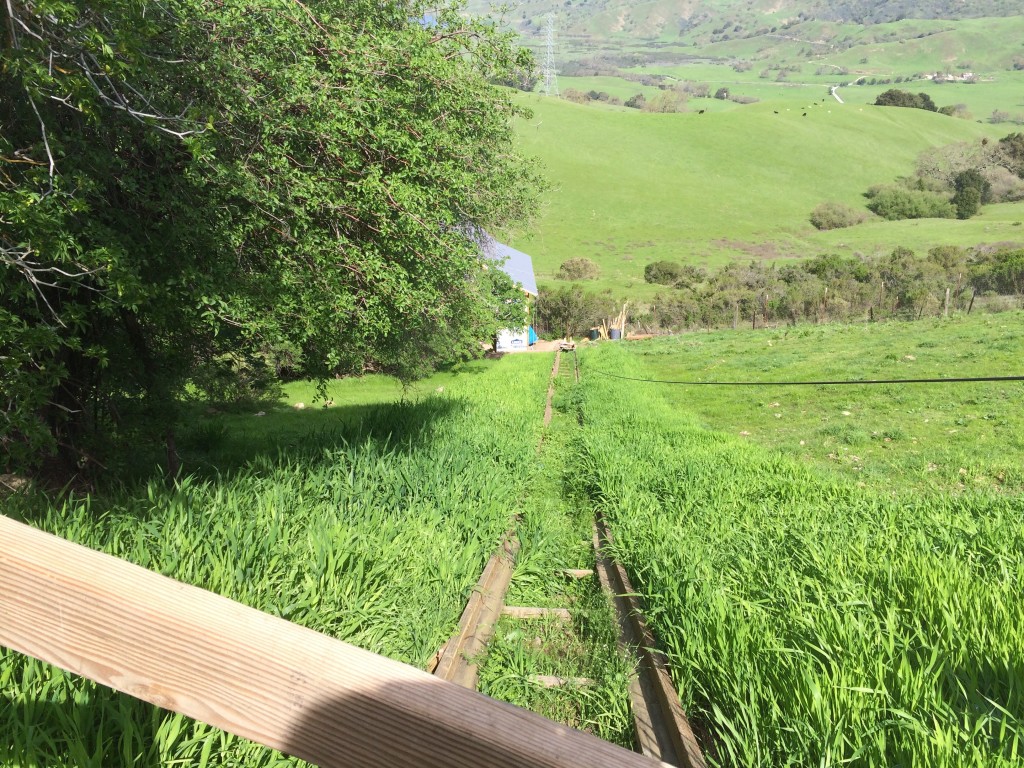
On Christmas day 2014, I went for a hike in the San Jose hills with my sister and our farm dog, Chapa. The hills, which turn golden in the summer, were a lush green from the recent rains. I love the escape from city life that this farmland offers. I also love to learn with my hands and hope to open the door for others for whom classroom-style learning is not enough, too much, or just not the way they work. I decided that I would build a timber framed woodshop here.
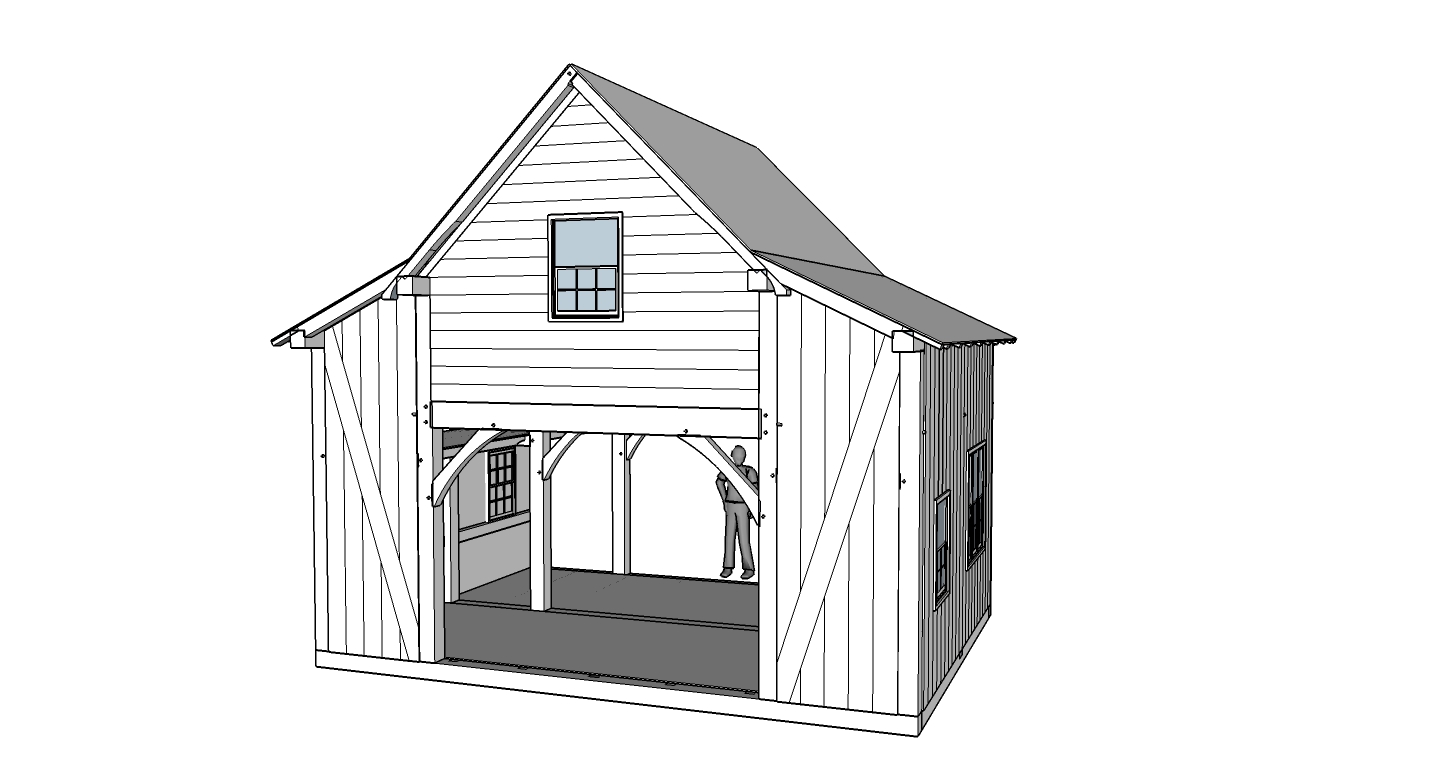
In late February 2015, I made some sketches of the would-be woodshop/house. After touring the timber framed barns of New England the previous summer, I drafted up a 18 x 24 dutch-barn style structure with a mezzanine and loft. The bottom floor I intend to use as a woodshop, the mezzanine for storage, and the loft as a studio where I (or others) could live or stay for a while.
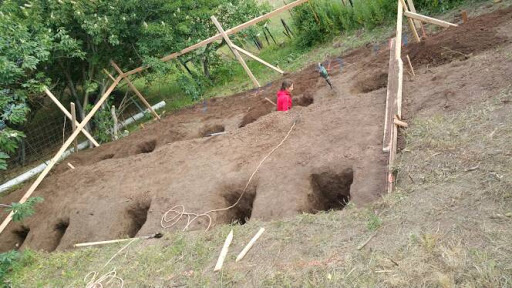
At the end of May, I moved my sailboat with me across the country and started work. The foundation are 2 ft x 2 ft concrete footers, 4-5 ft deep. I did the digging by hand with the help of a local carpenter, who consulted me on foundation work, and a foam roller (which kept my back alive).

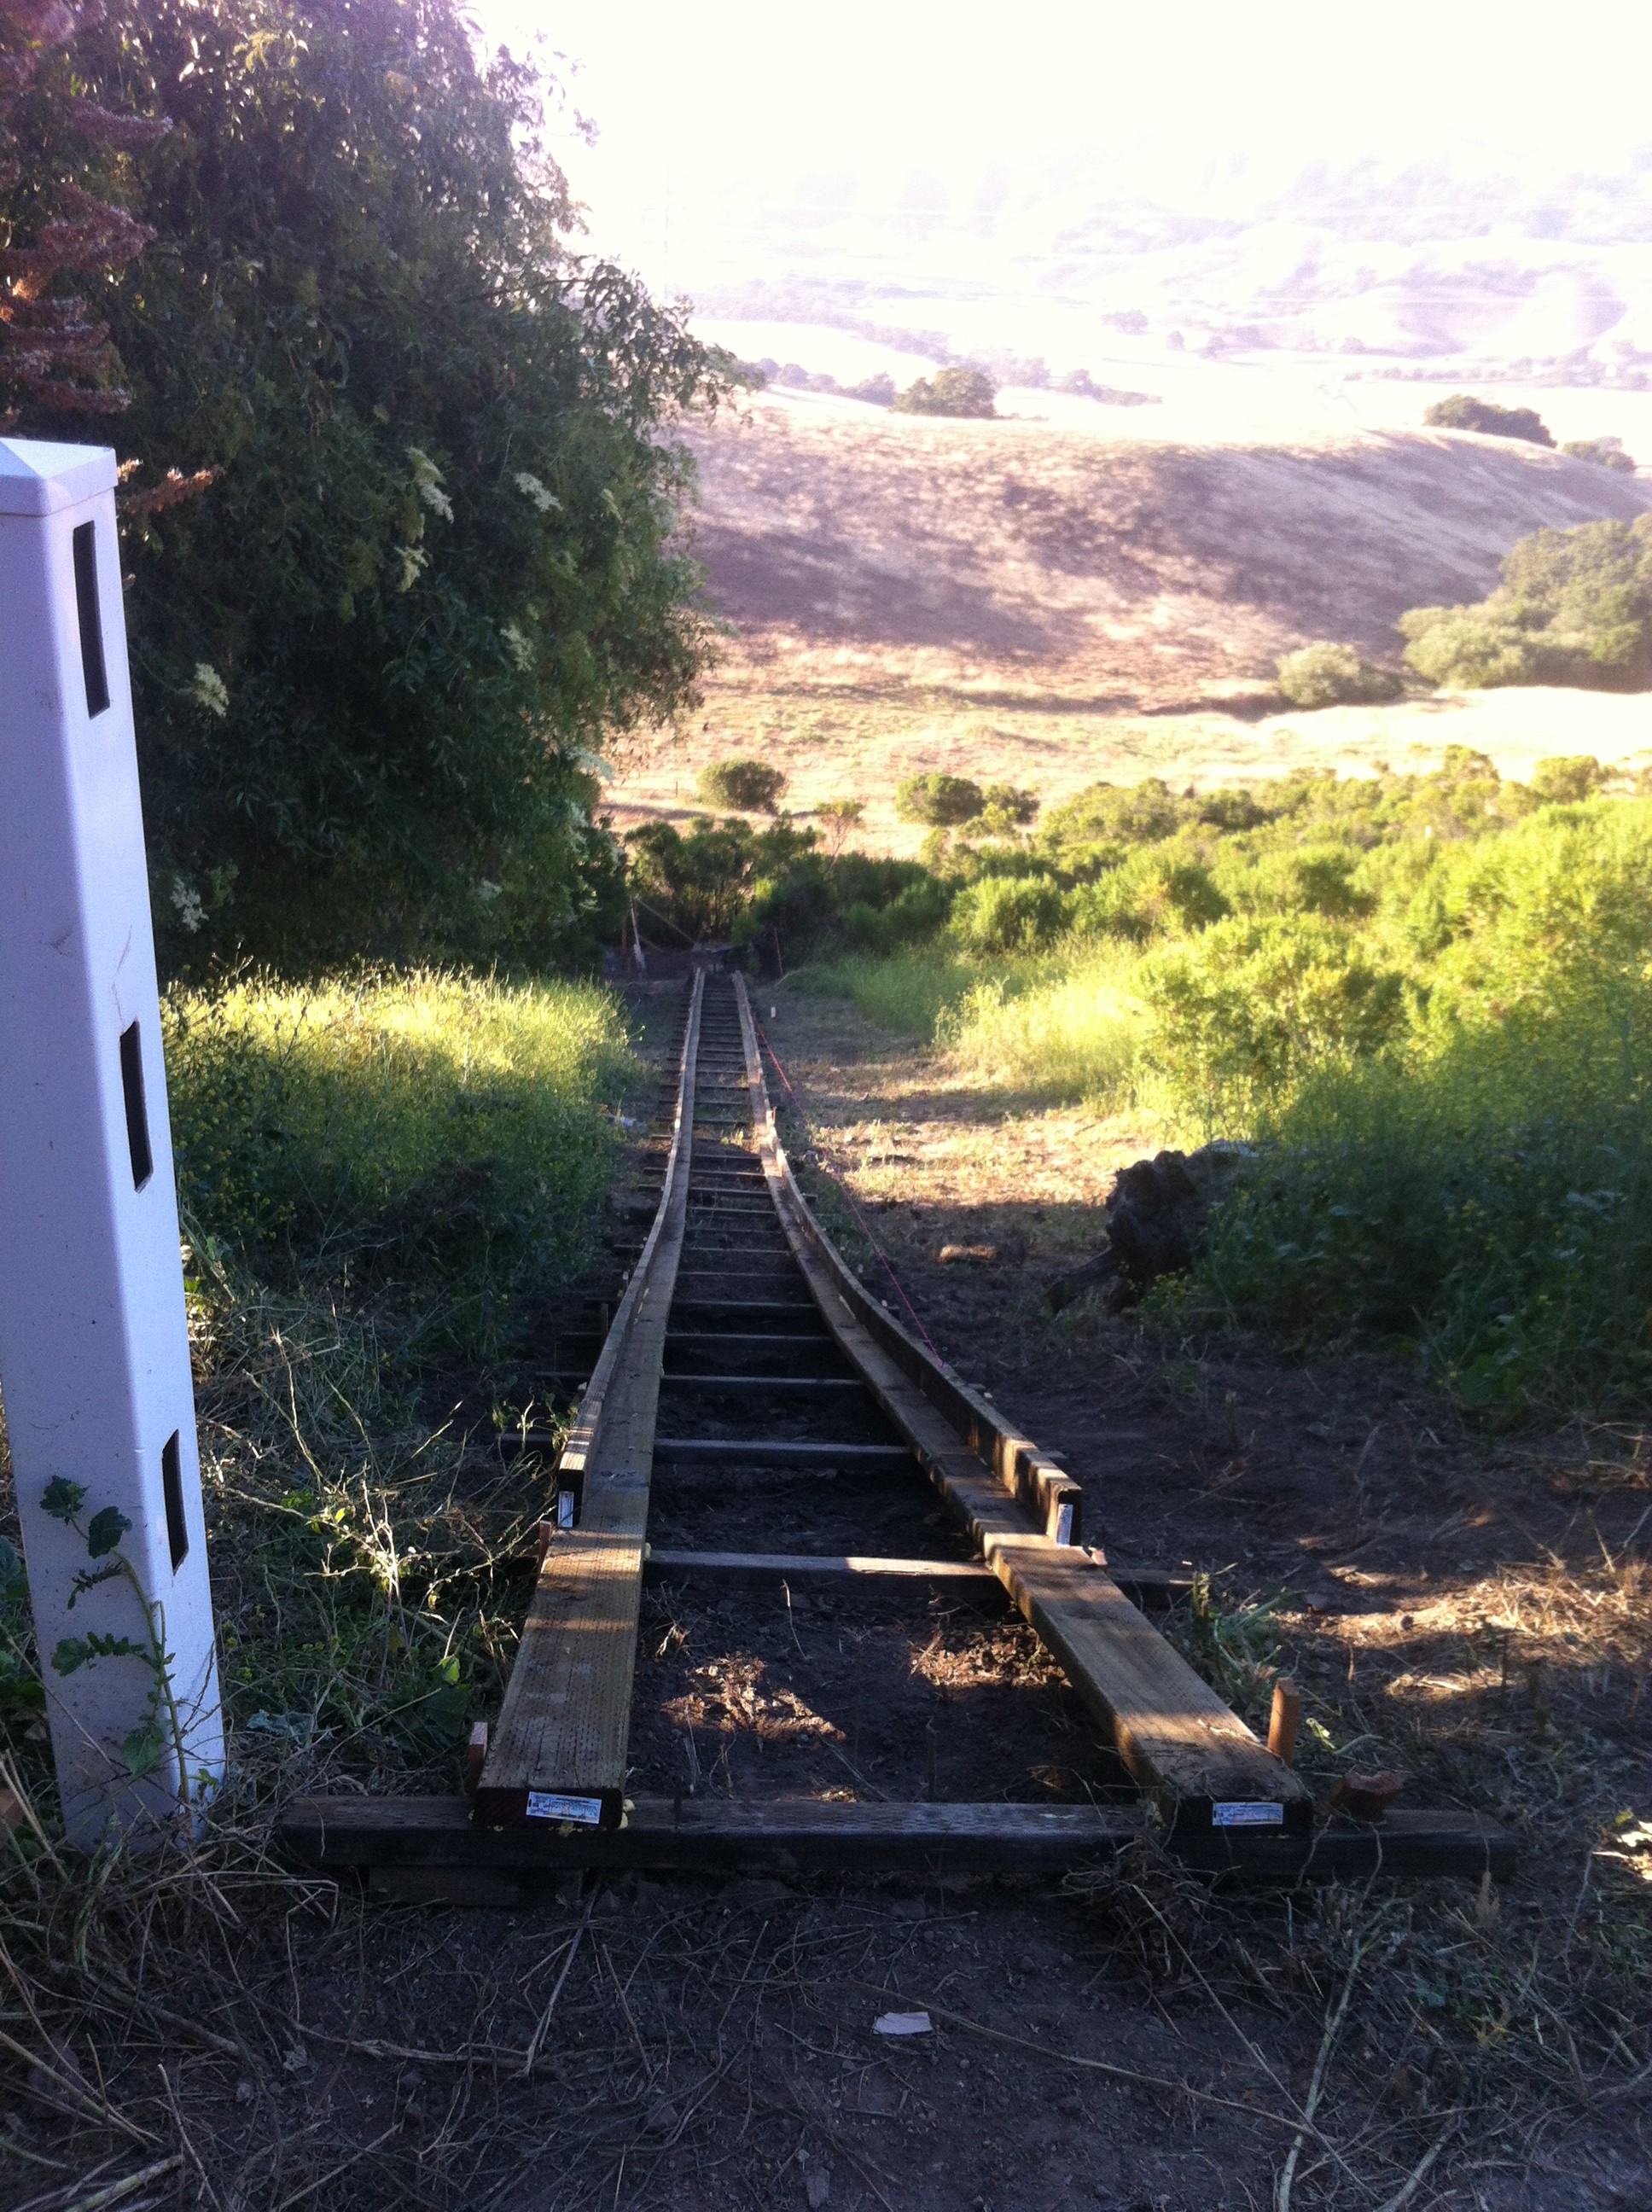
Unfortunately, there was no time to get a road put in to the site, so instead I built a small railroad to transport building material and timbers.
With the help of my family and a gas-powered chain trencher, we dug and laid wire/pipe for electrical and water to the site in June.
 The timber delivery came the second week of July, grade 2 or better Douglas Fir from Berry’s Sawmill in Santa Rosa.
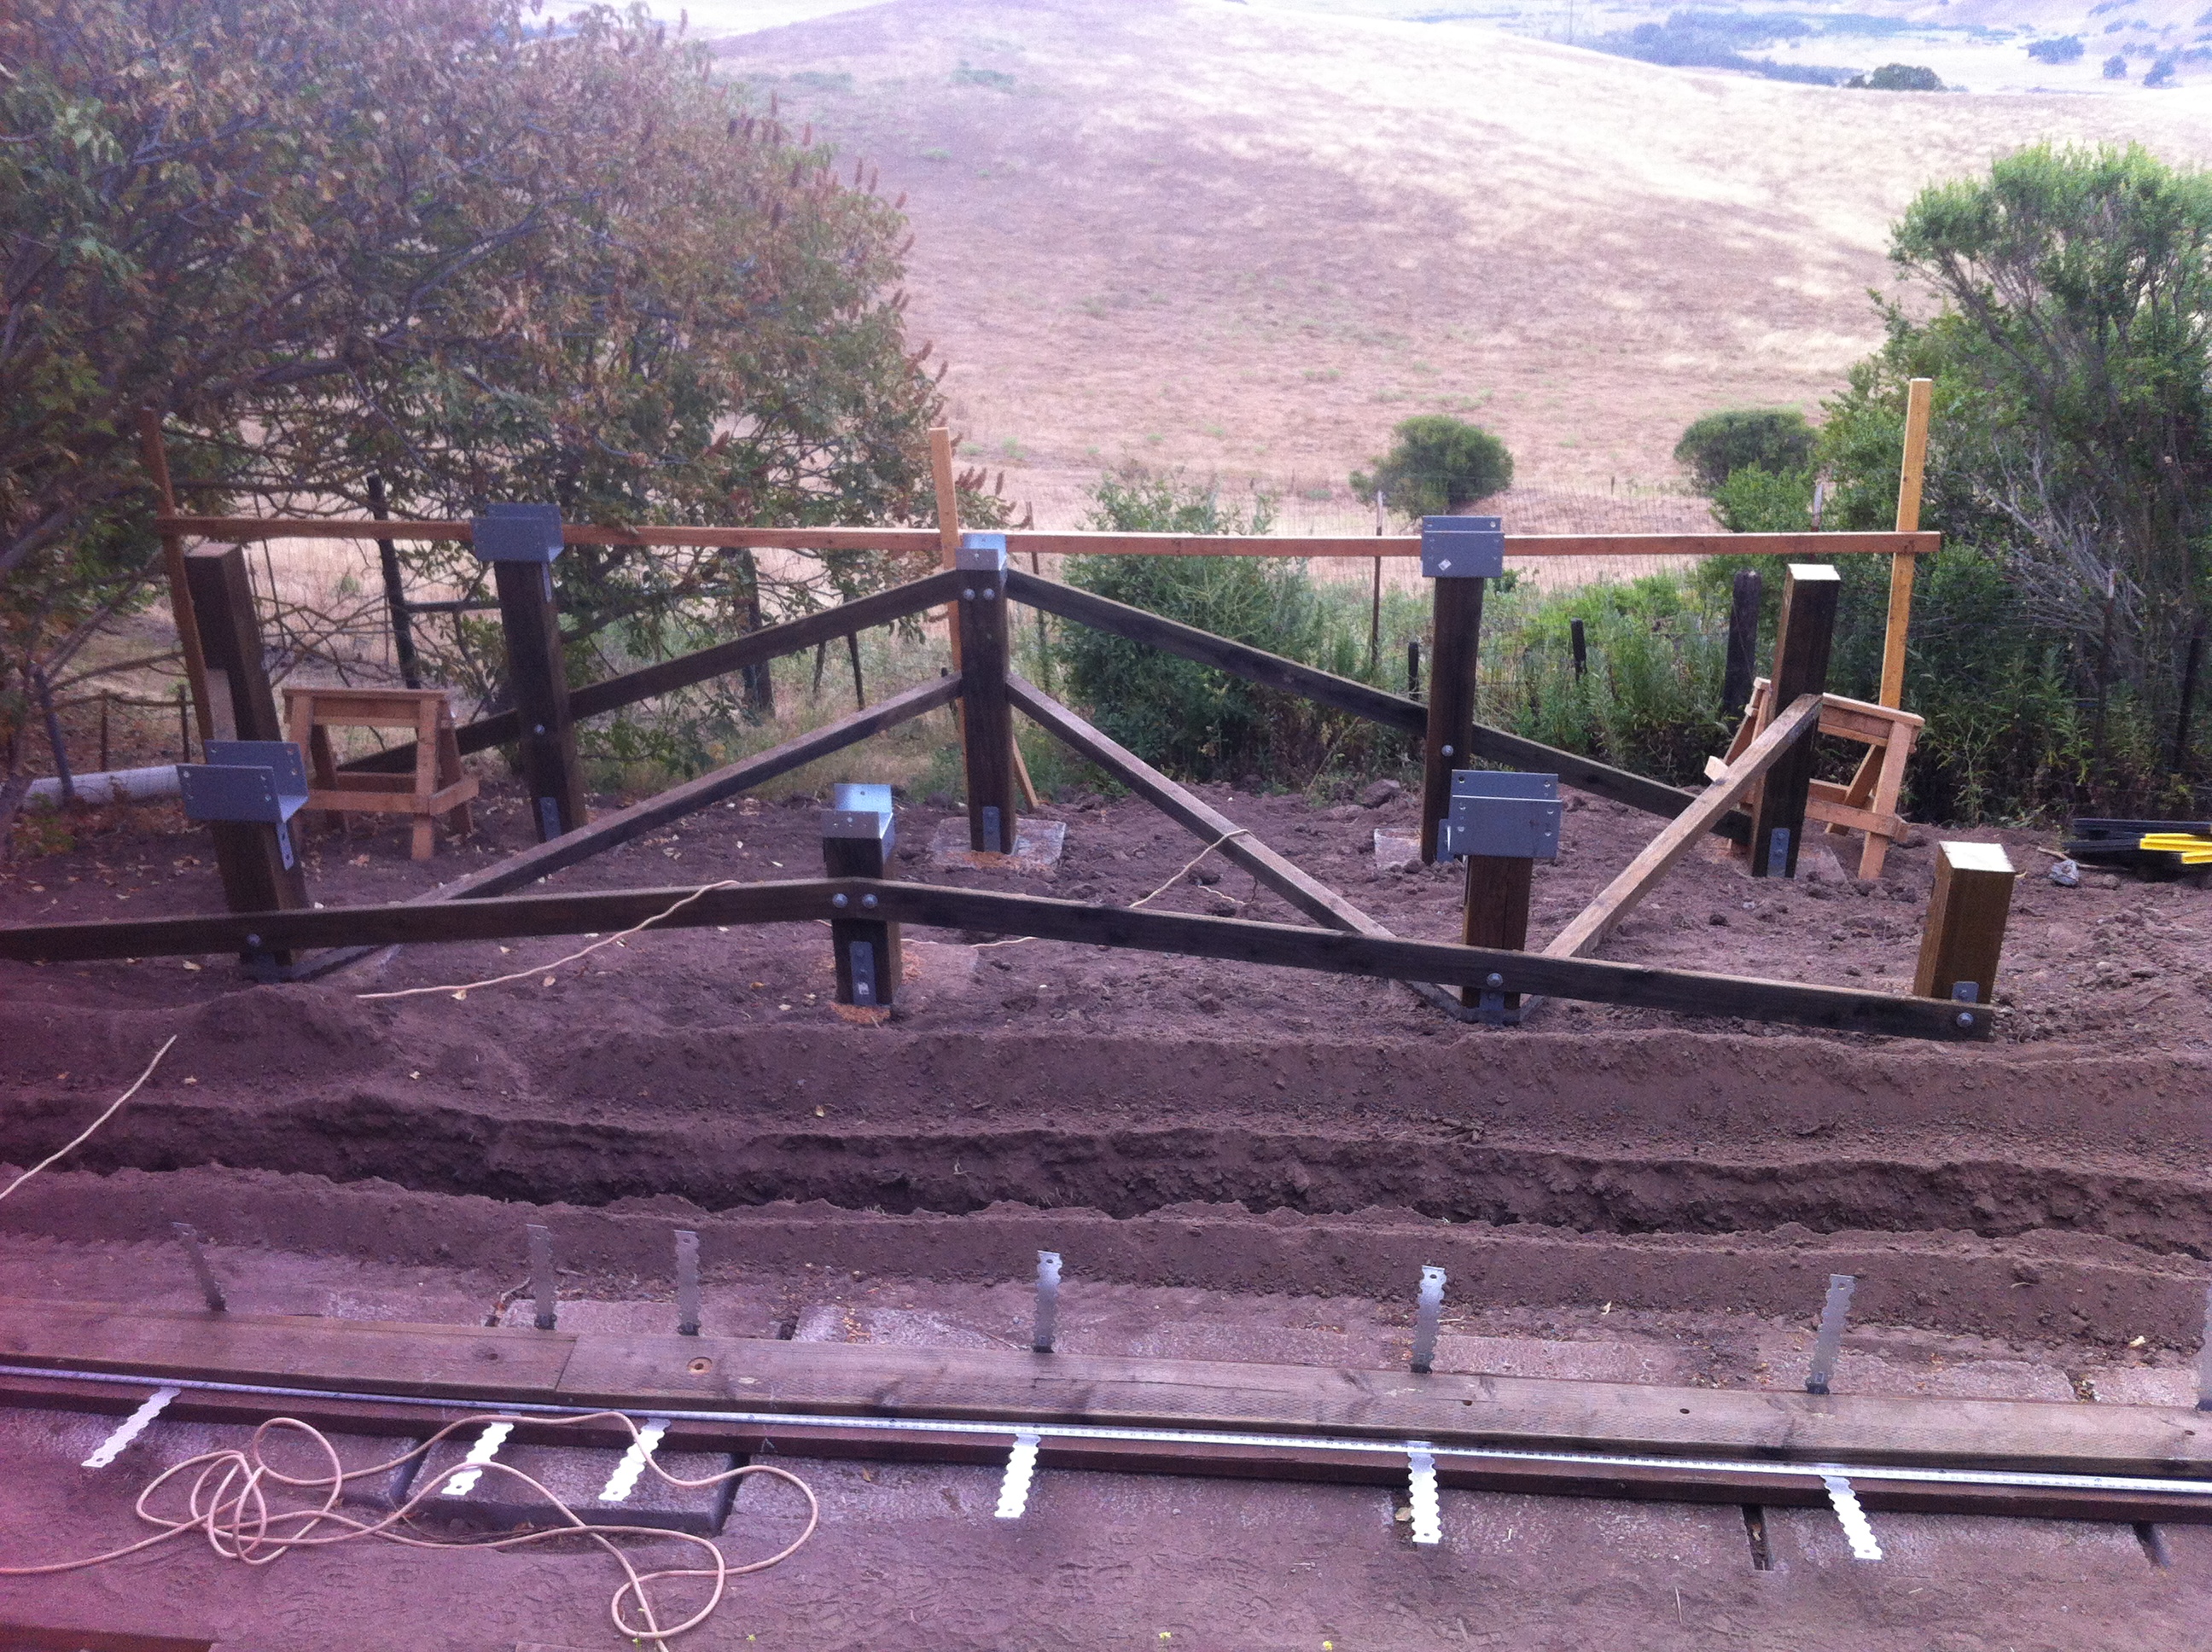
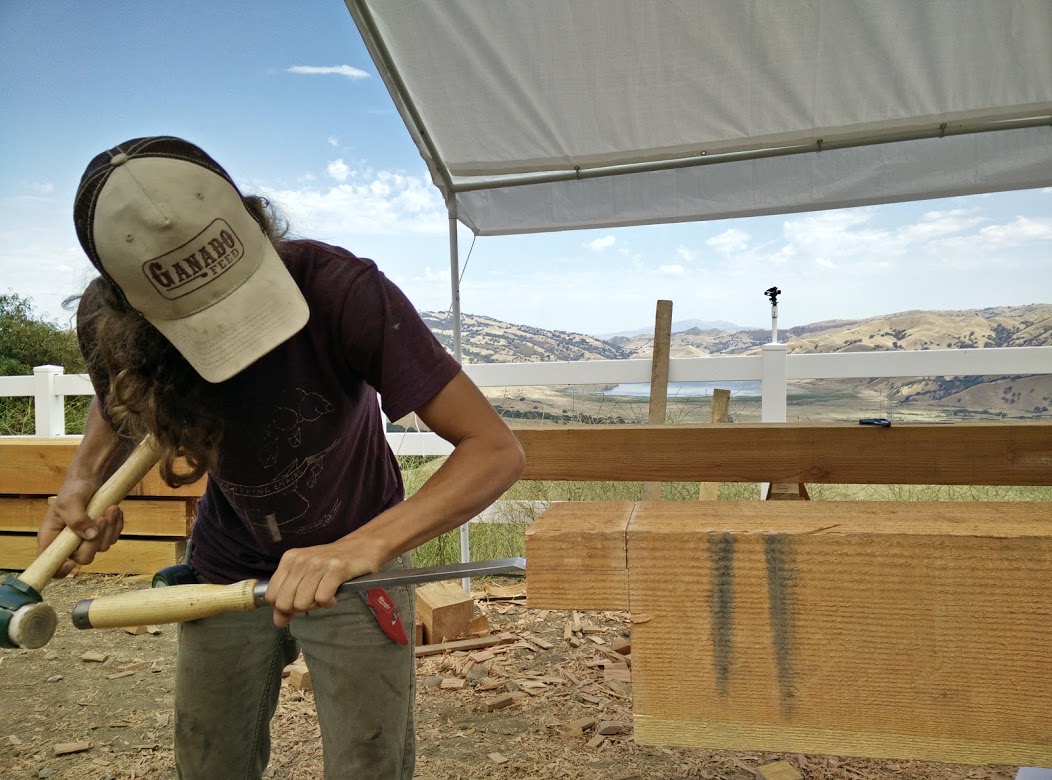
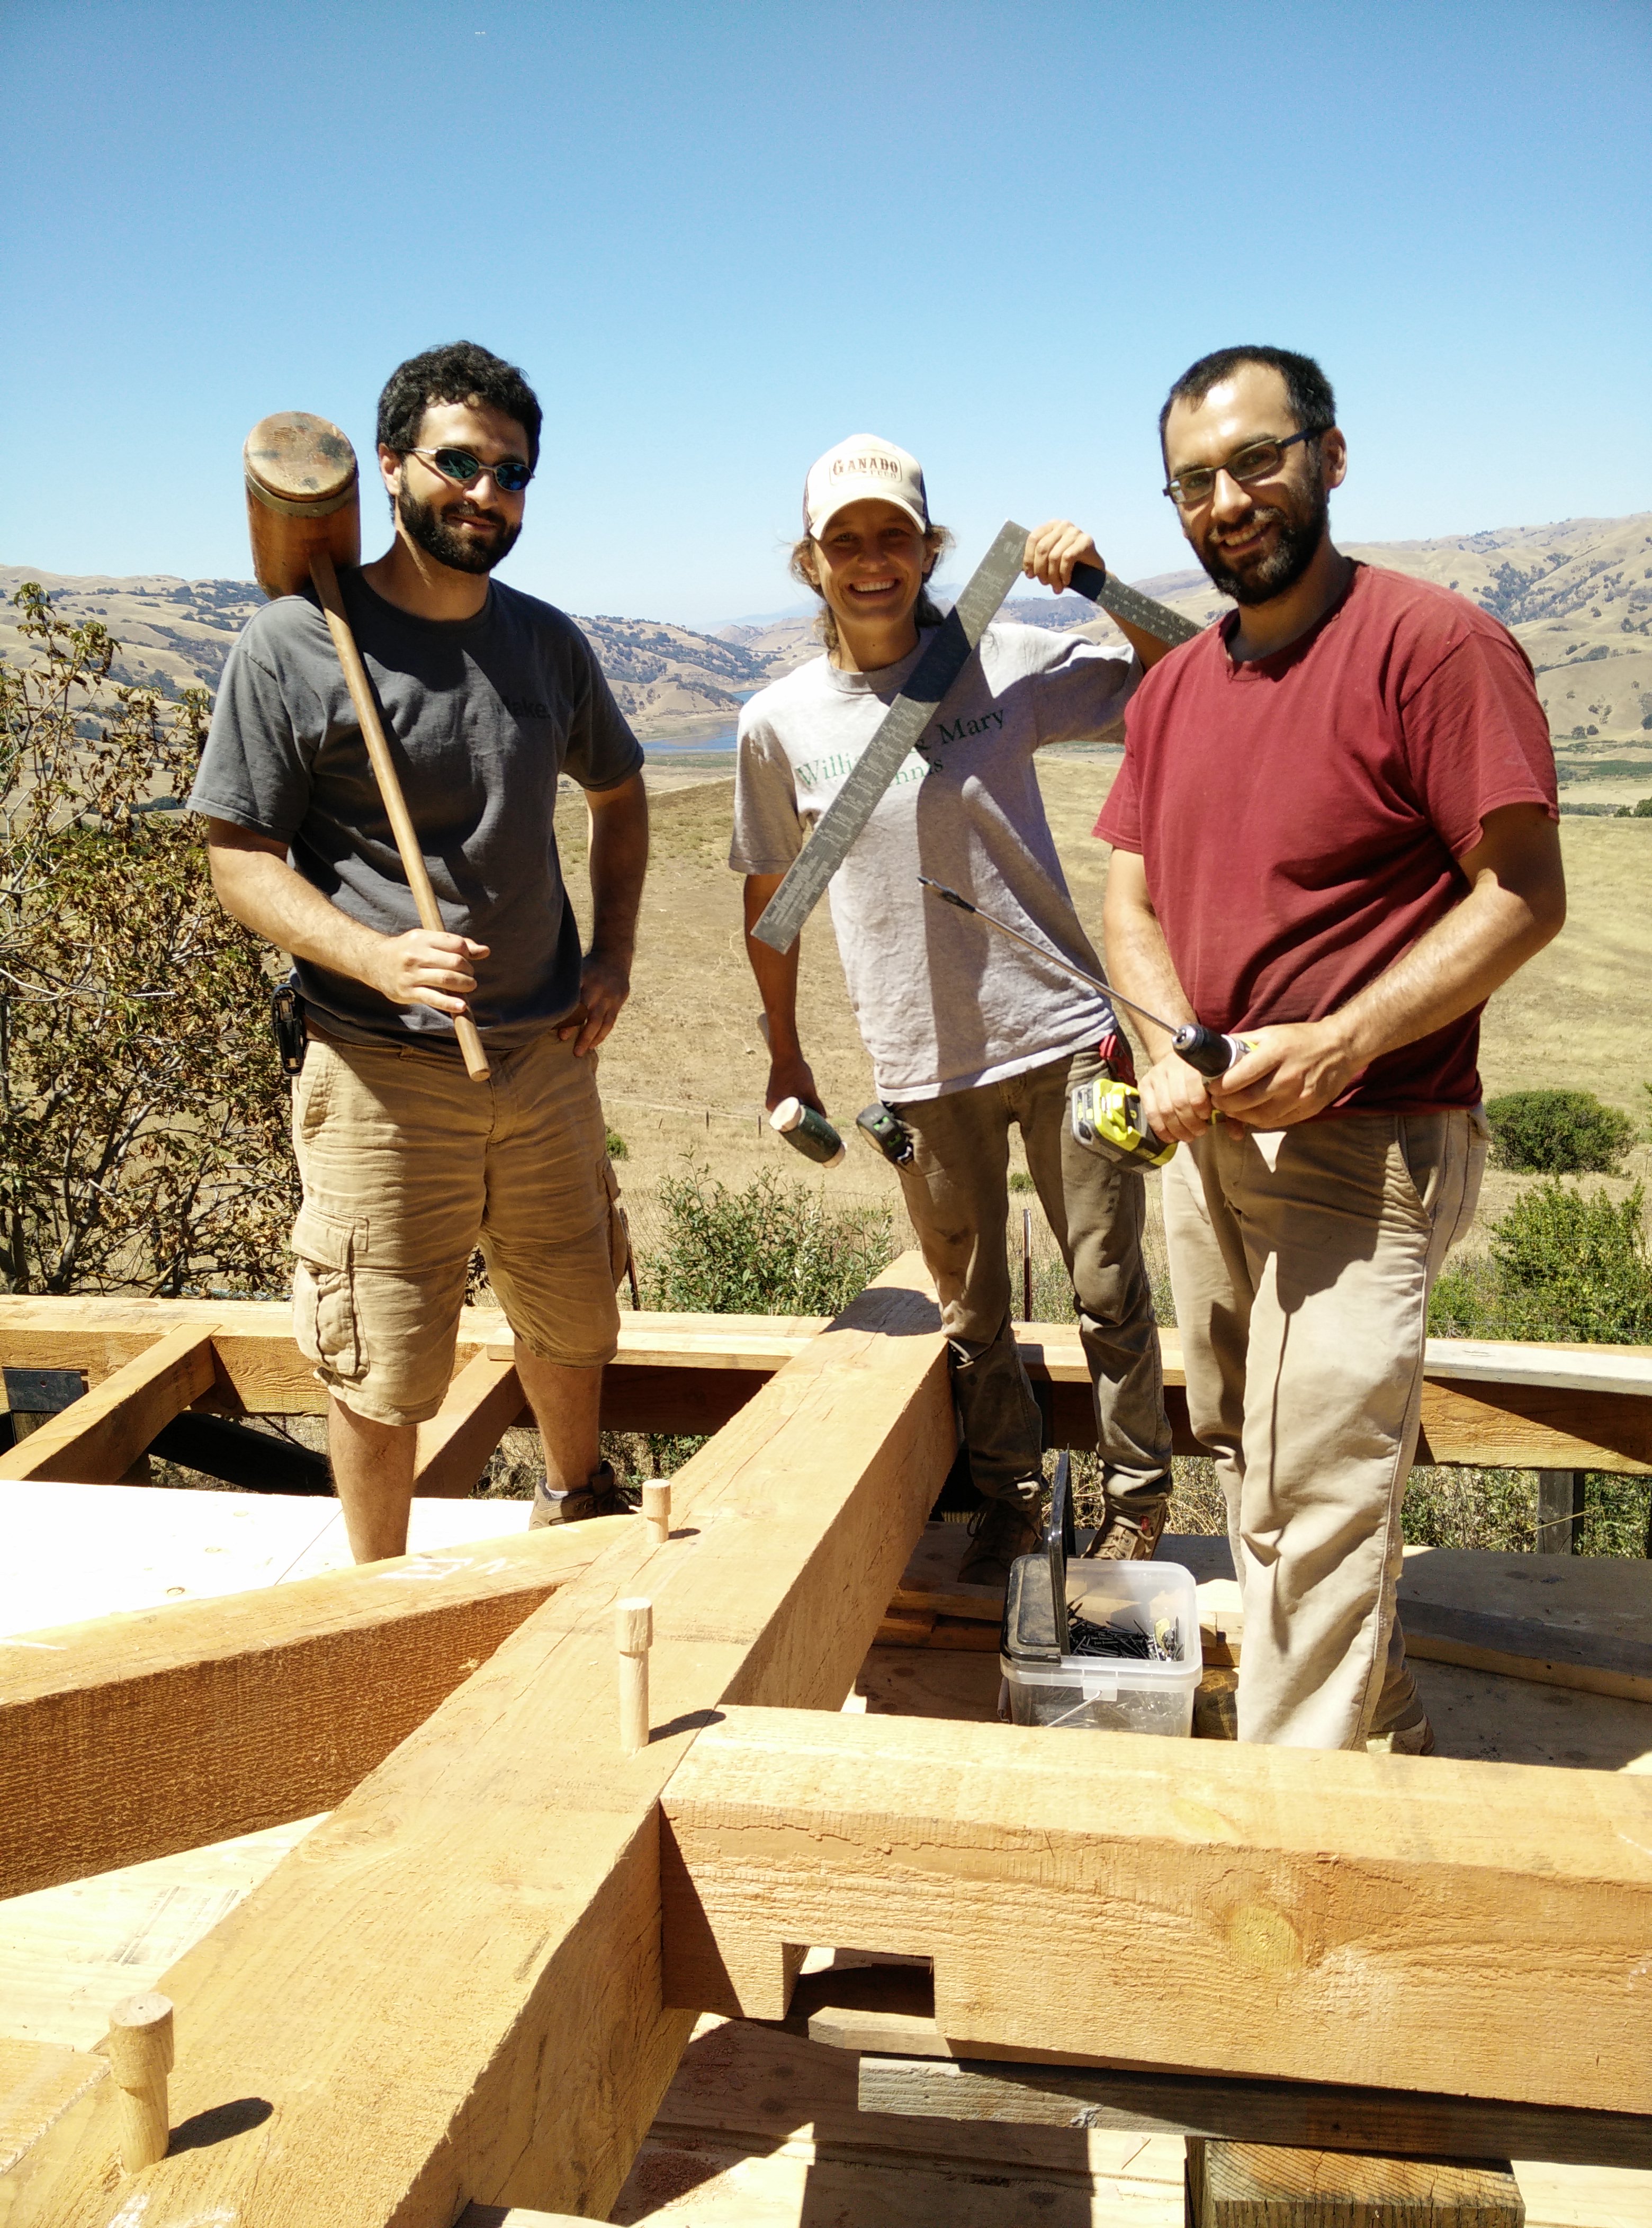
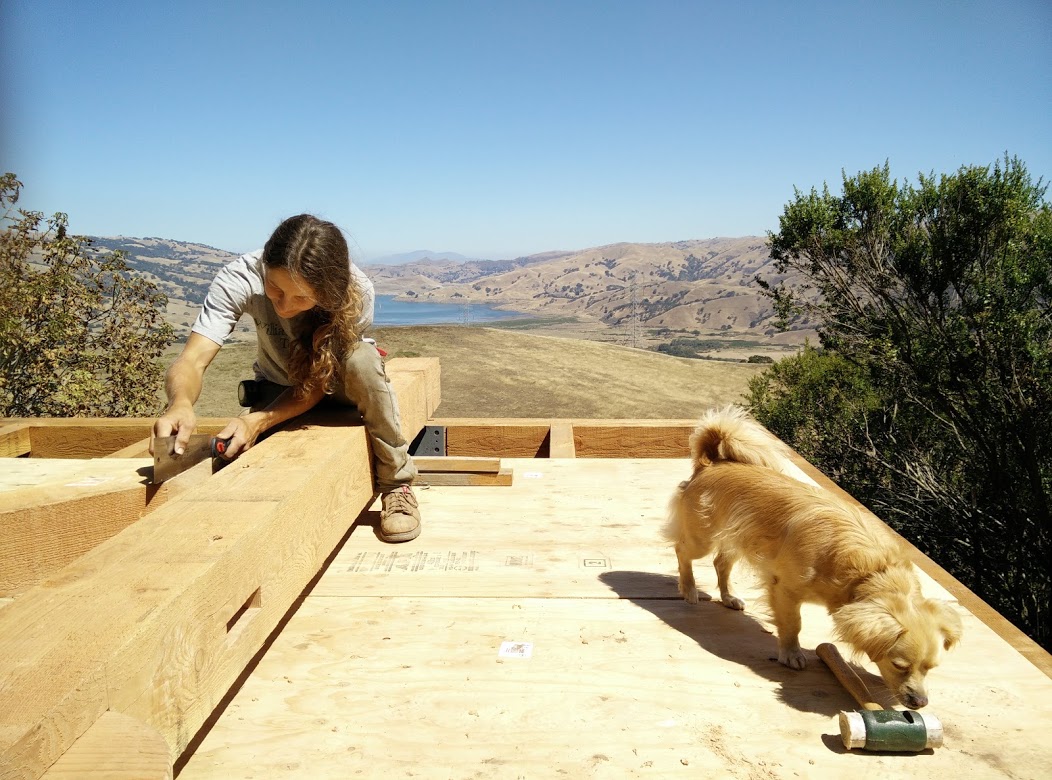
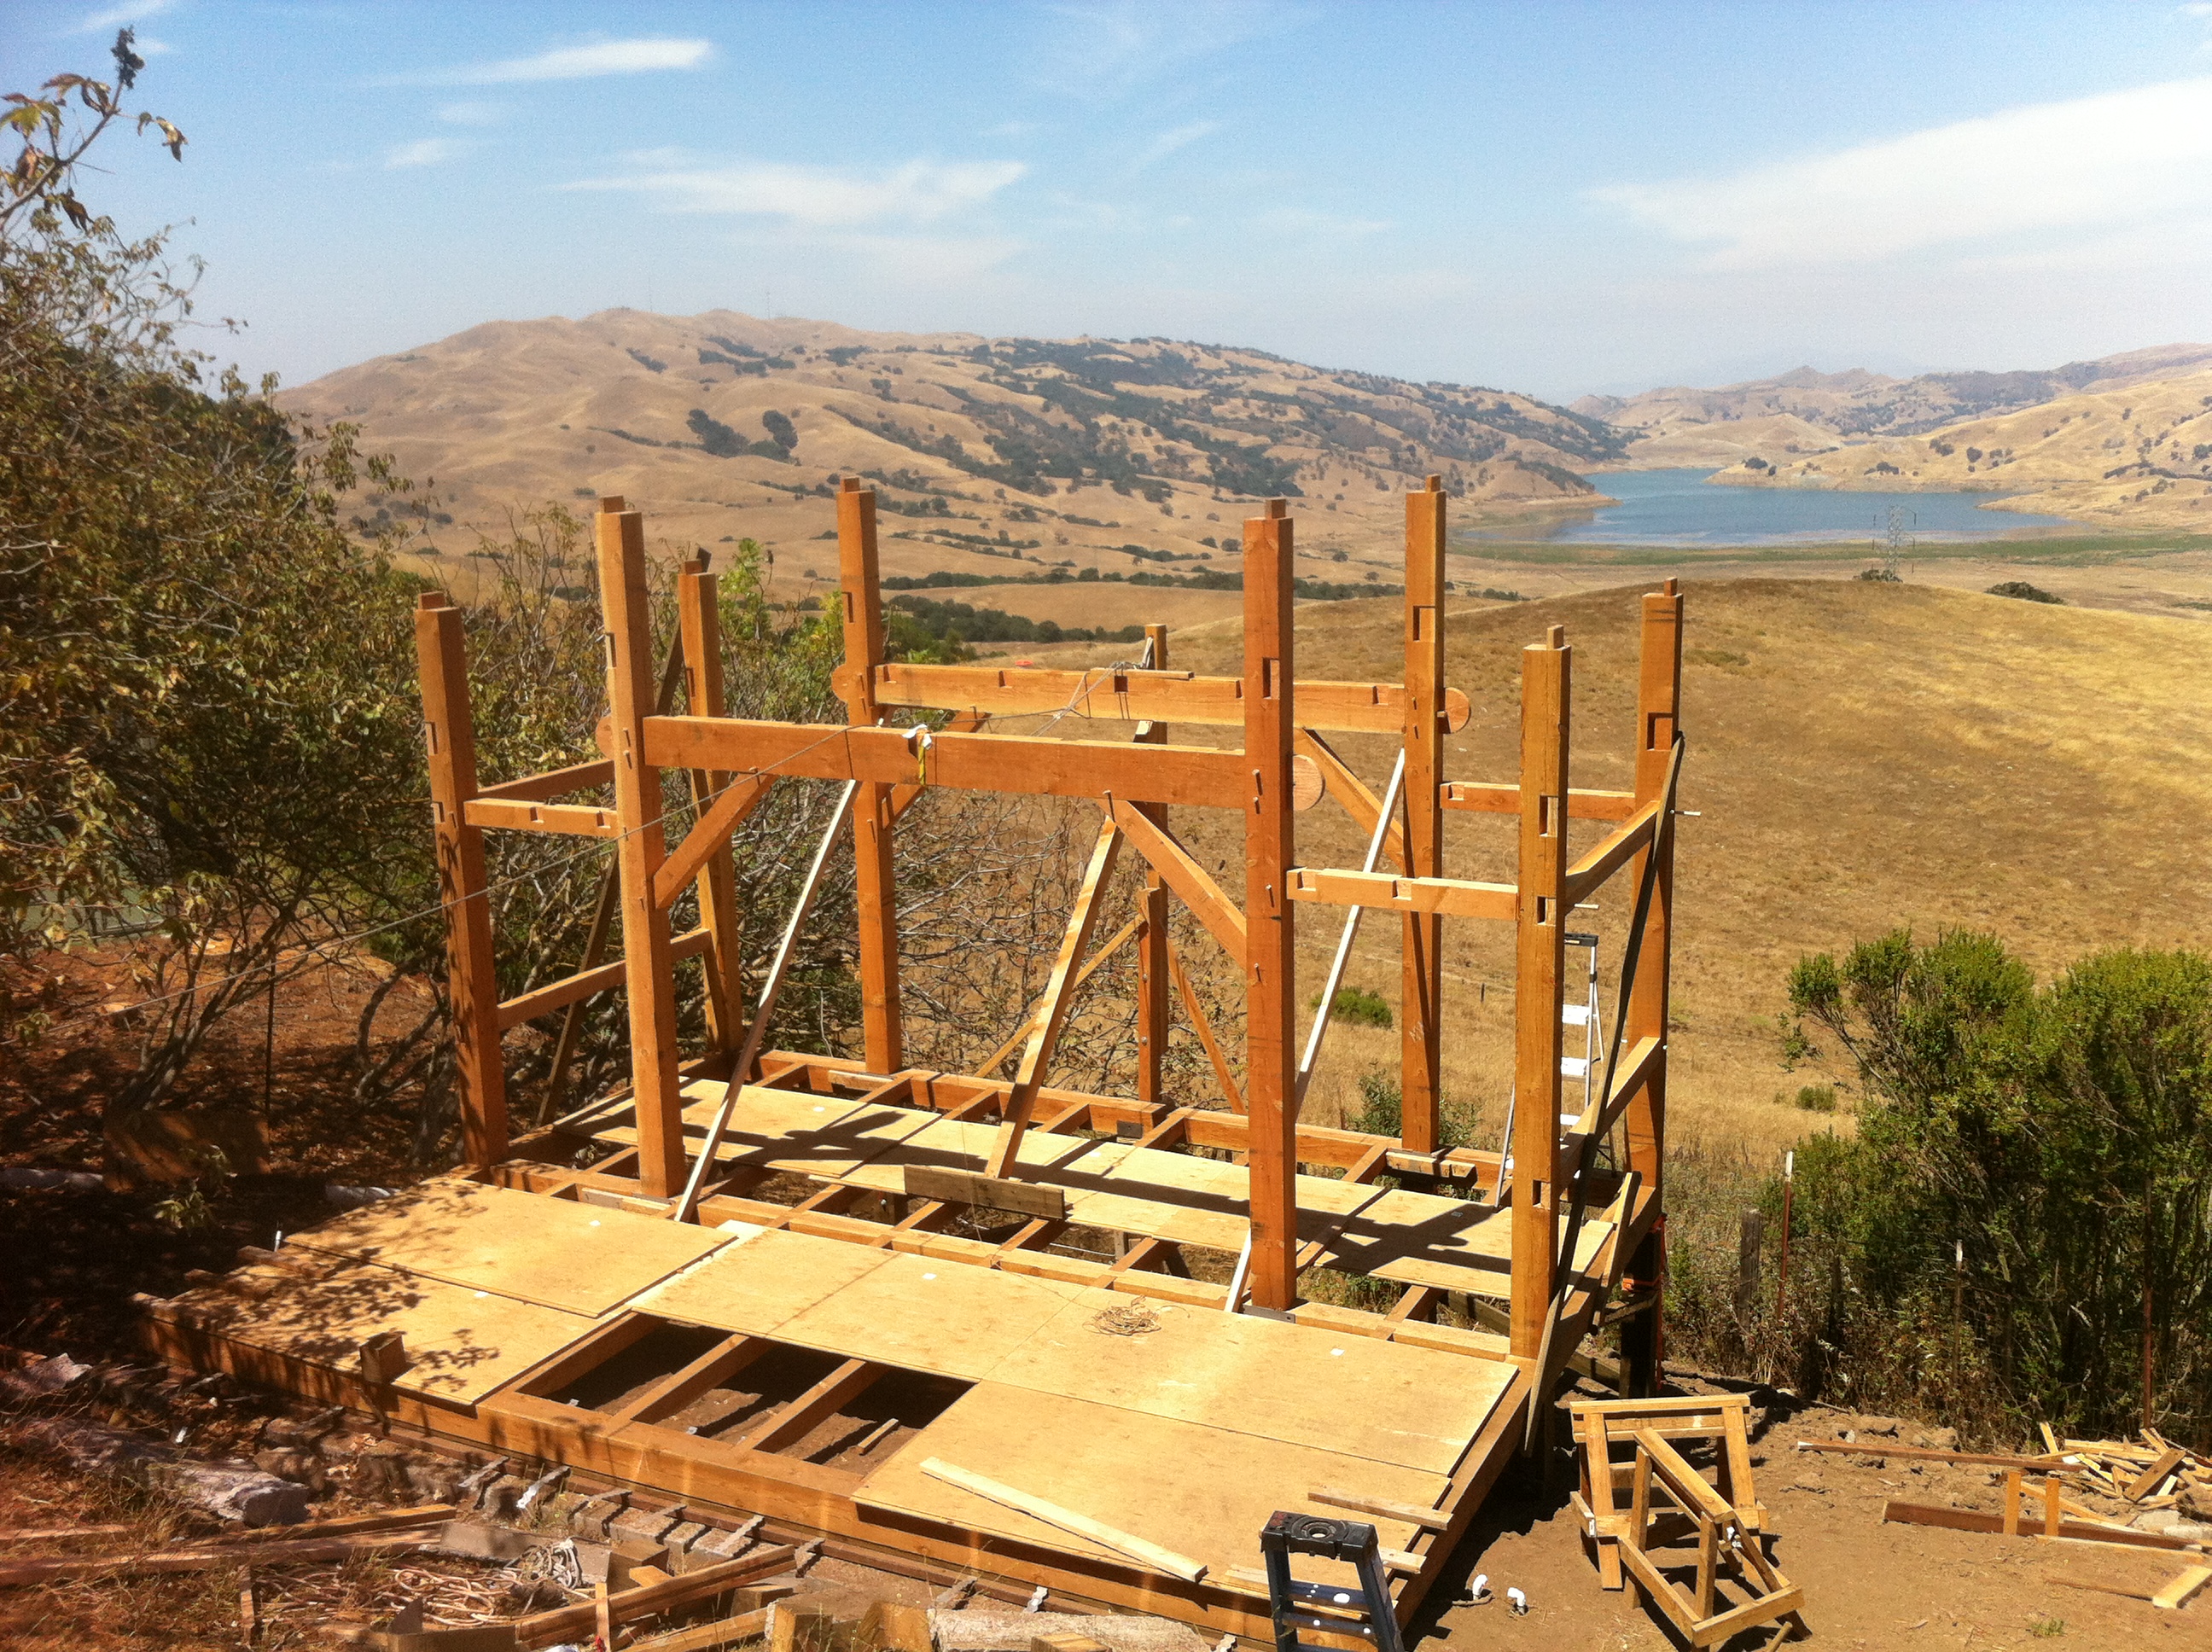
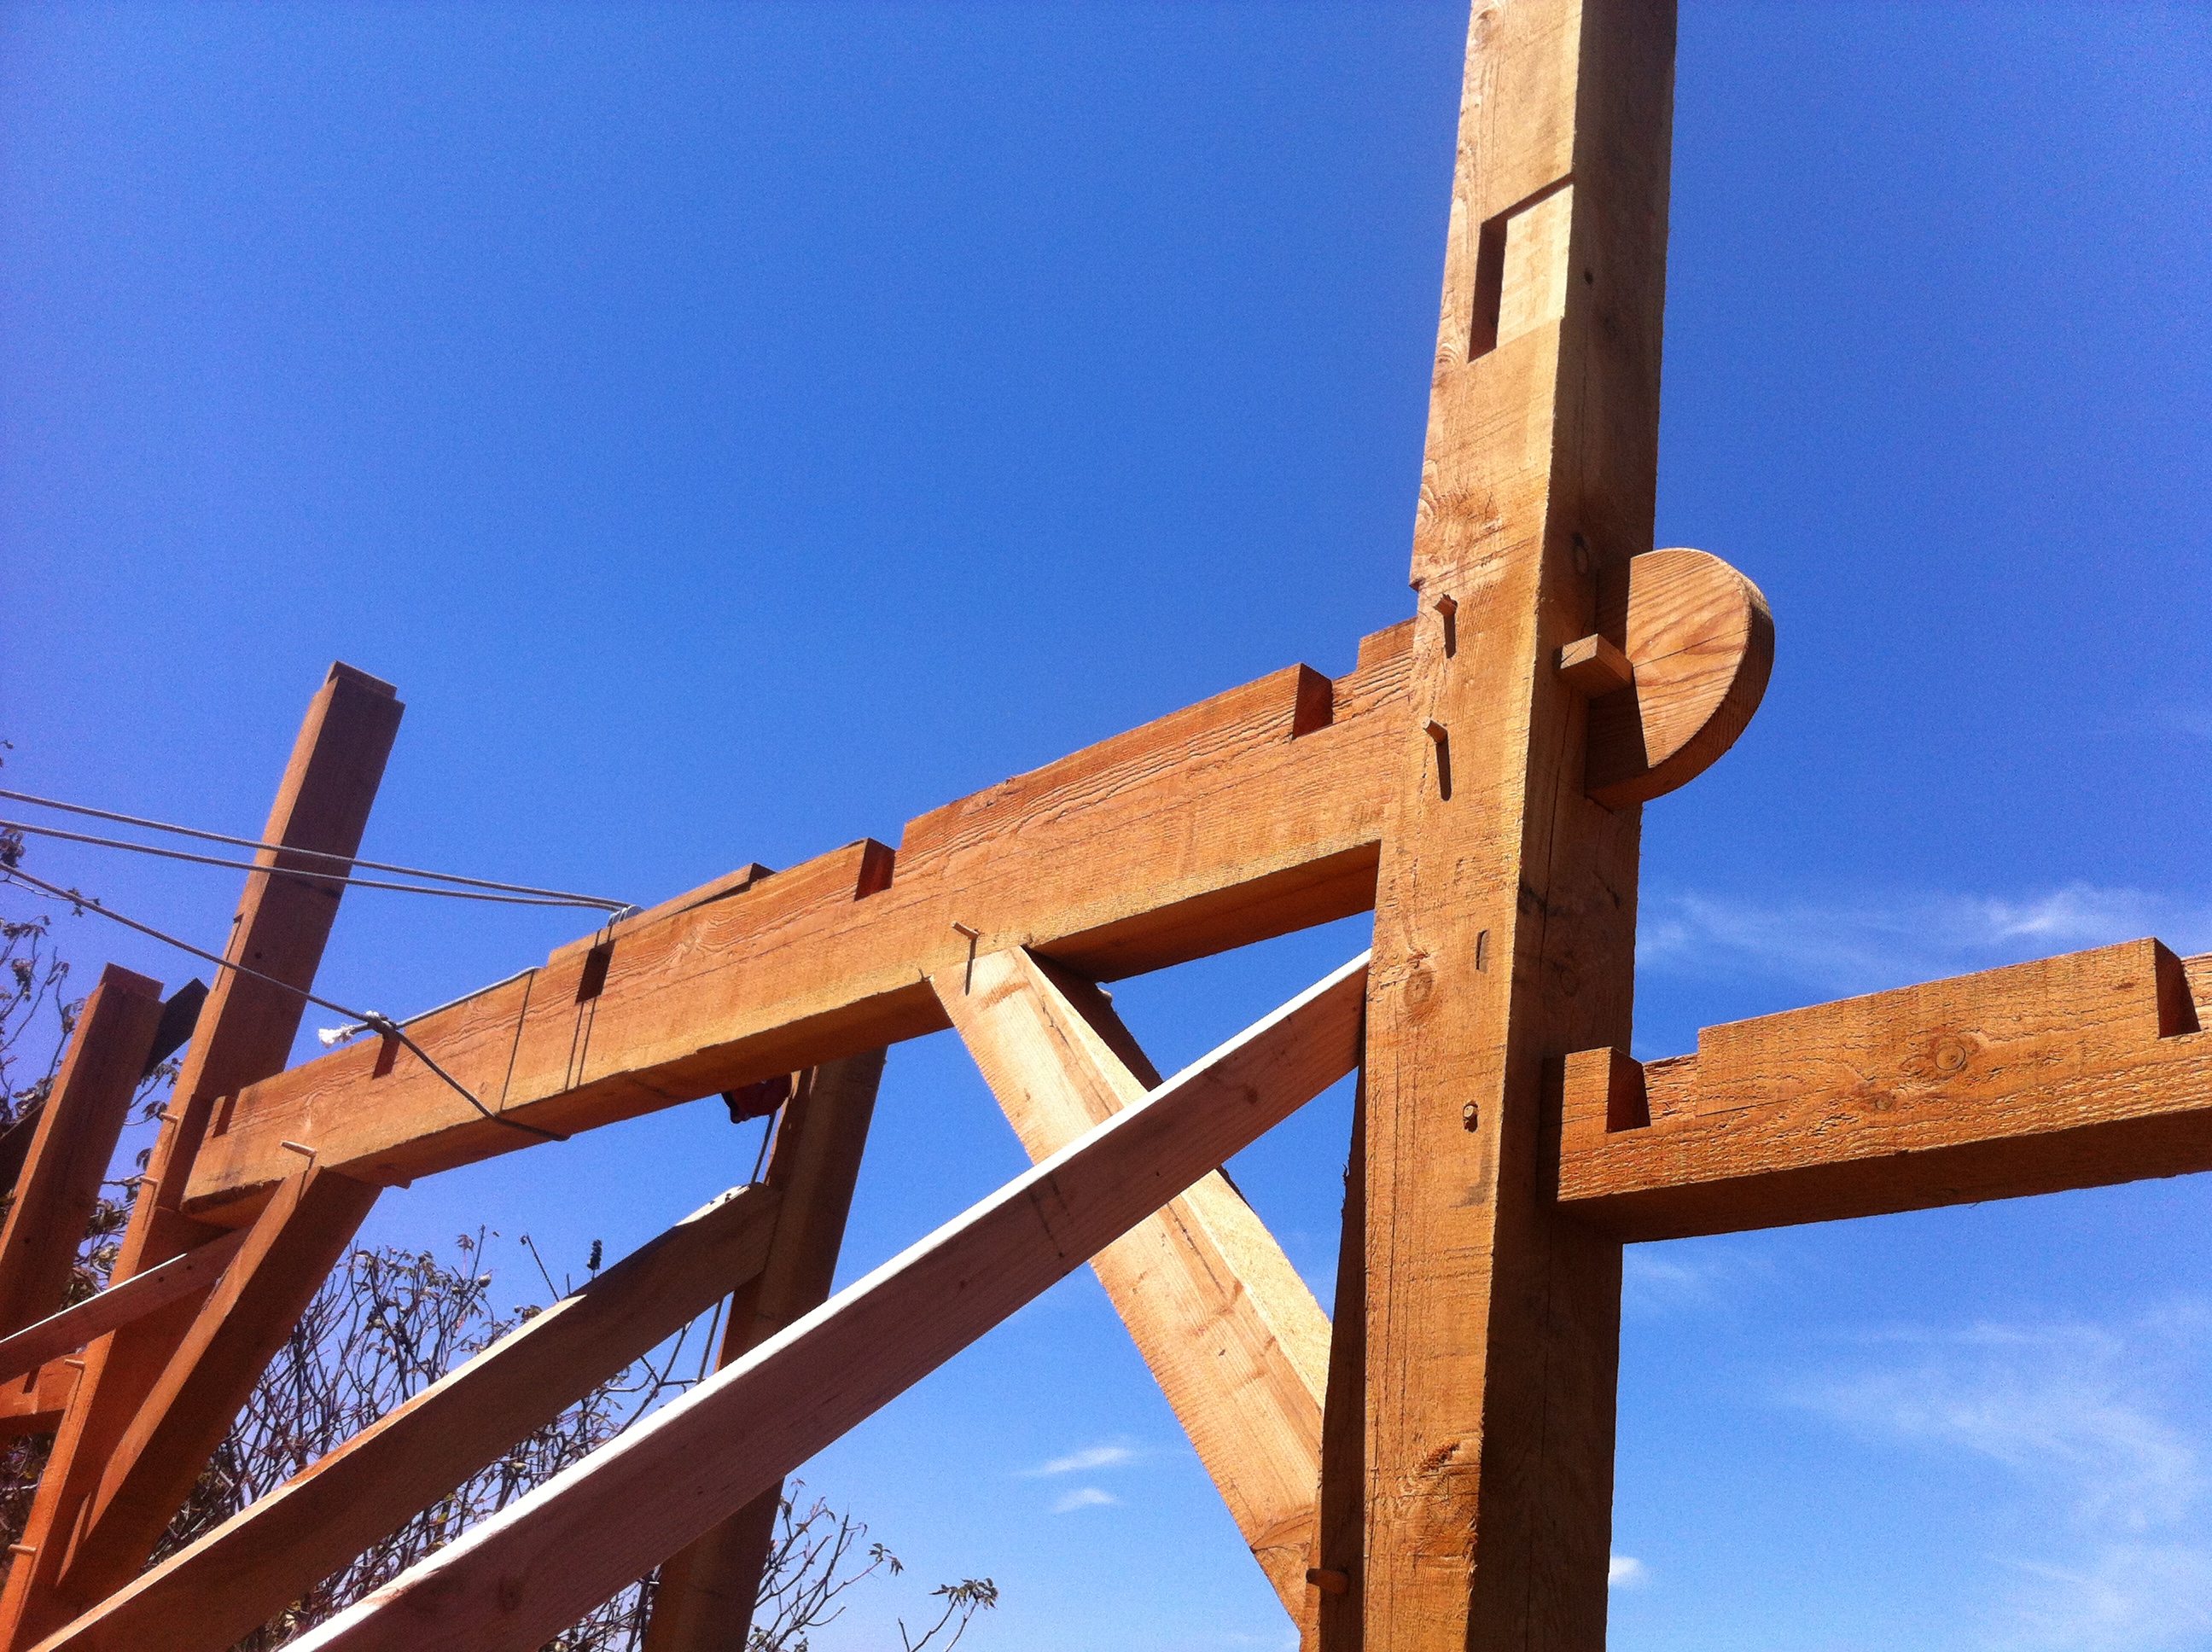
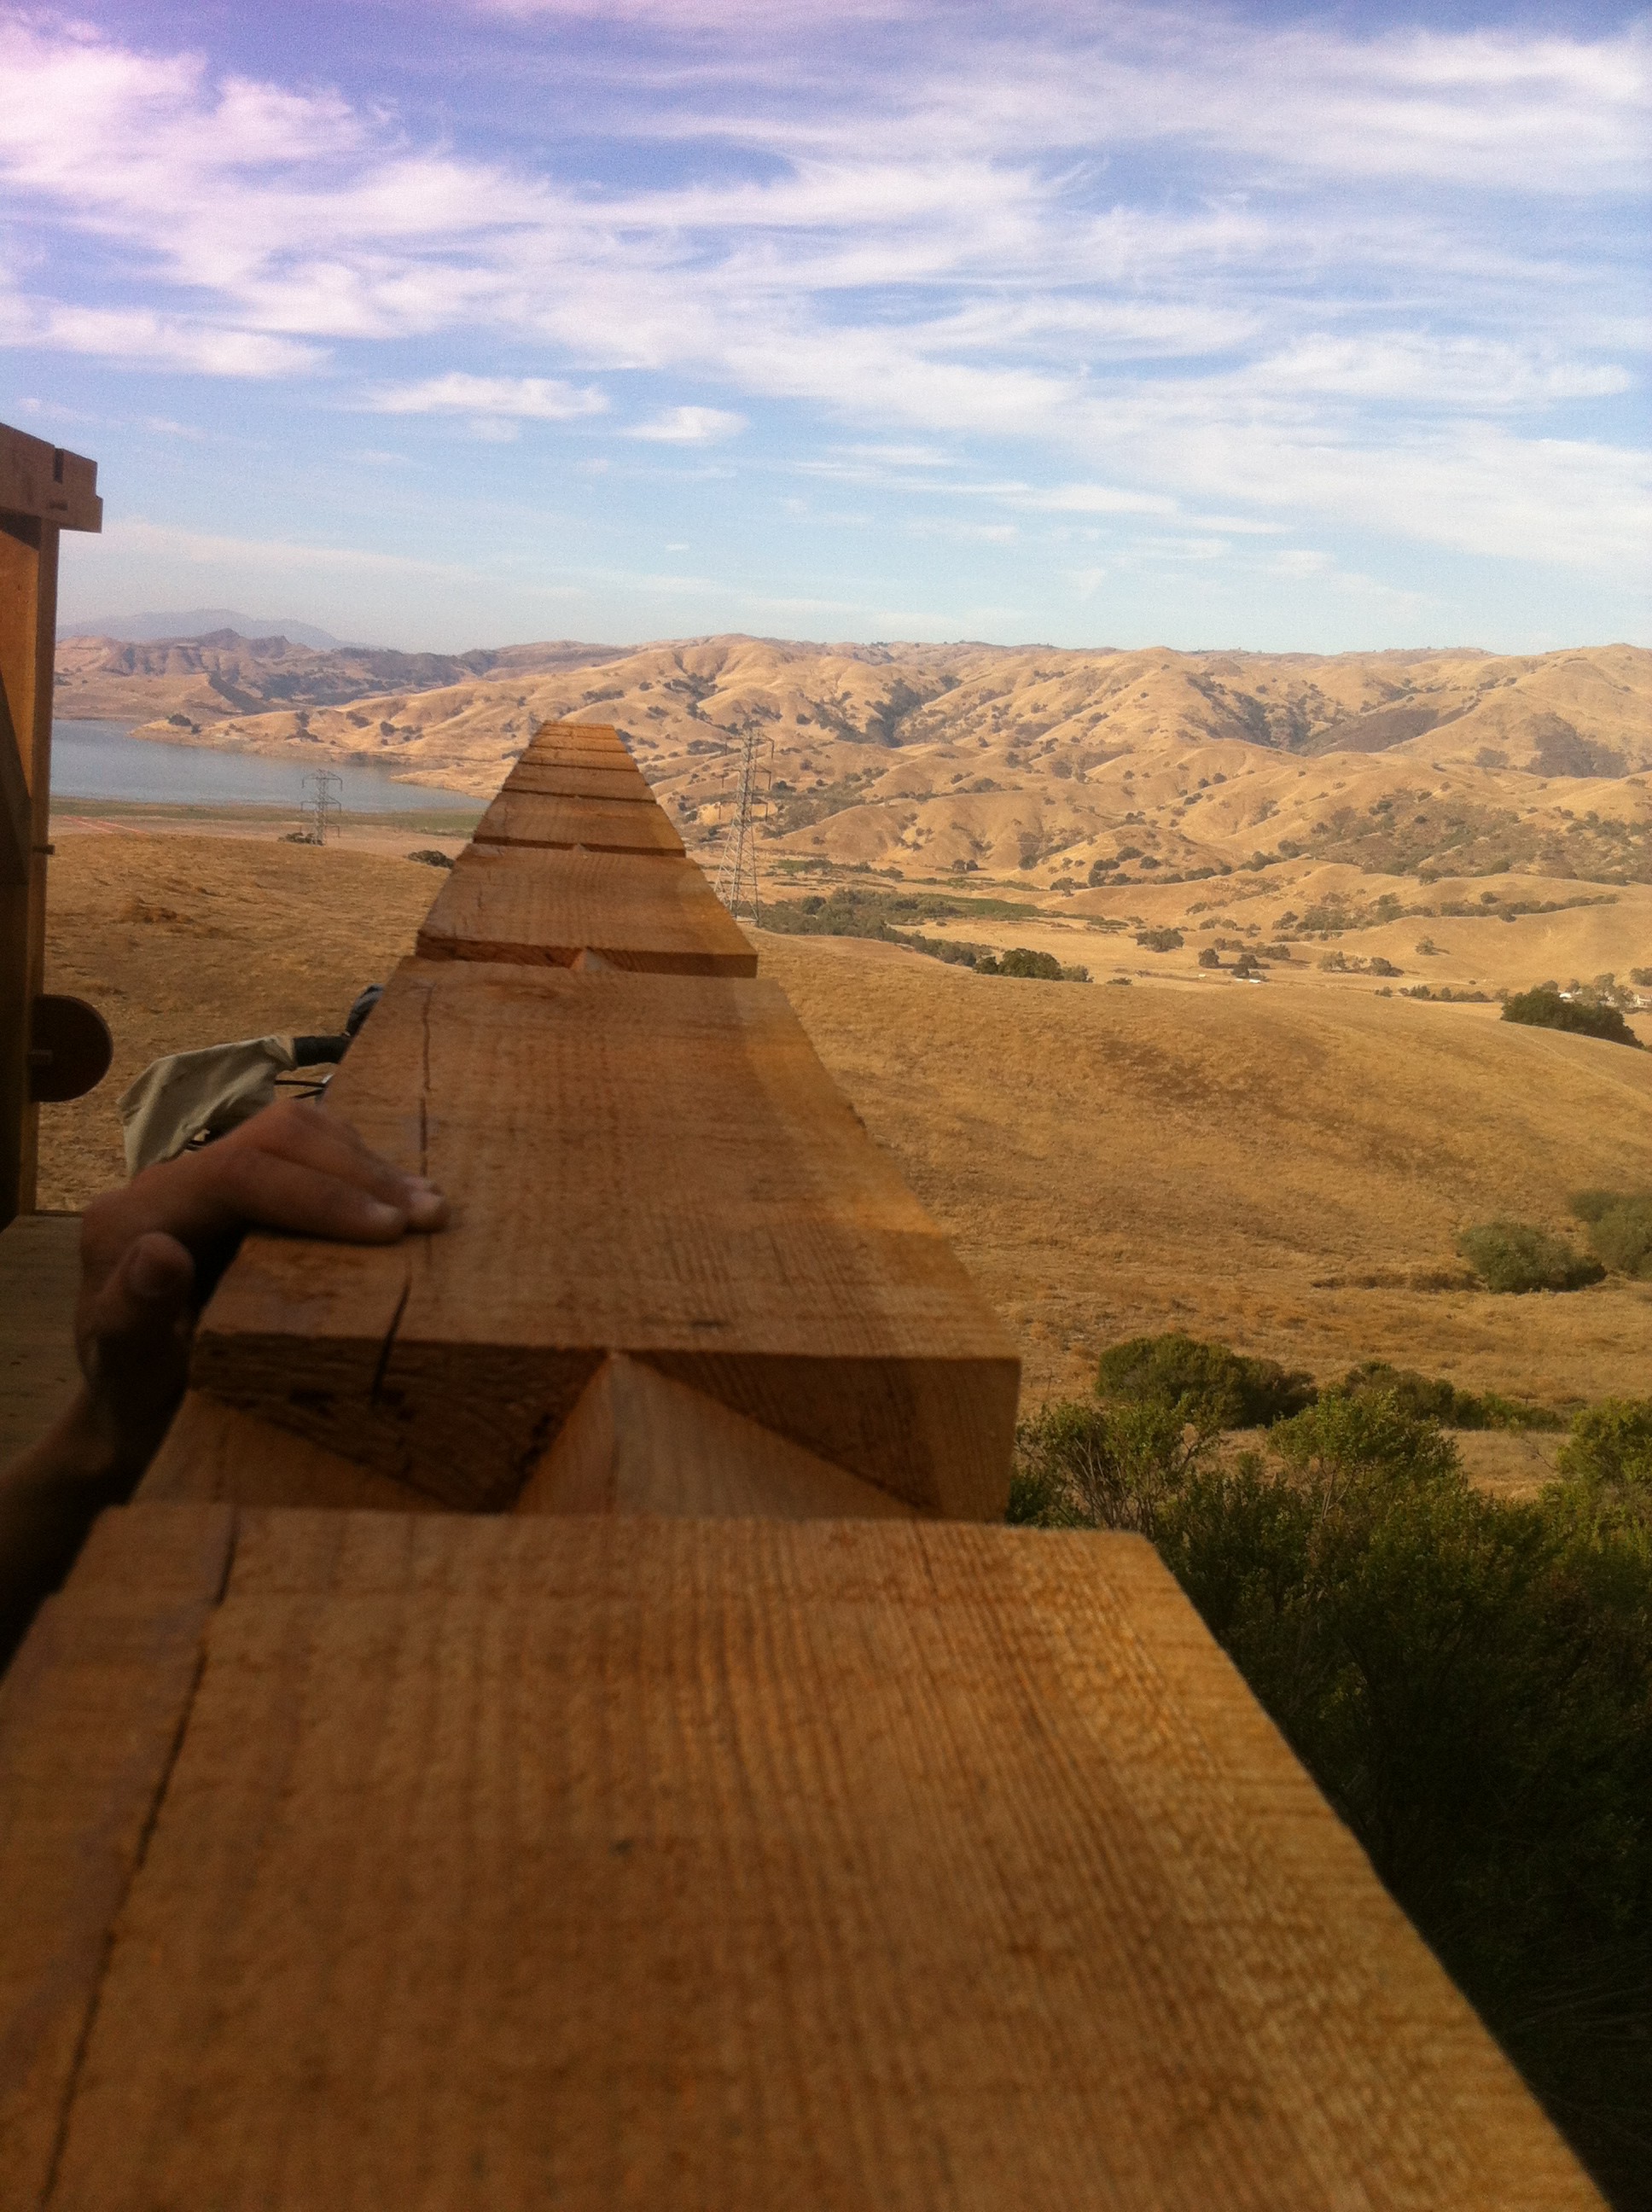
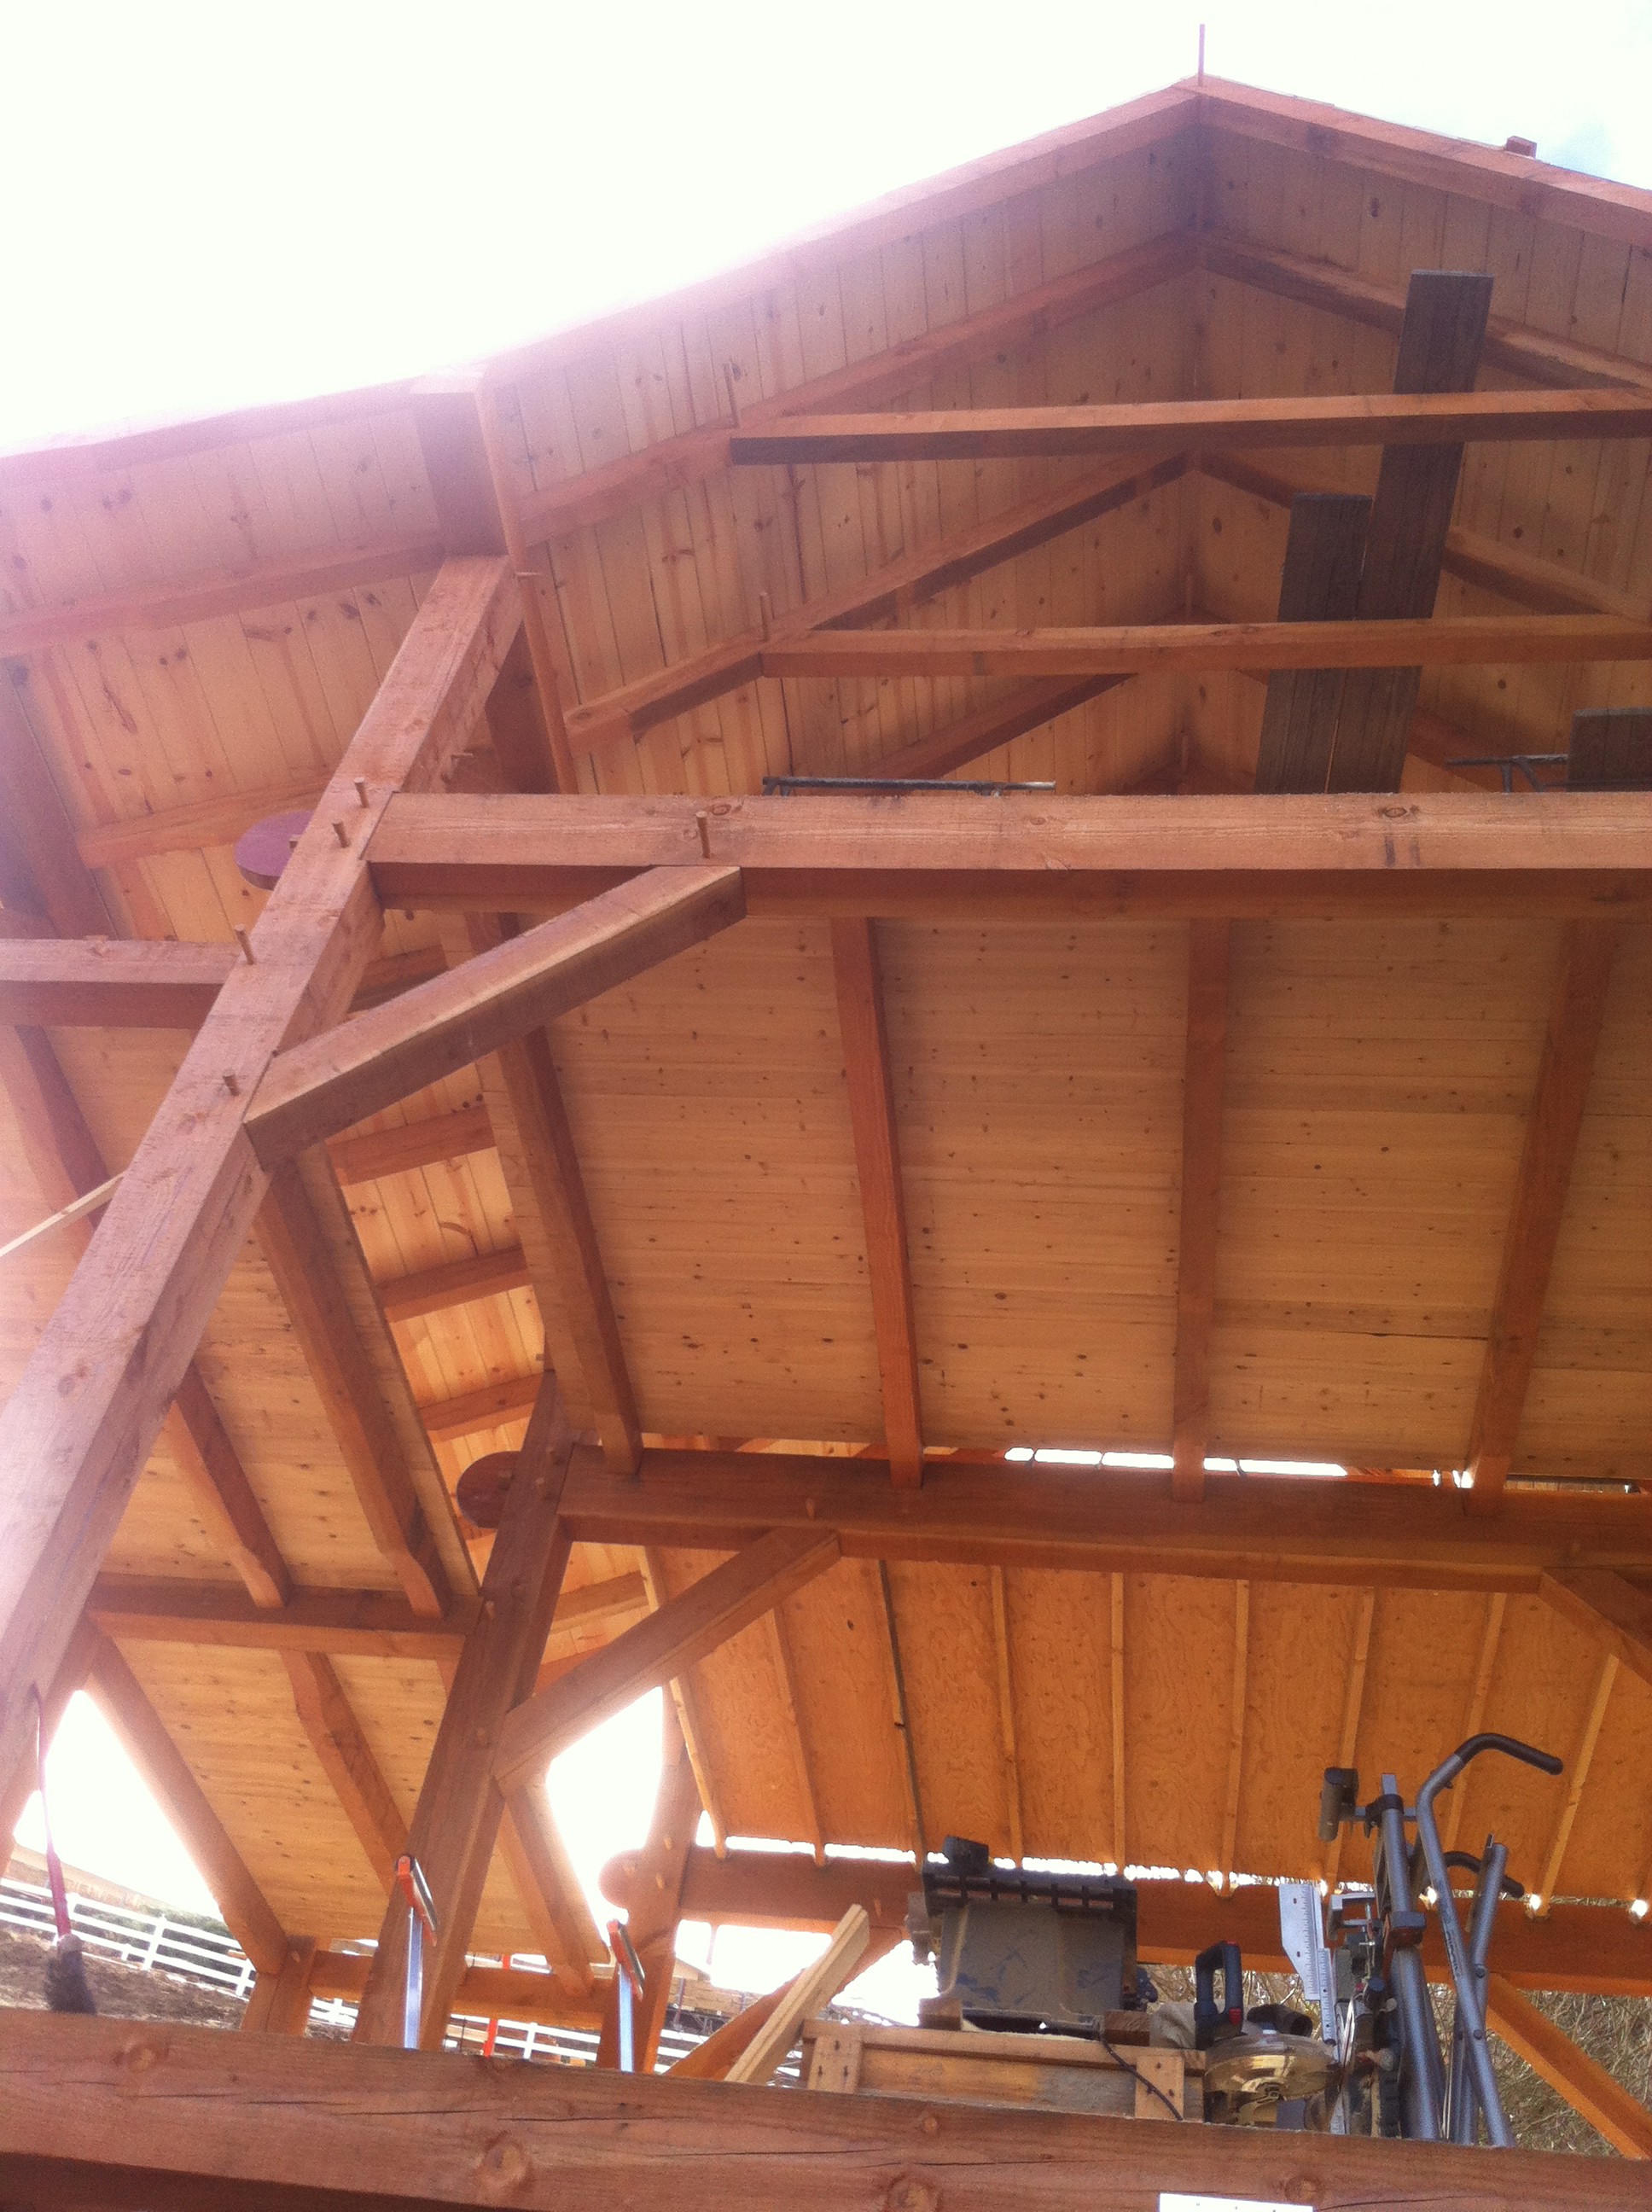
 Good friends came from across the country to help timber frame the floor system and first “bent” (a cross section of a timber frame, i.e., wall). No nails or screws are used in timber frame construction, rather the joints (cut with a framing chisel and mallet) hold the timbers together.
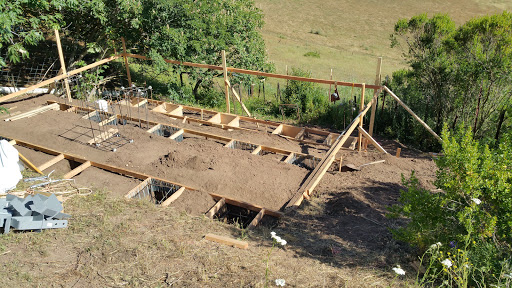
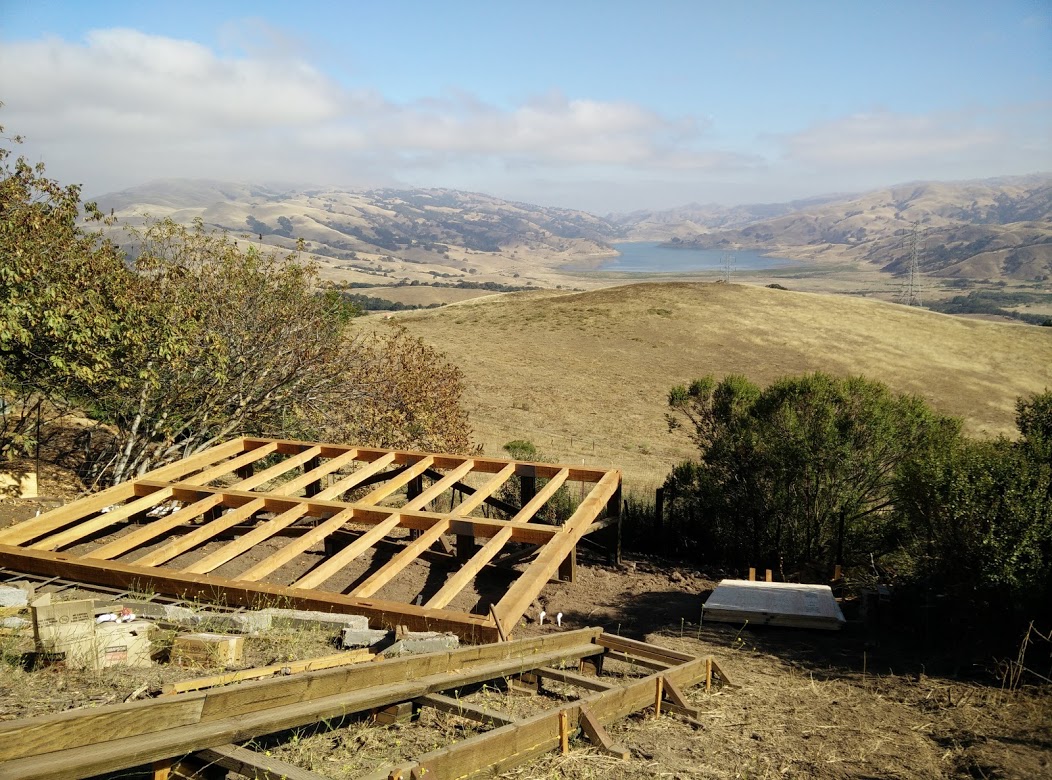
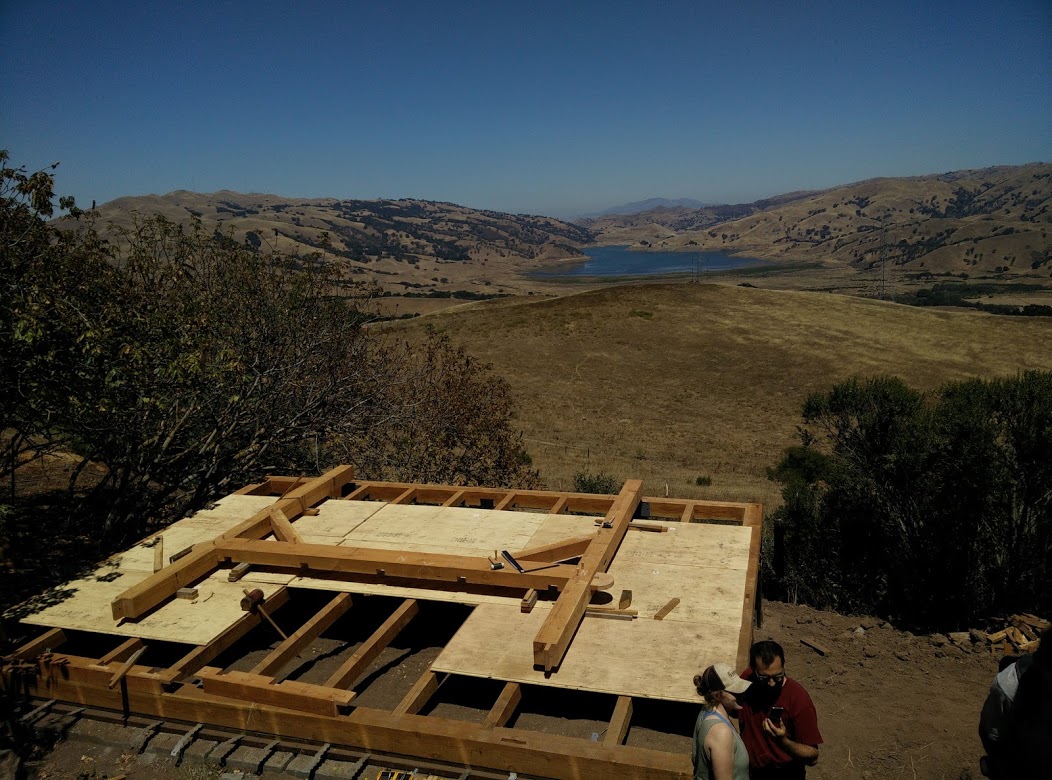
Floor system: sills and joists
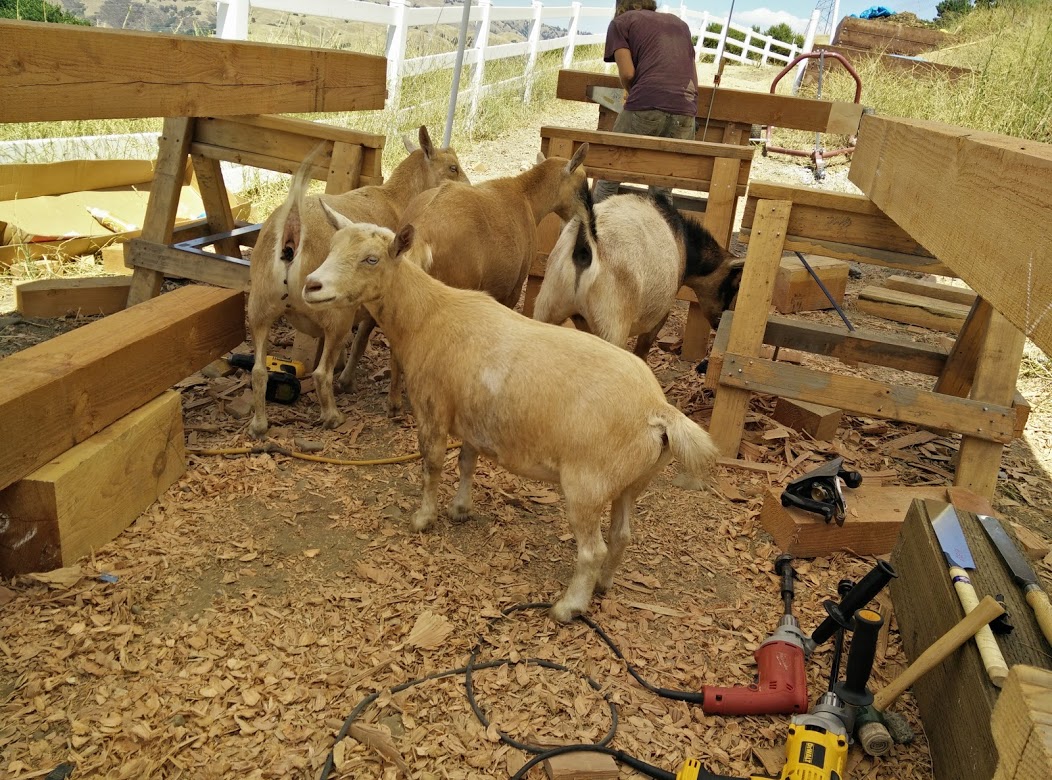
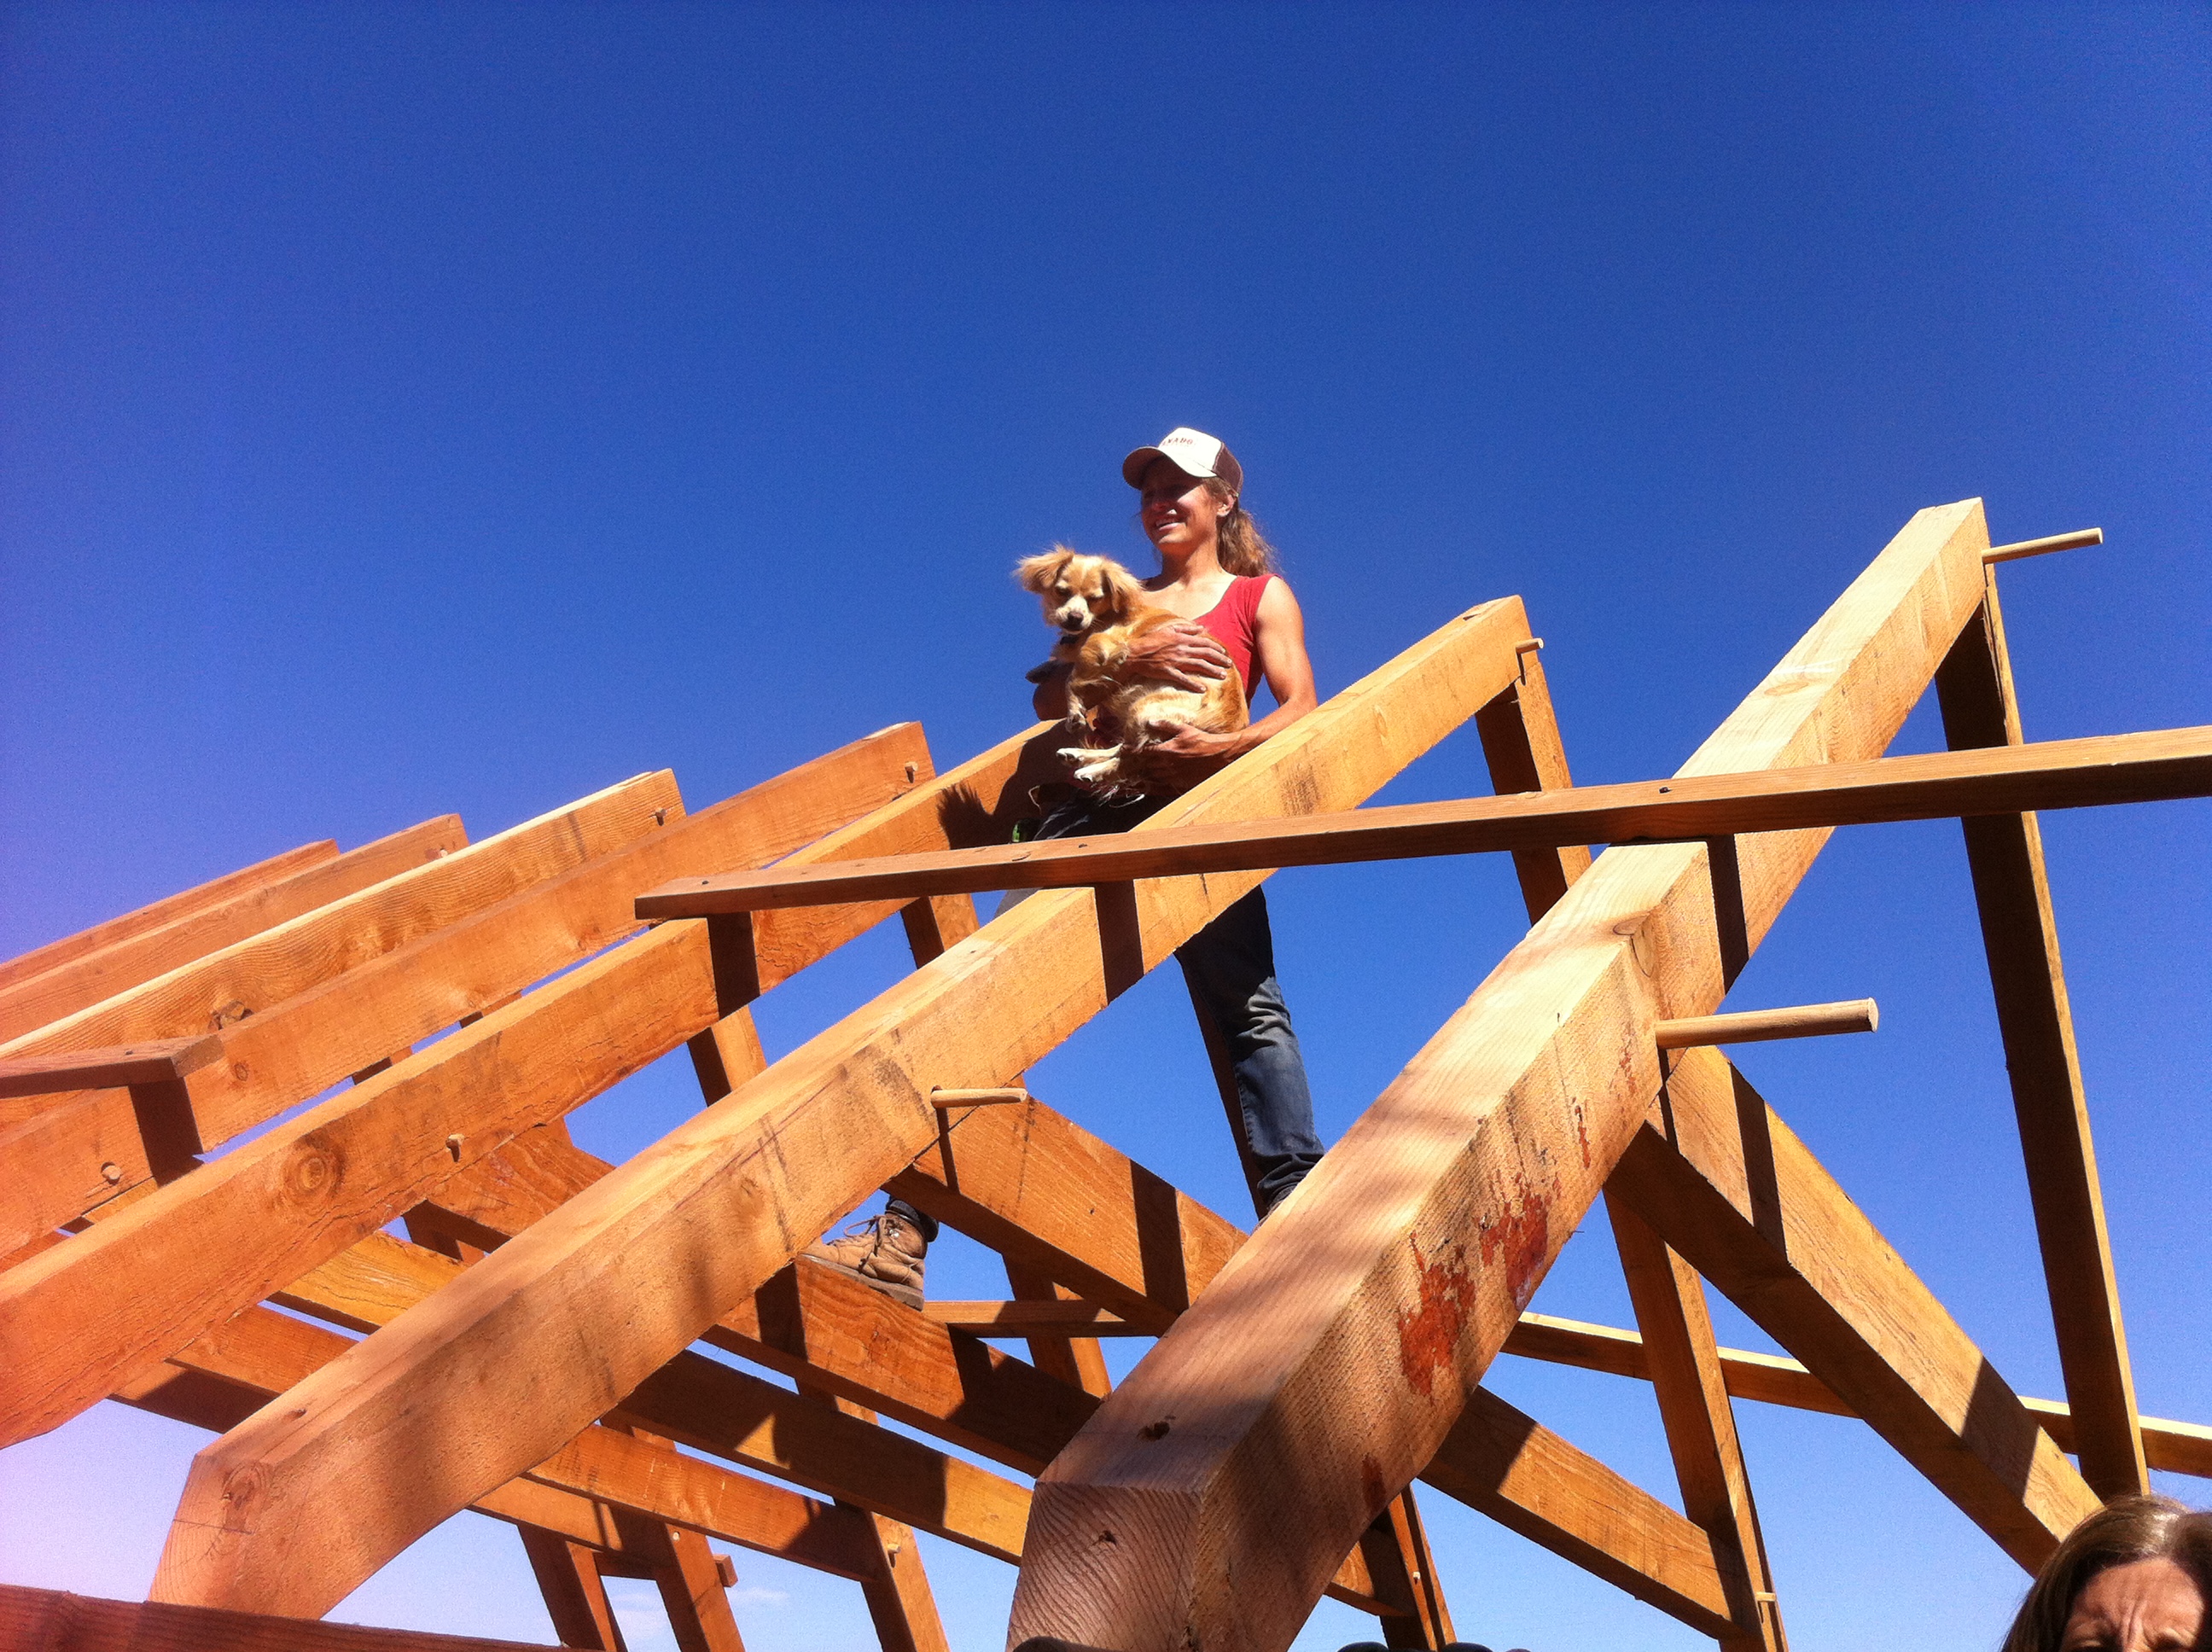
In addition to friends coming and going, the animals keep me company:
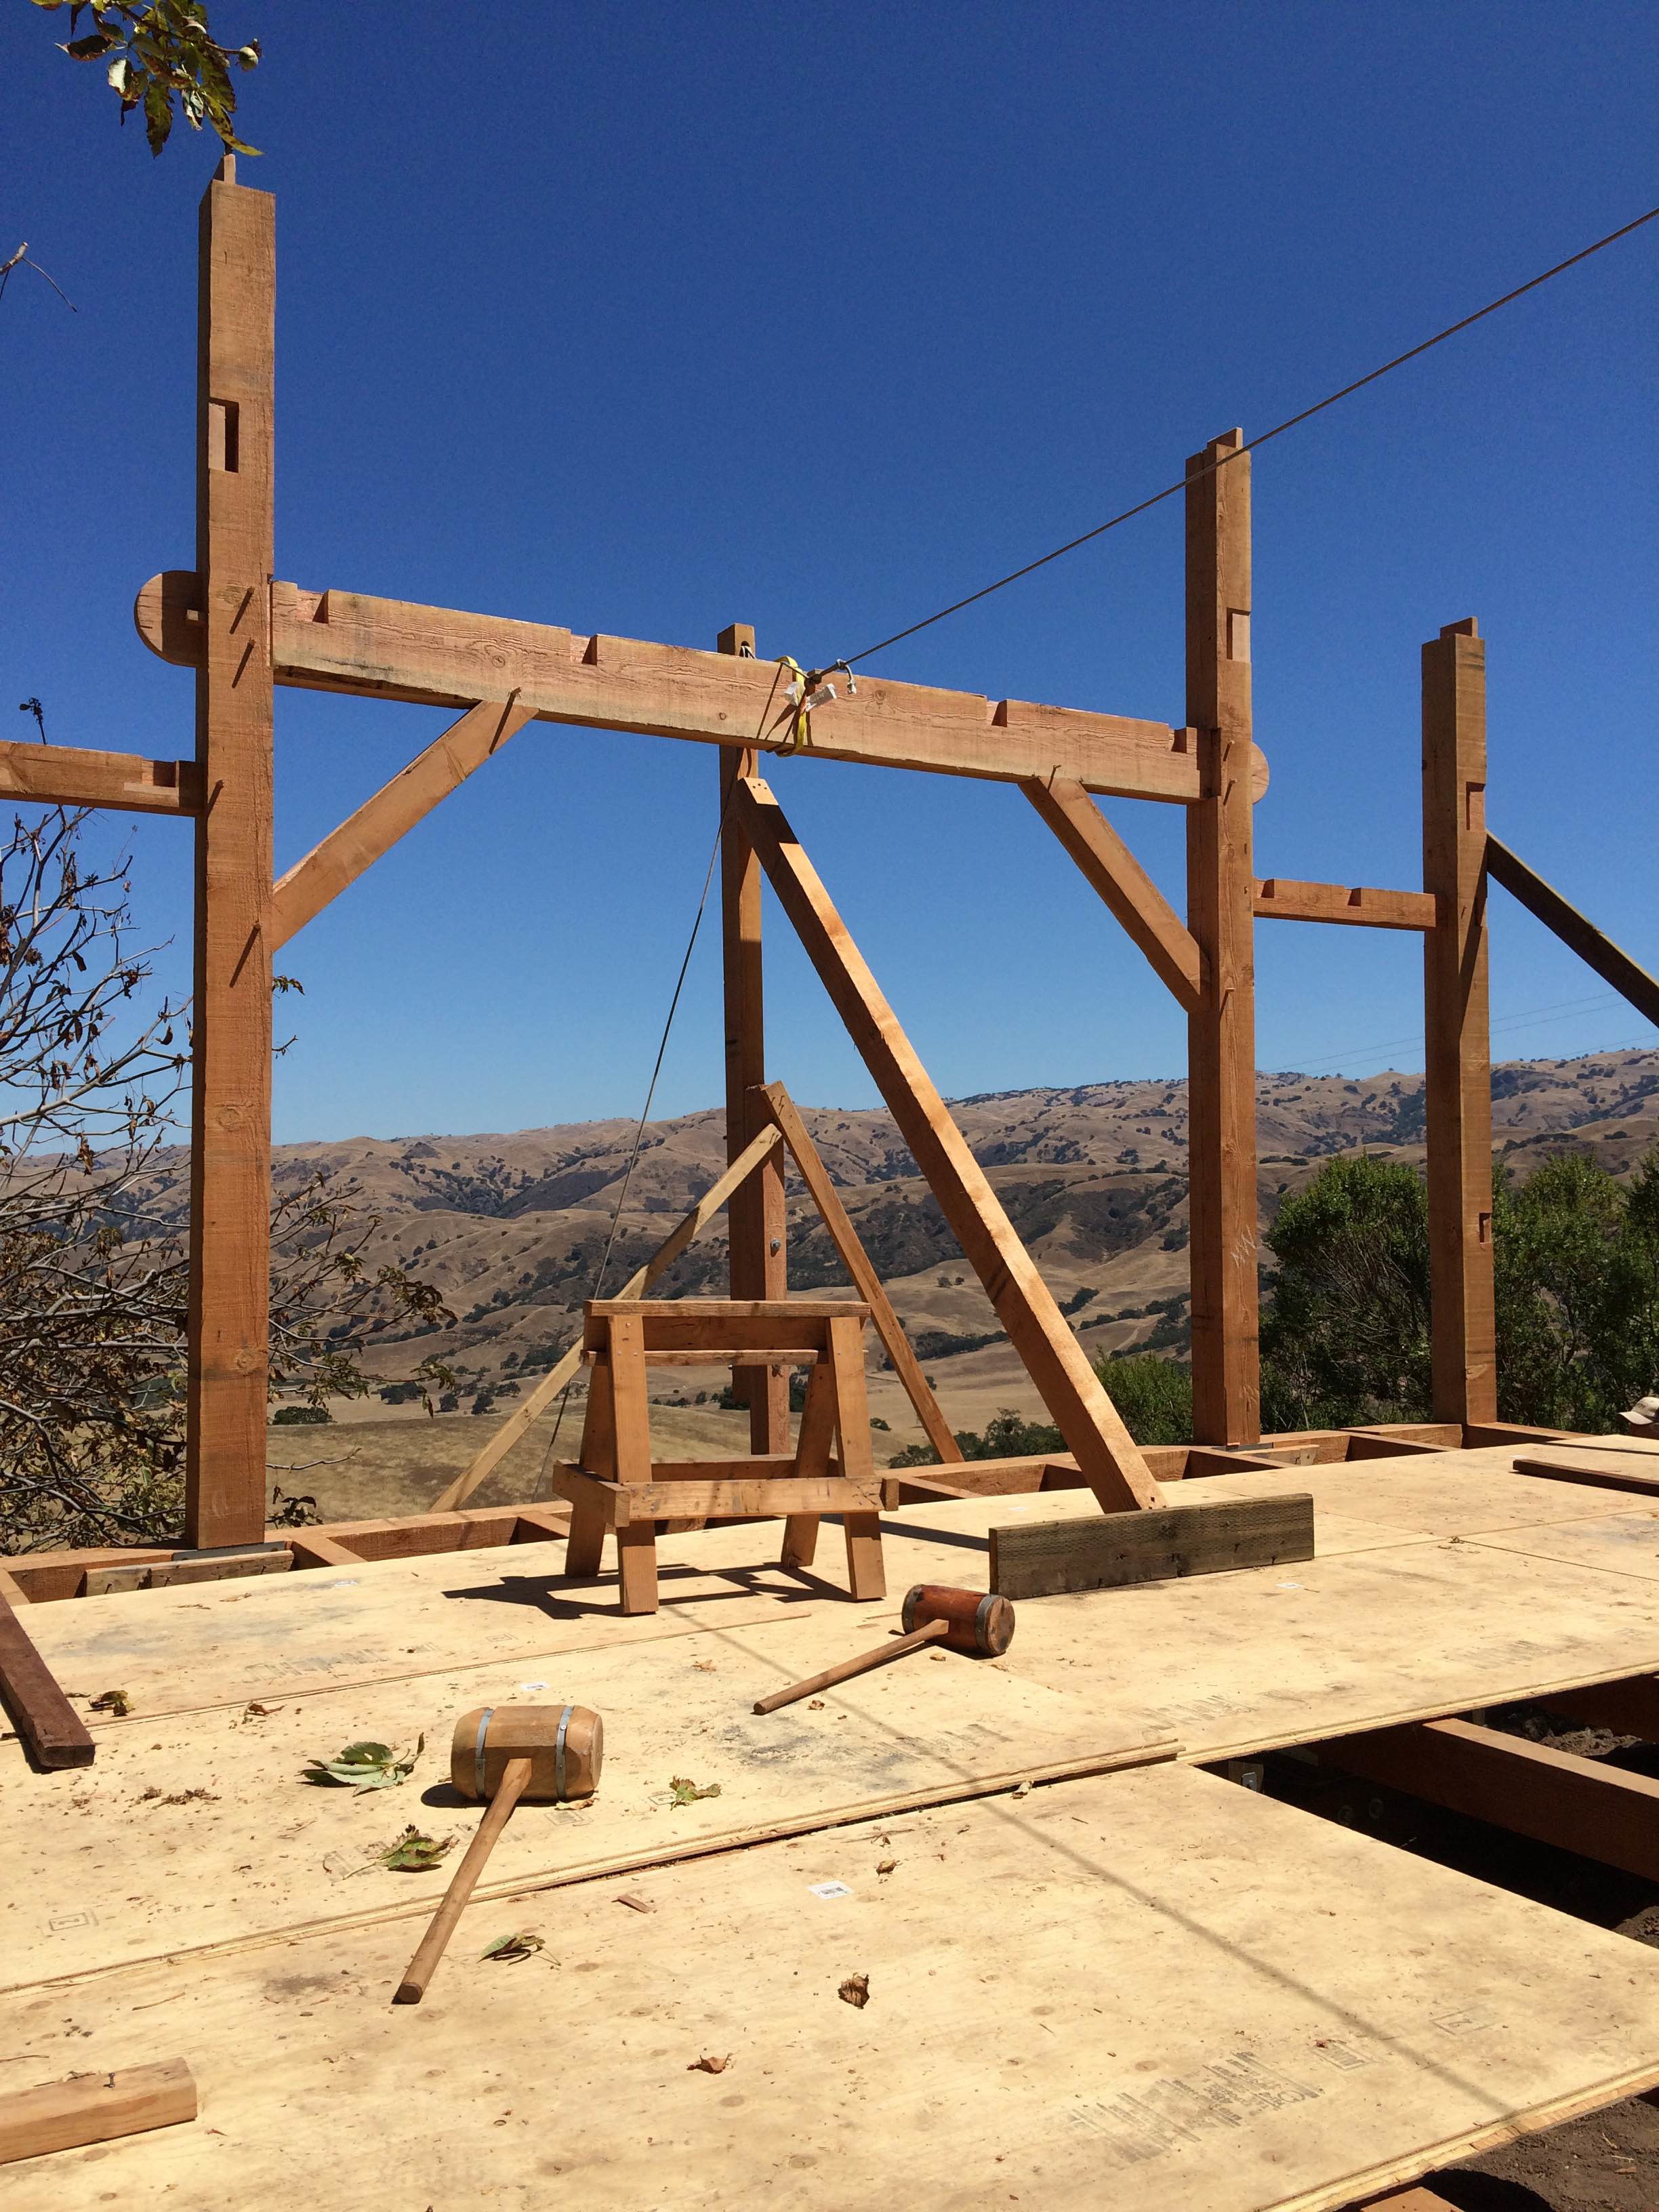
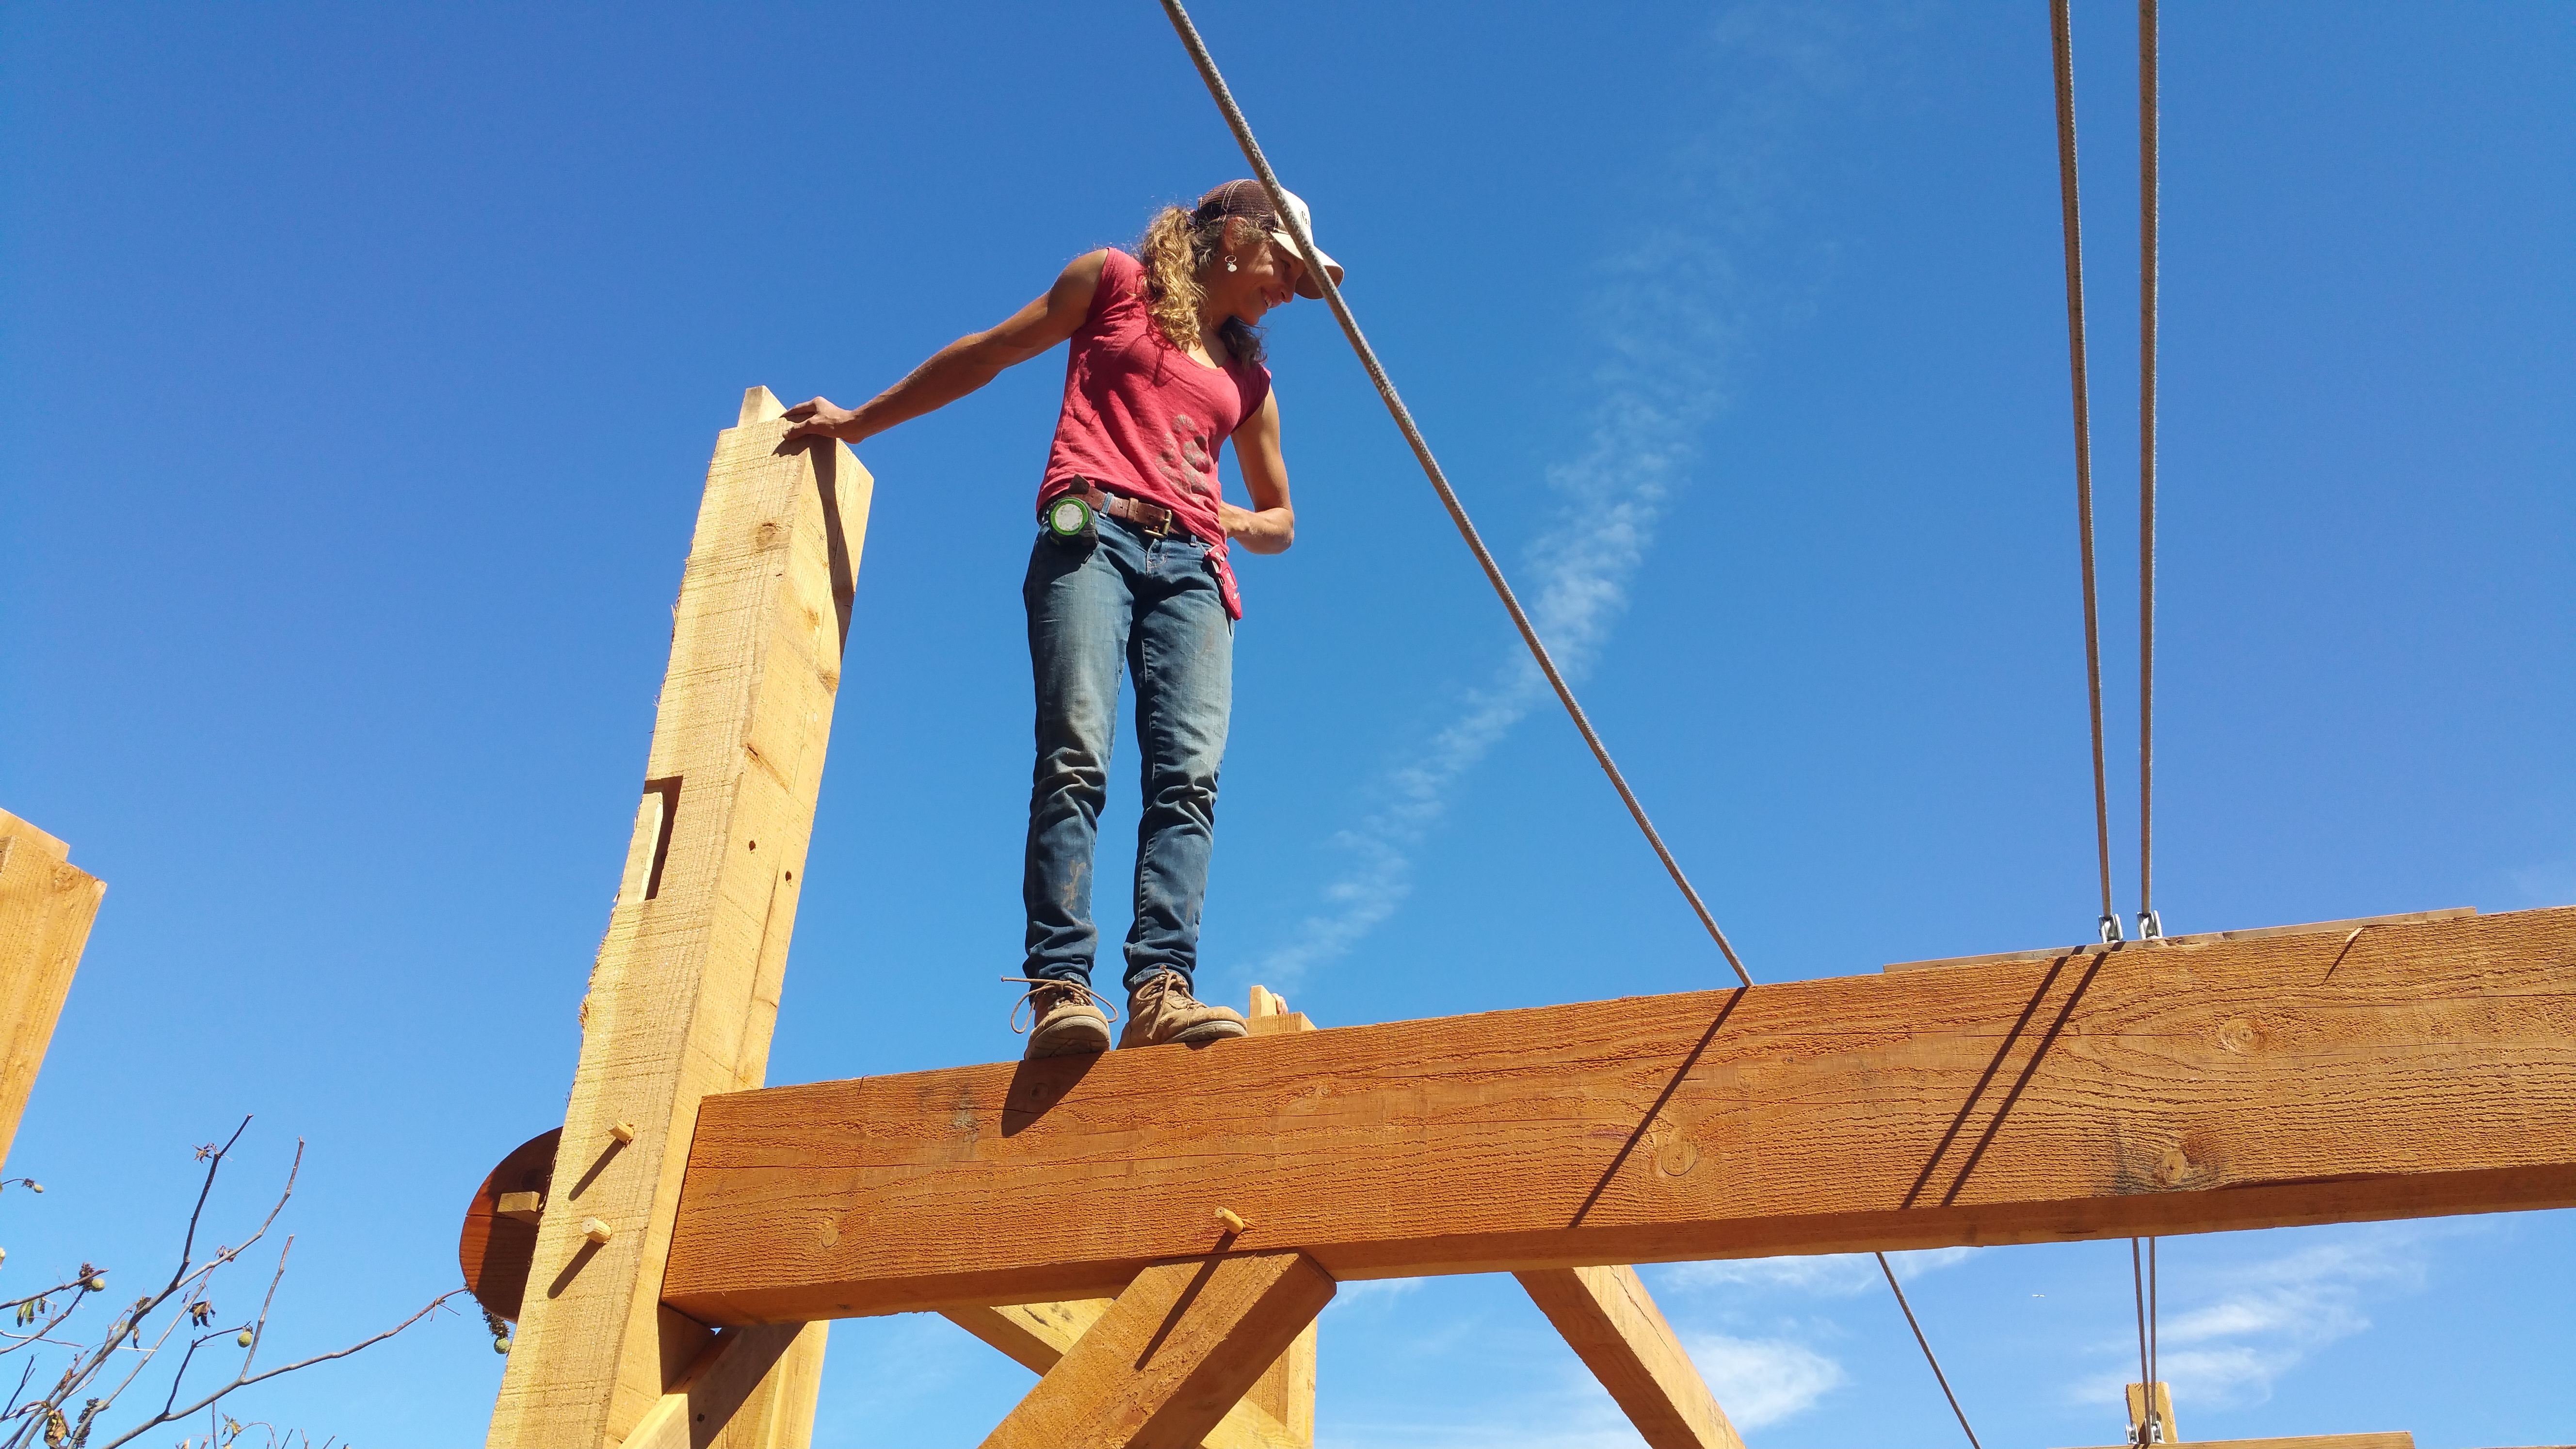
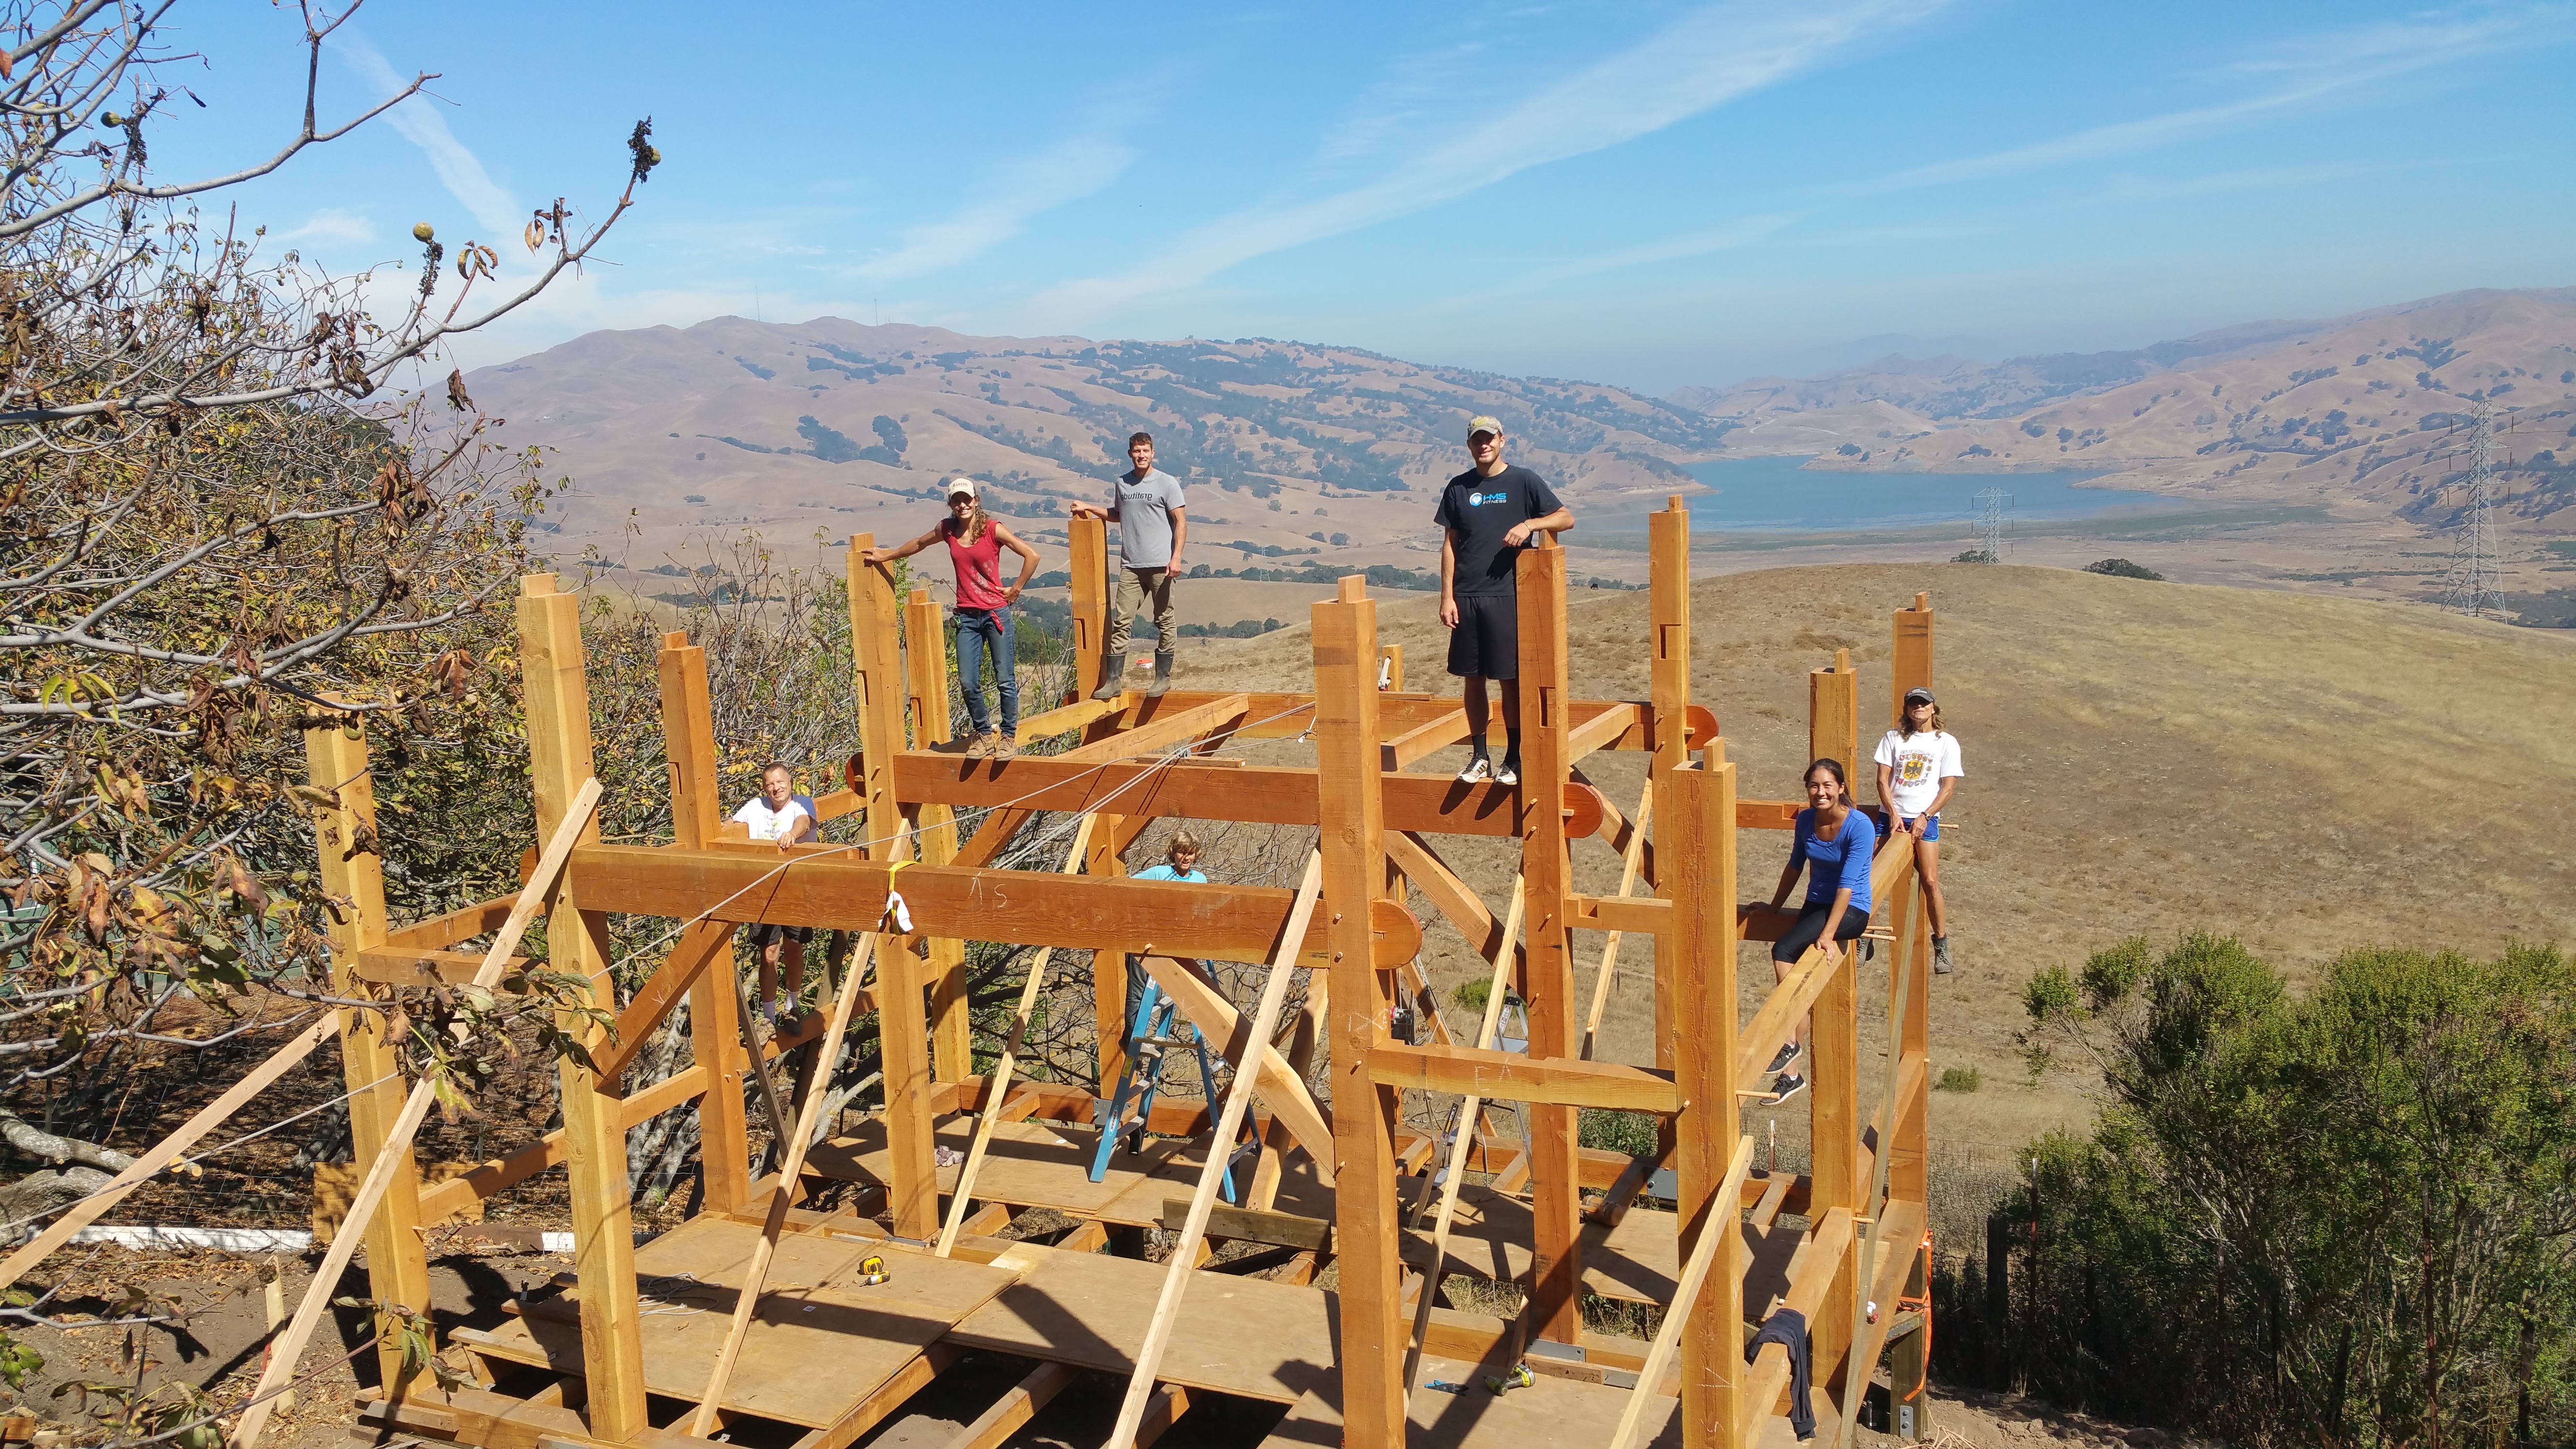
The first bent went up late July. Each bent weighs roughly a ton and was raised with the help of a gas powered winch (attached to a gin pole) and 5-6 very patient friends and family members:
The second bent was raised the first week of August:
The third (and last) bent was raised the third week of August:
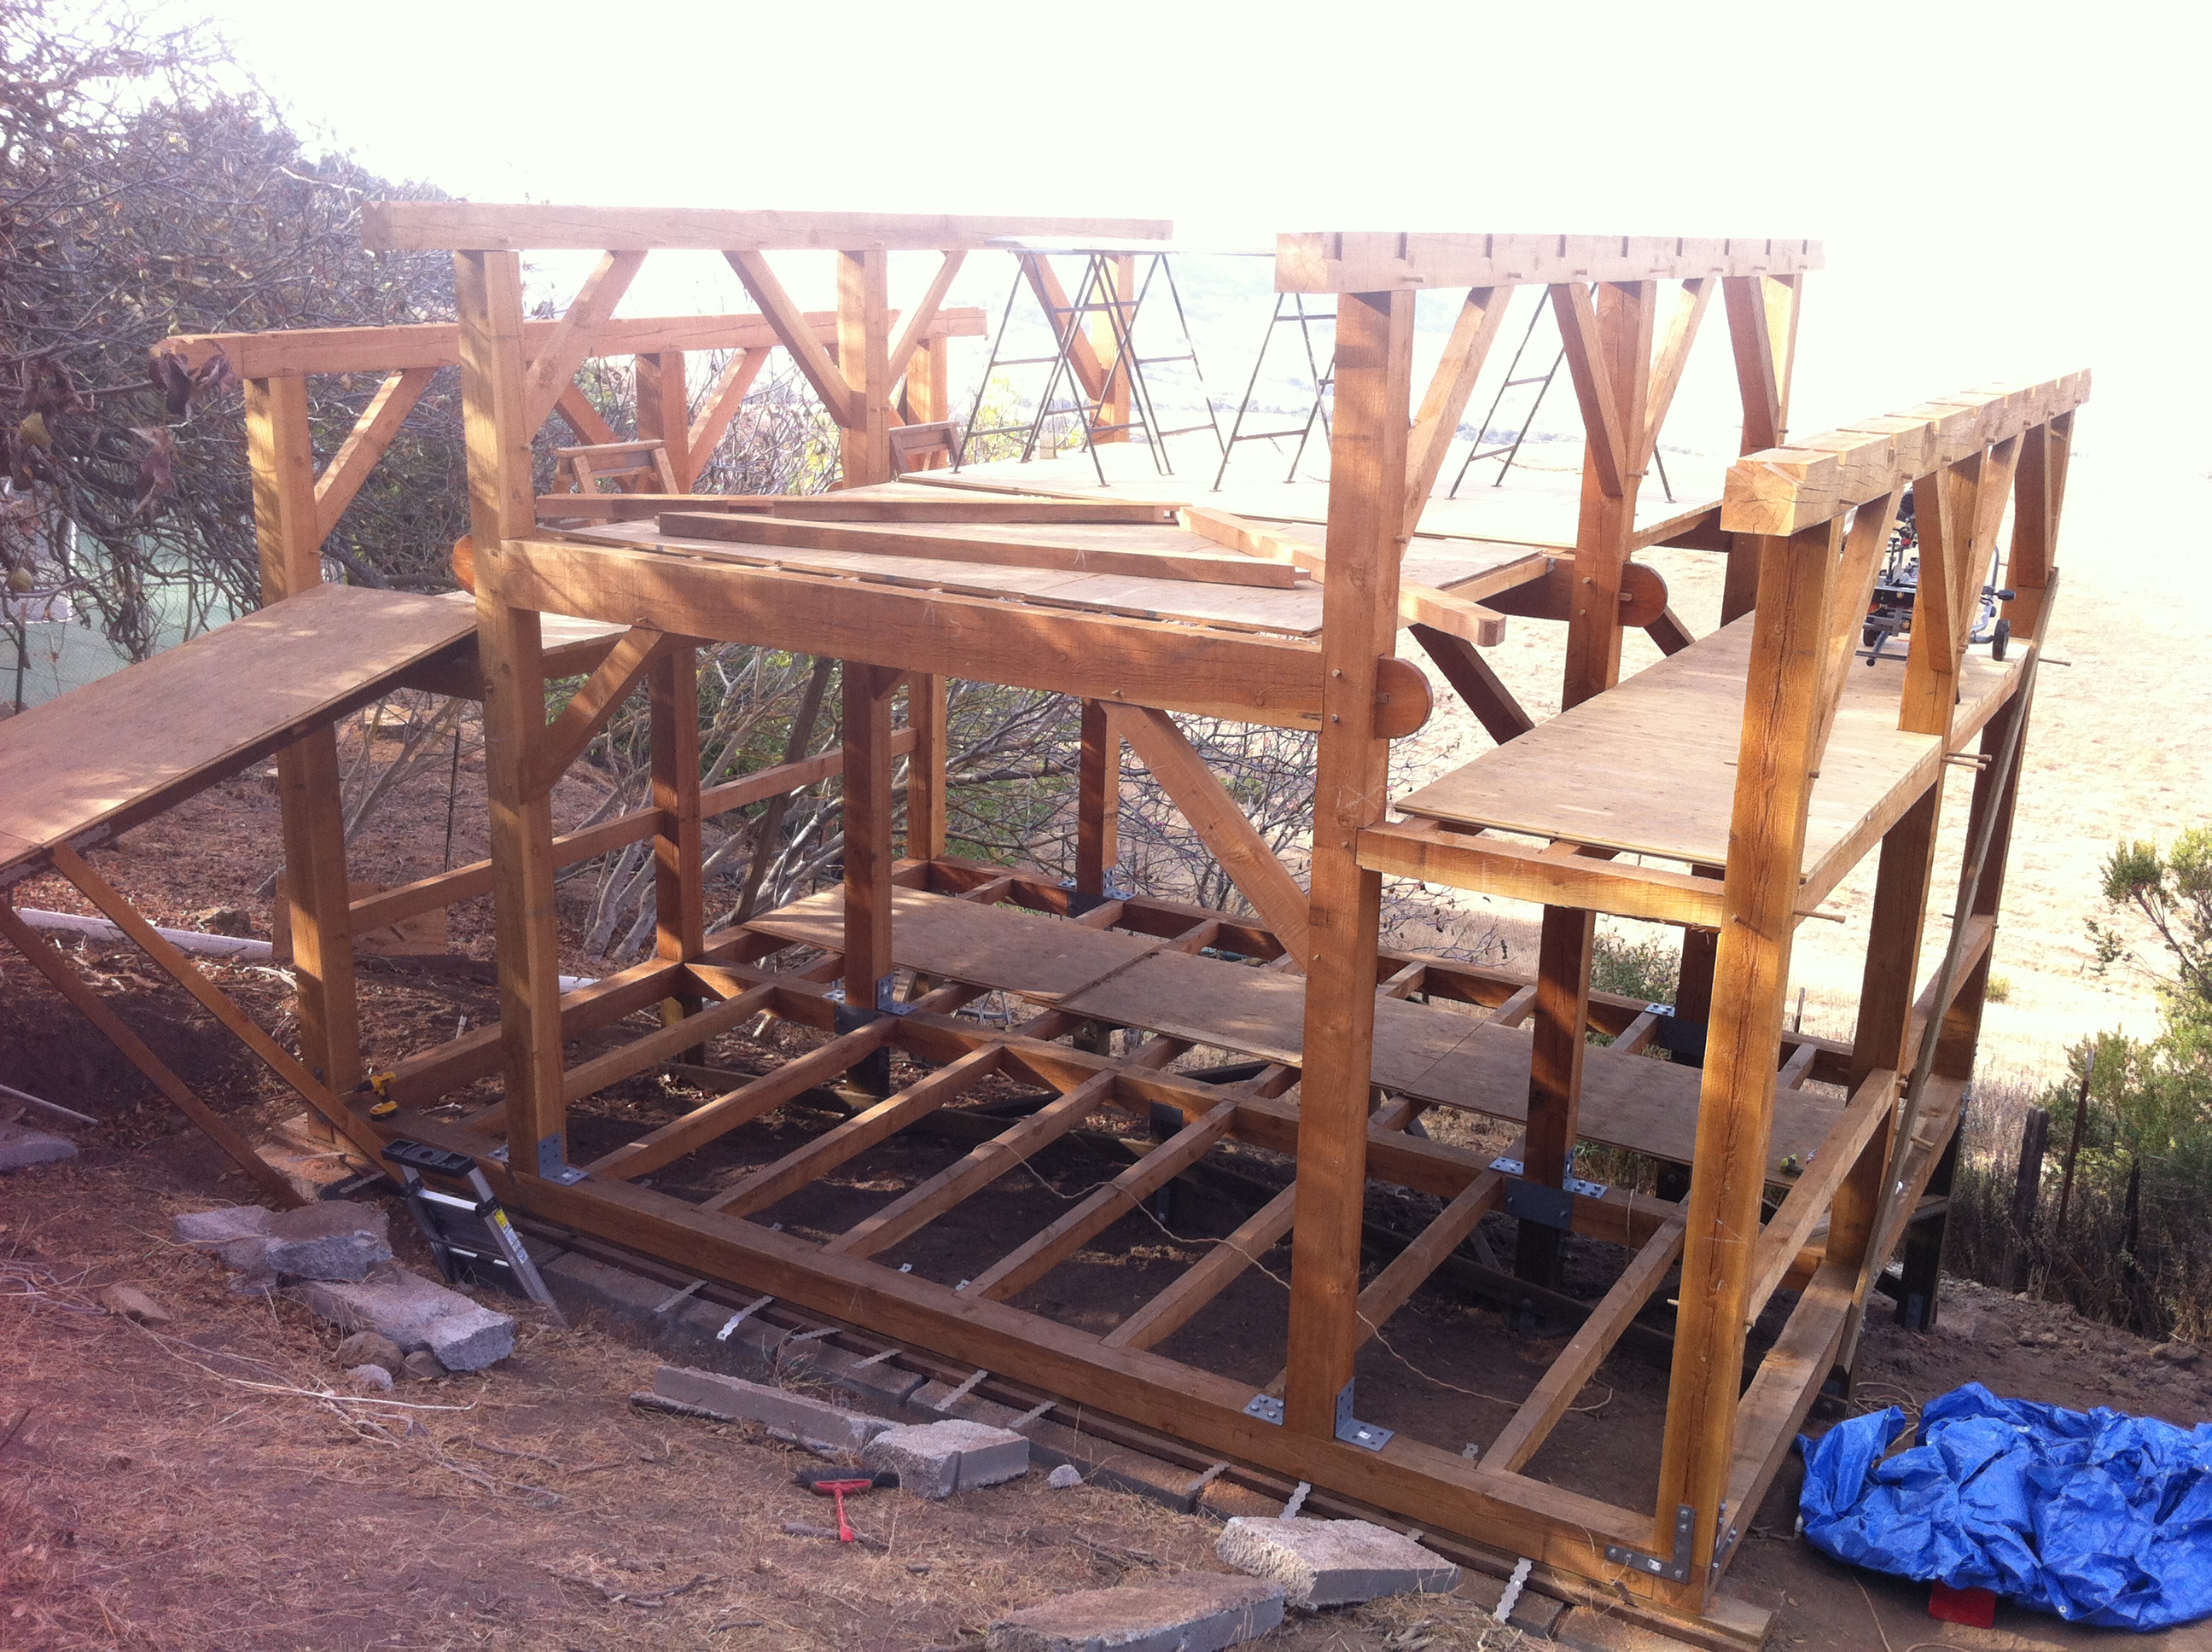
To raise the top plates, which lock all the bents together, I first decked out the mezzanine and loft:
The top plates were raised in late August, mid-Septmeber:
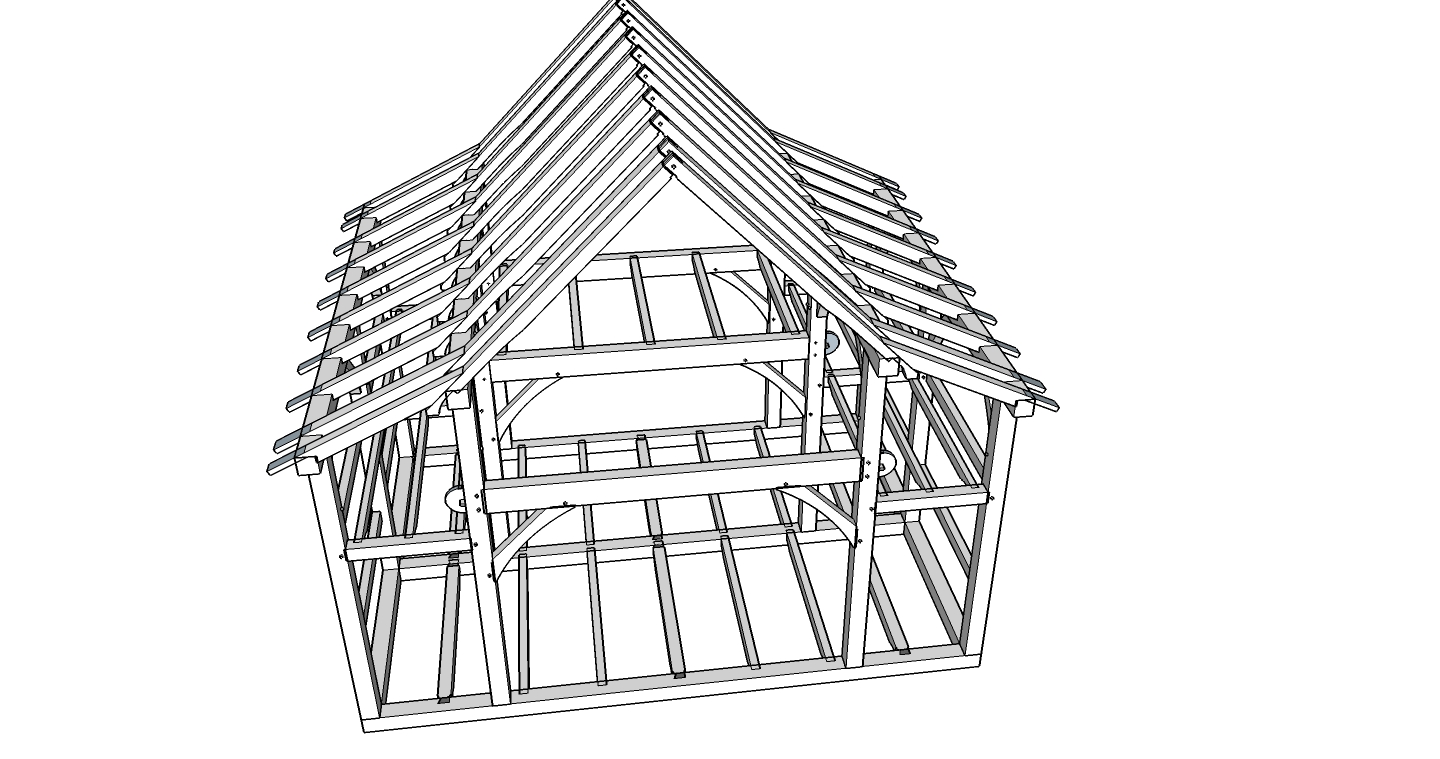
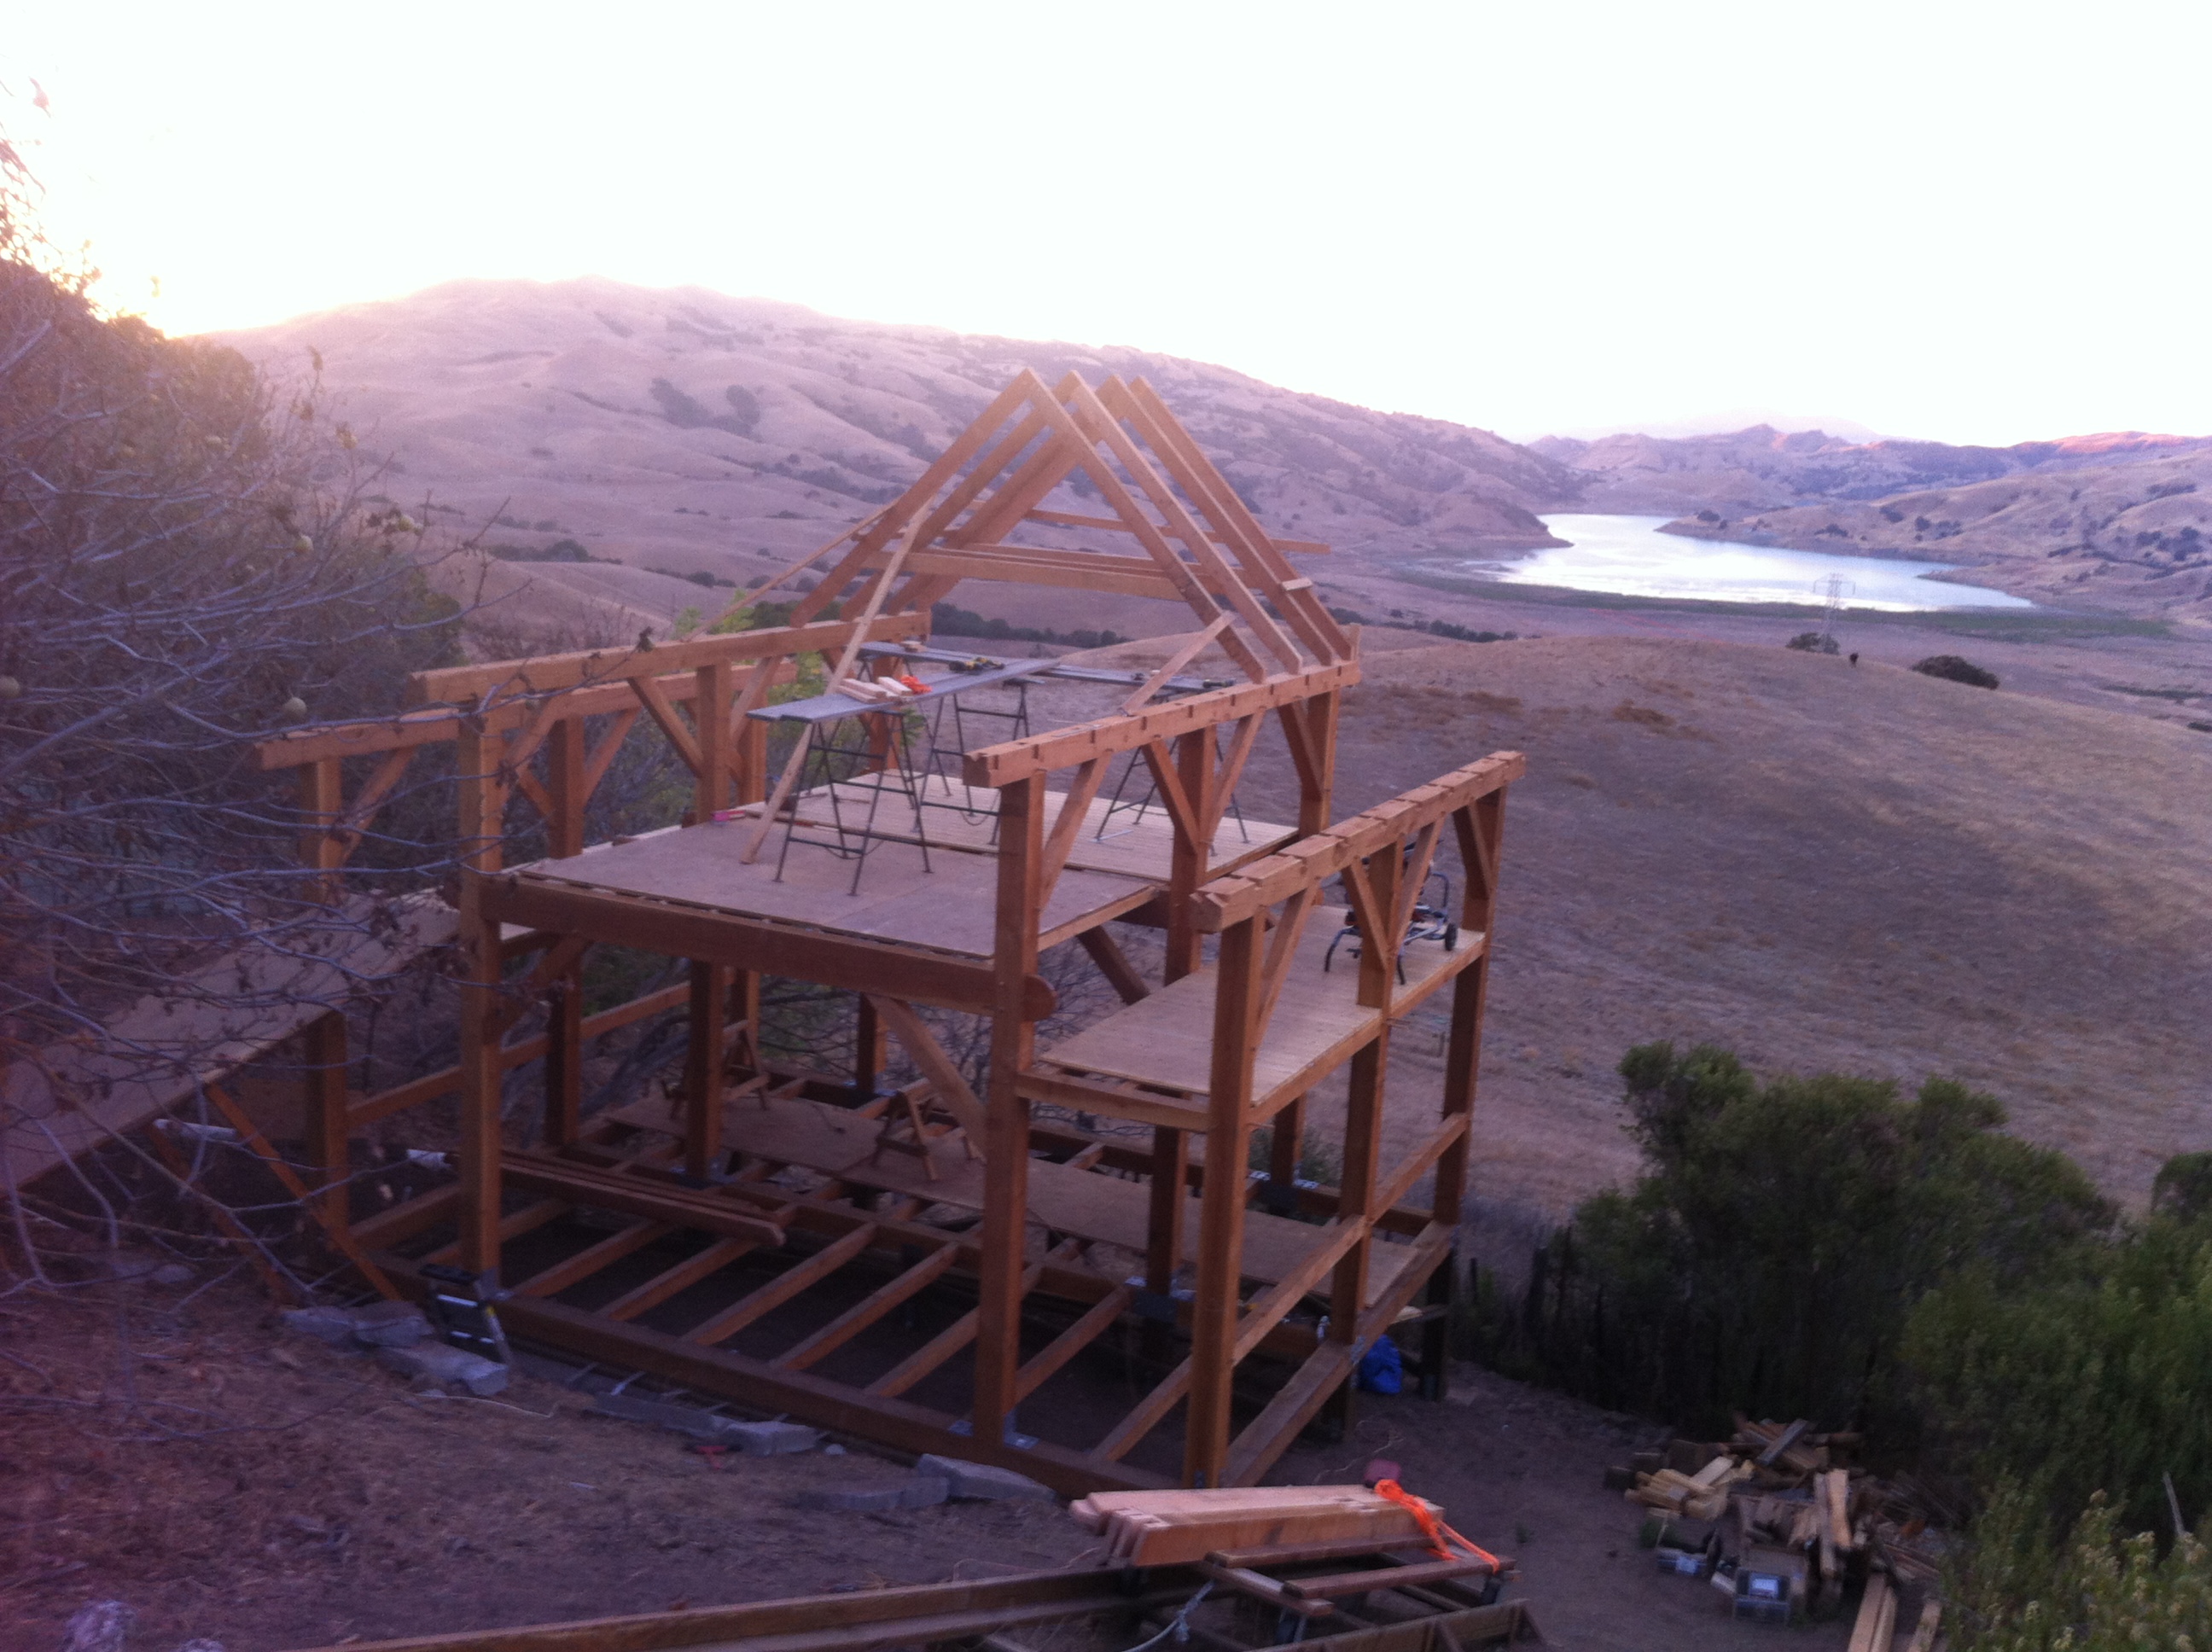
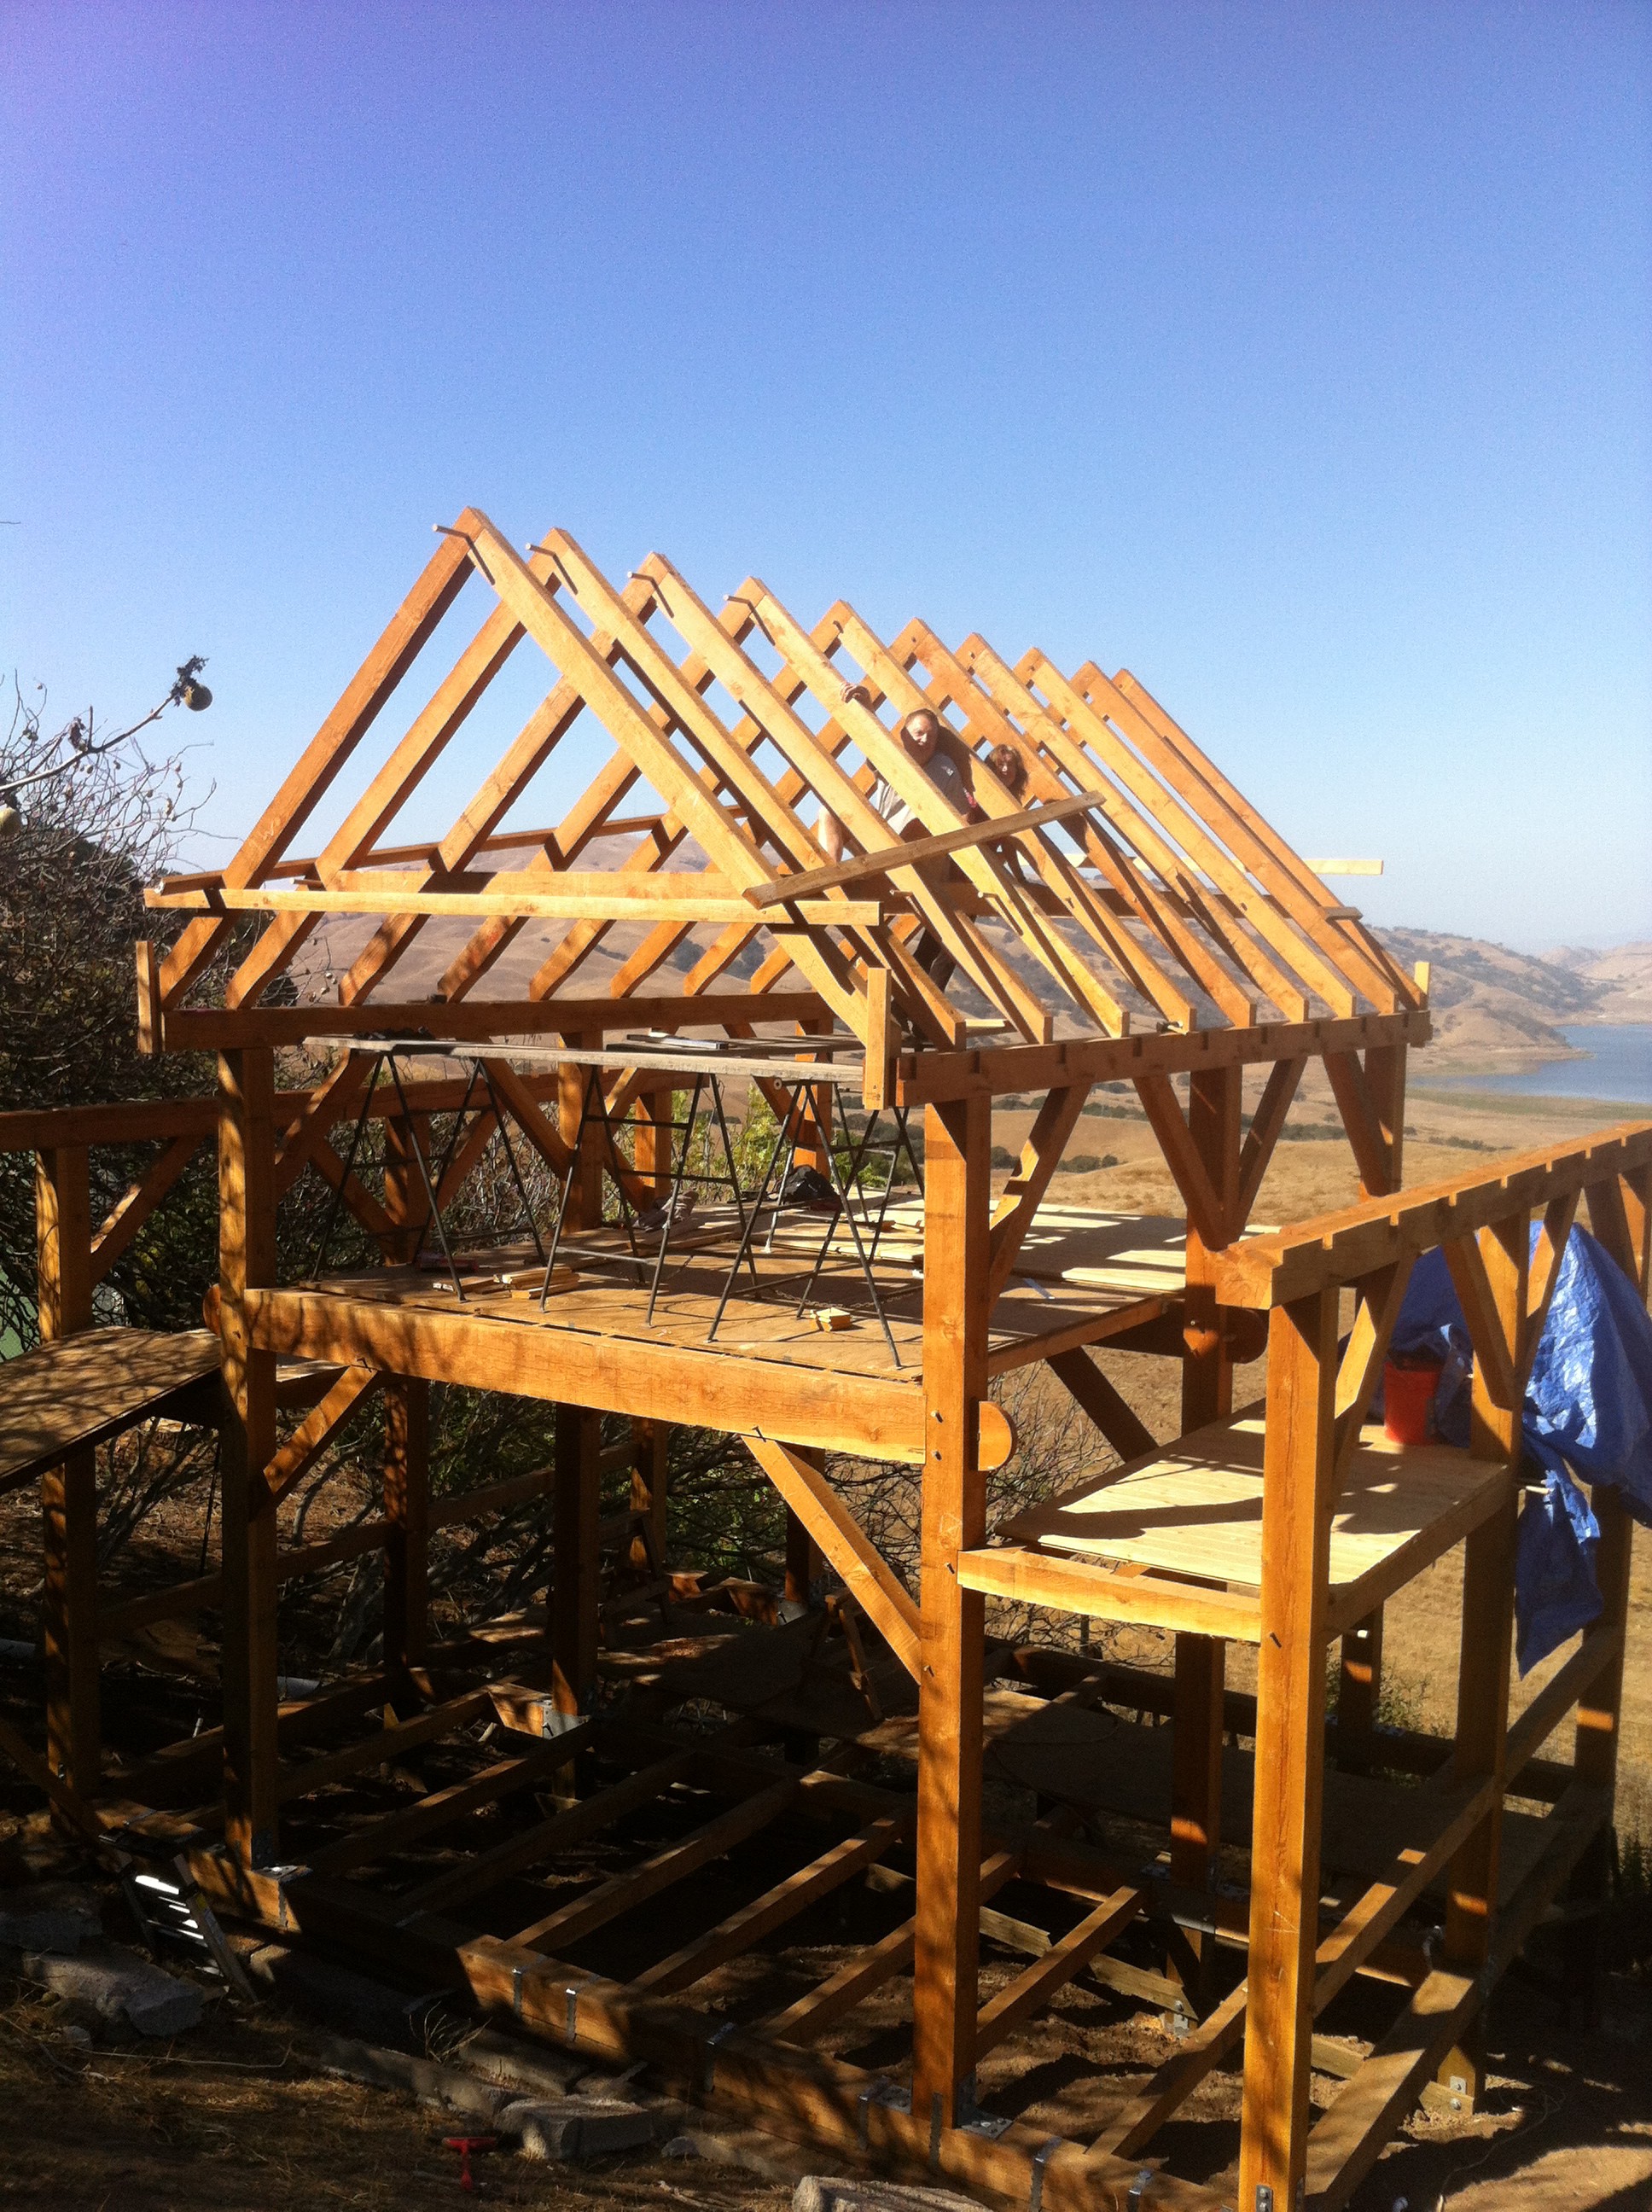
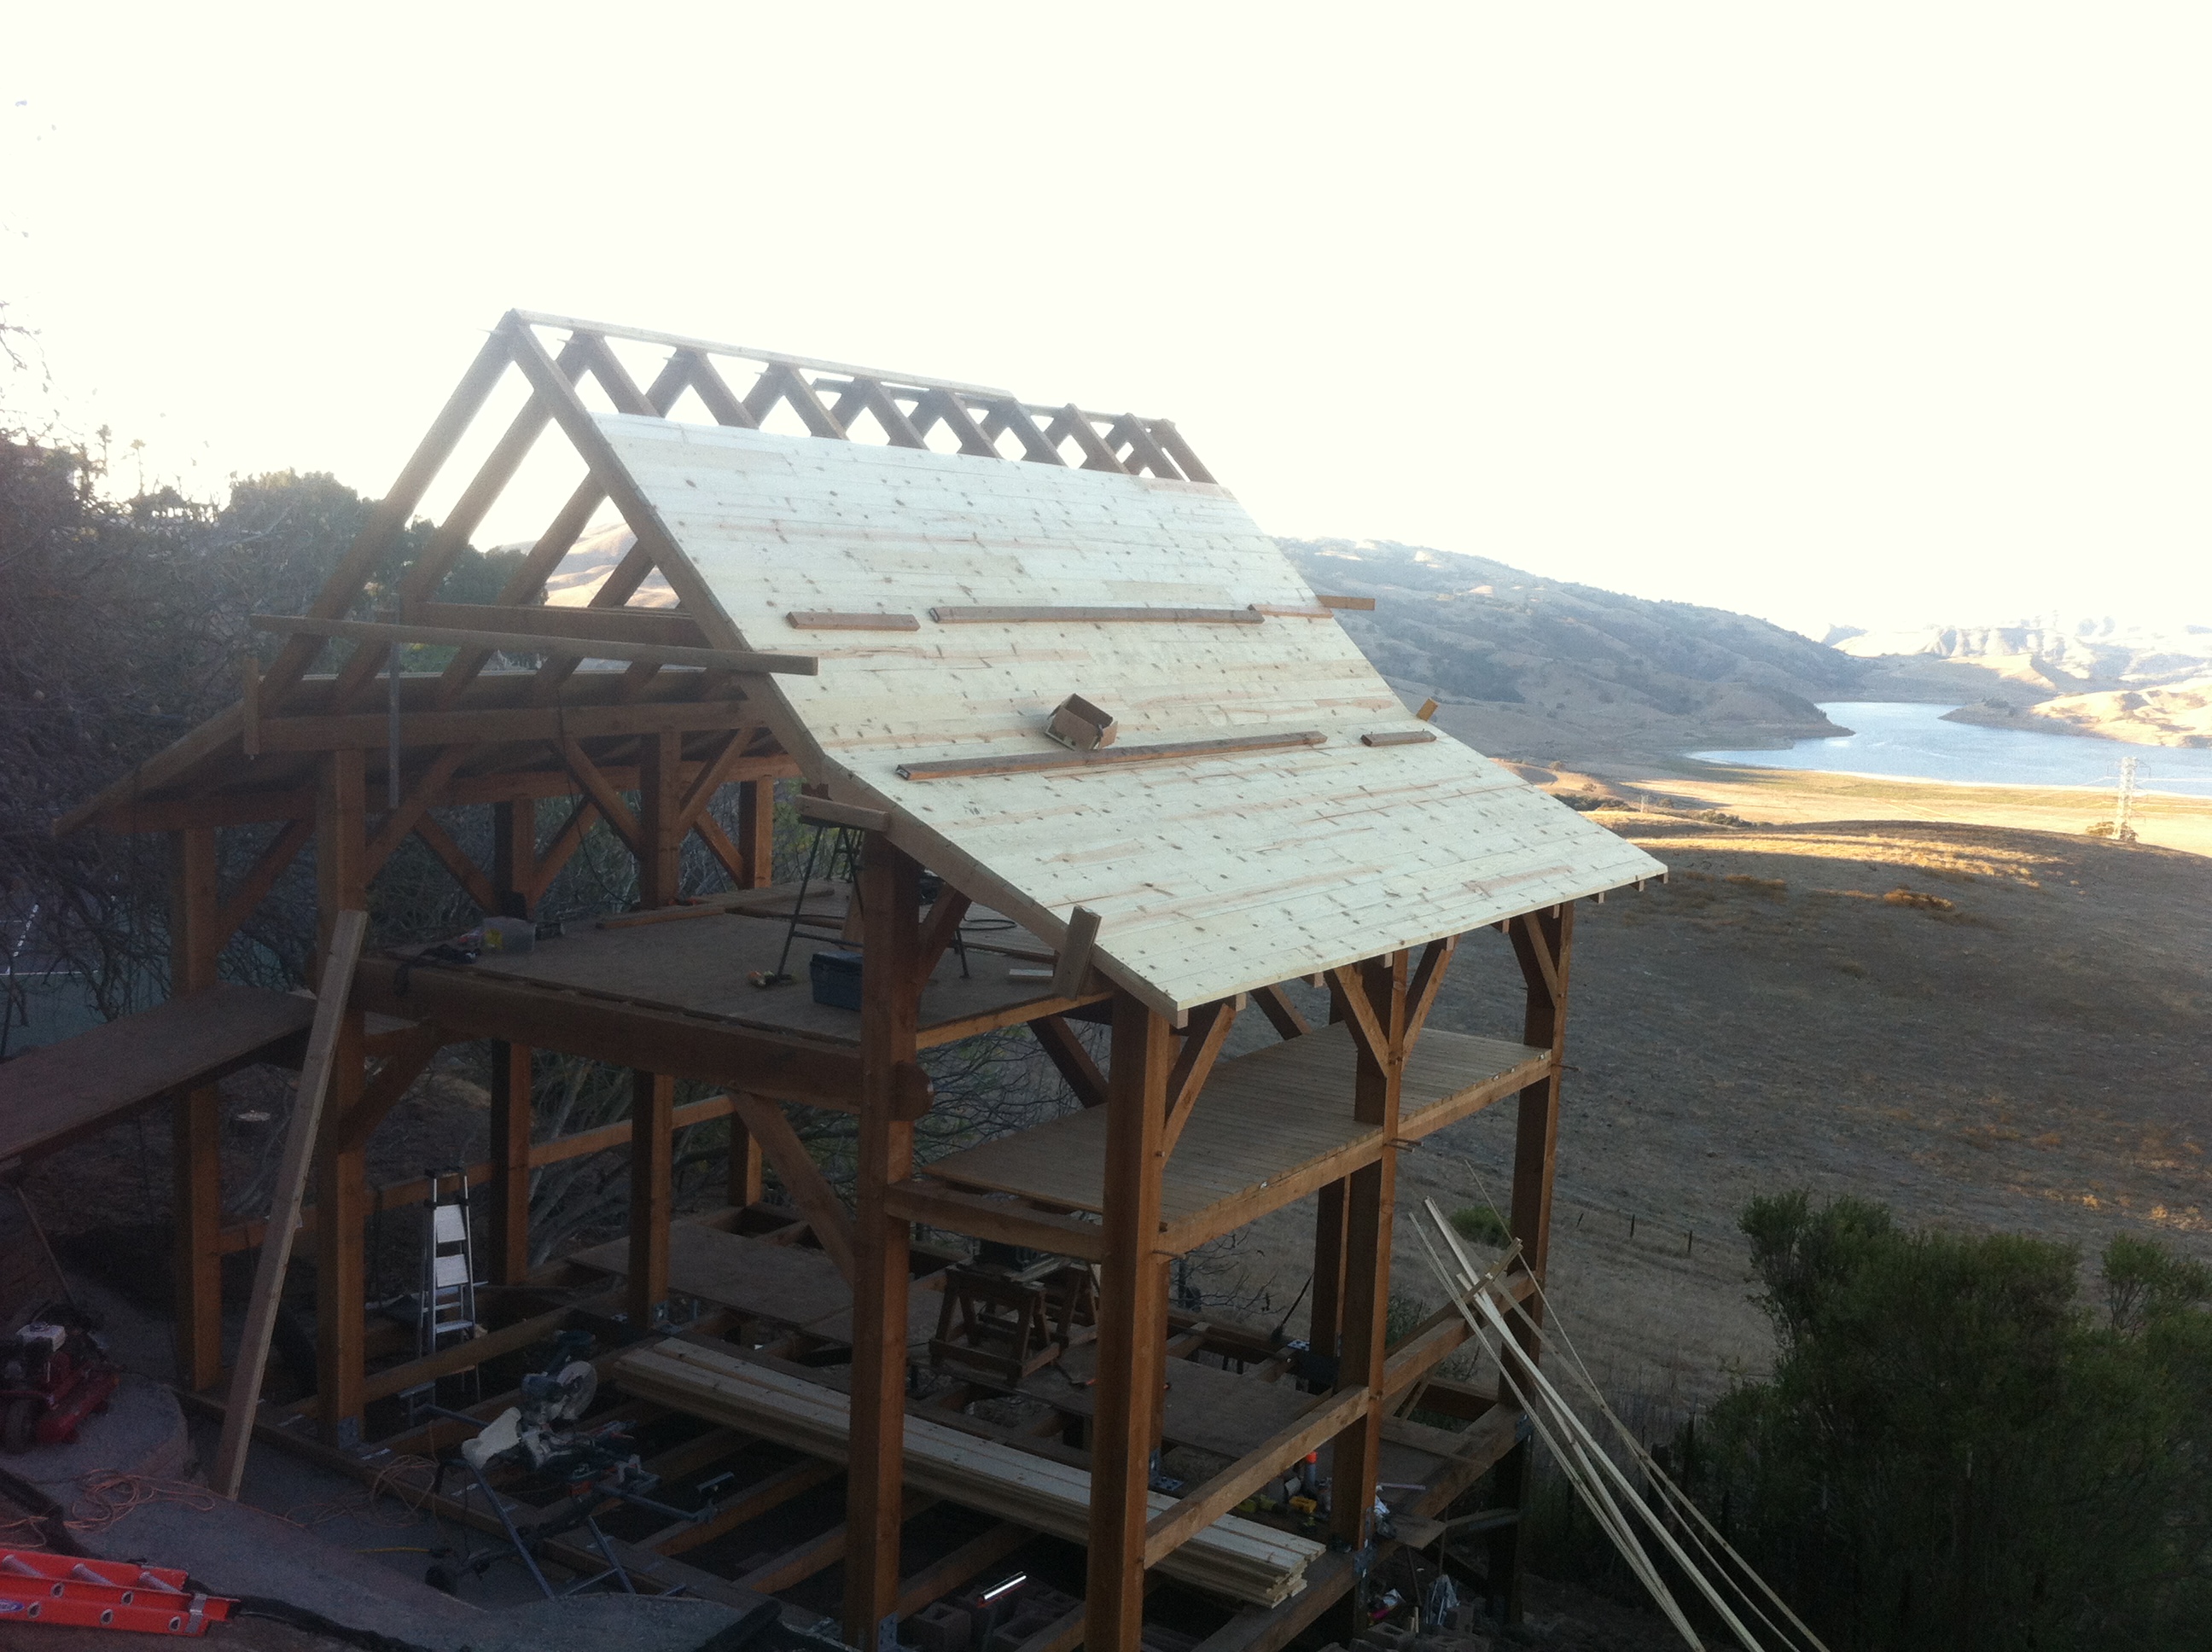
The full frame (minus the rafters):
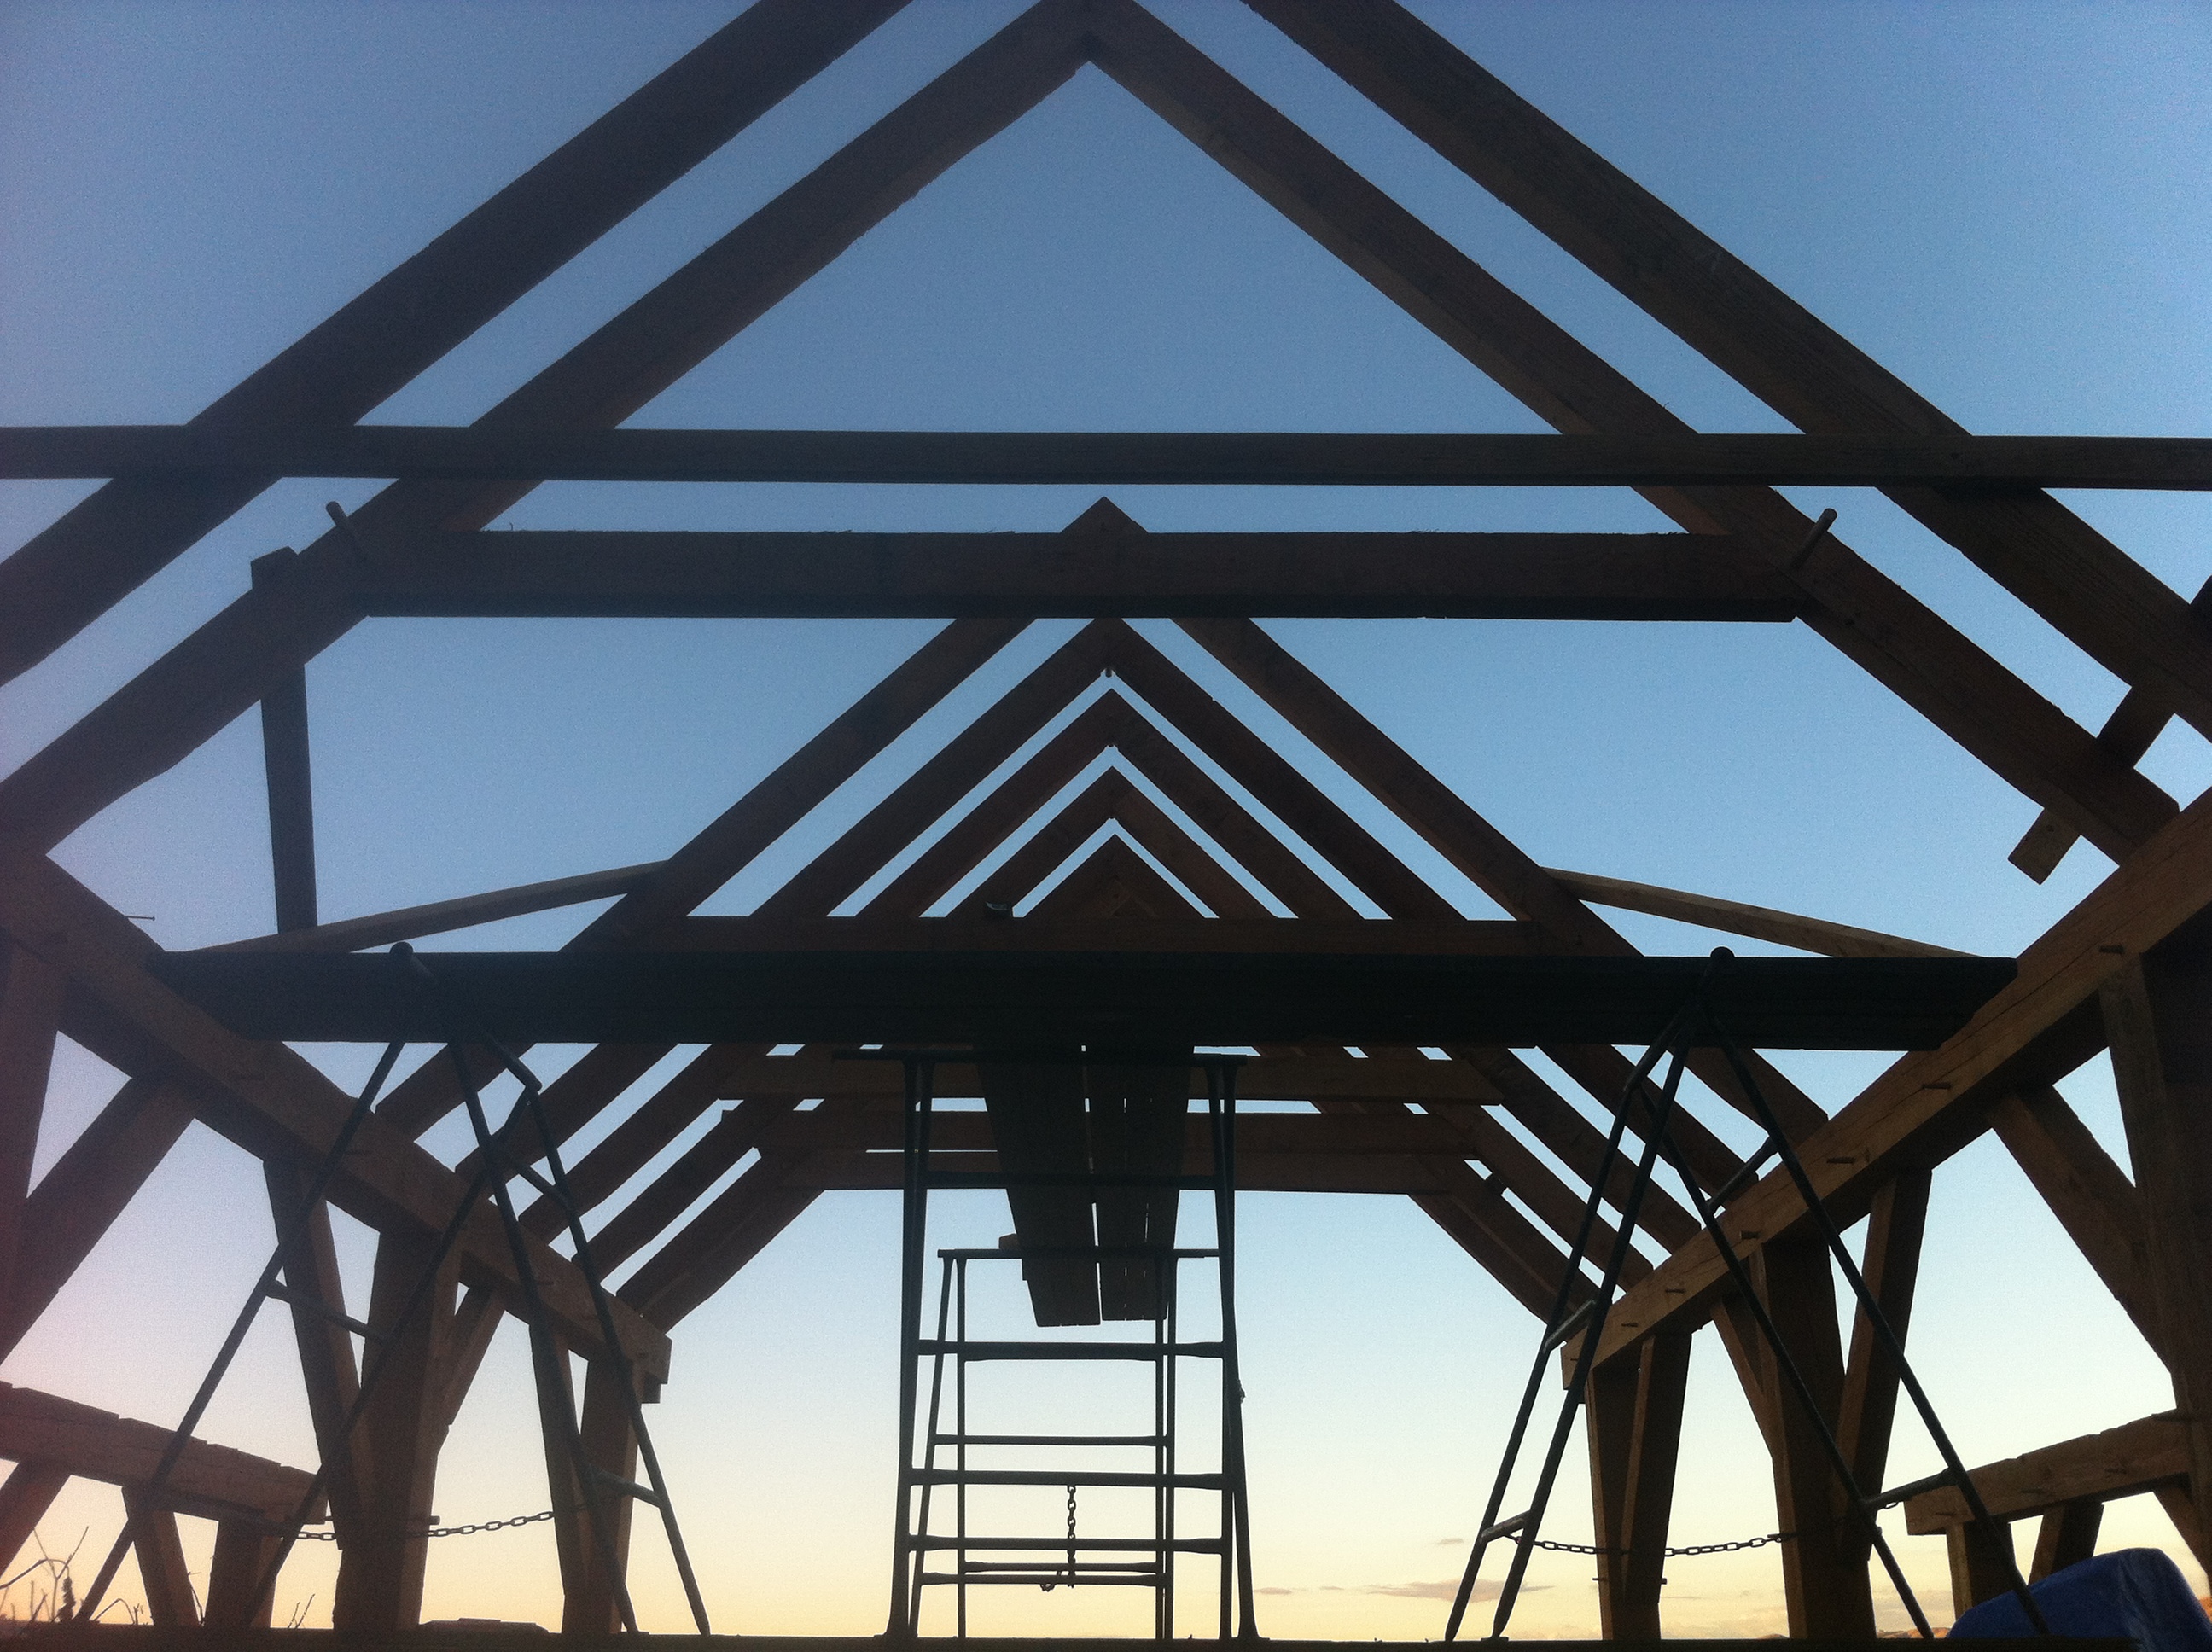
The first few rafters were assembled in late August:
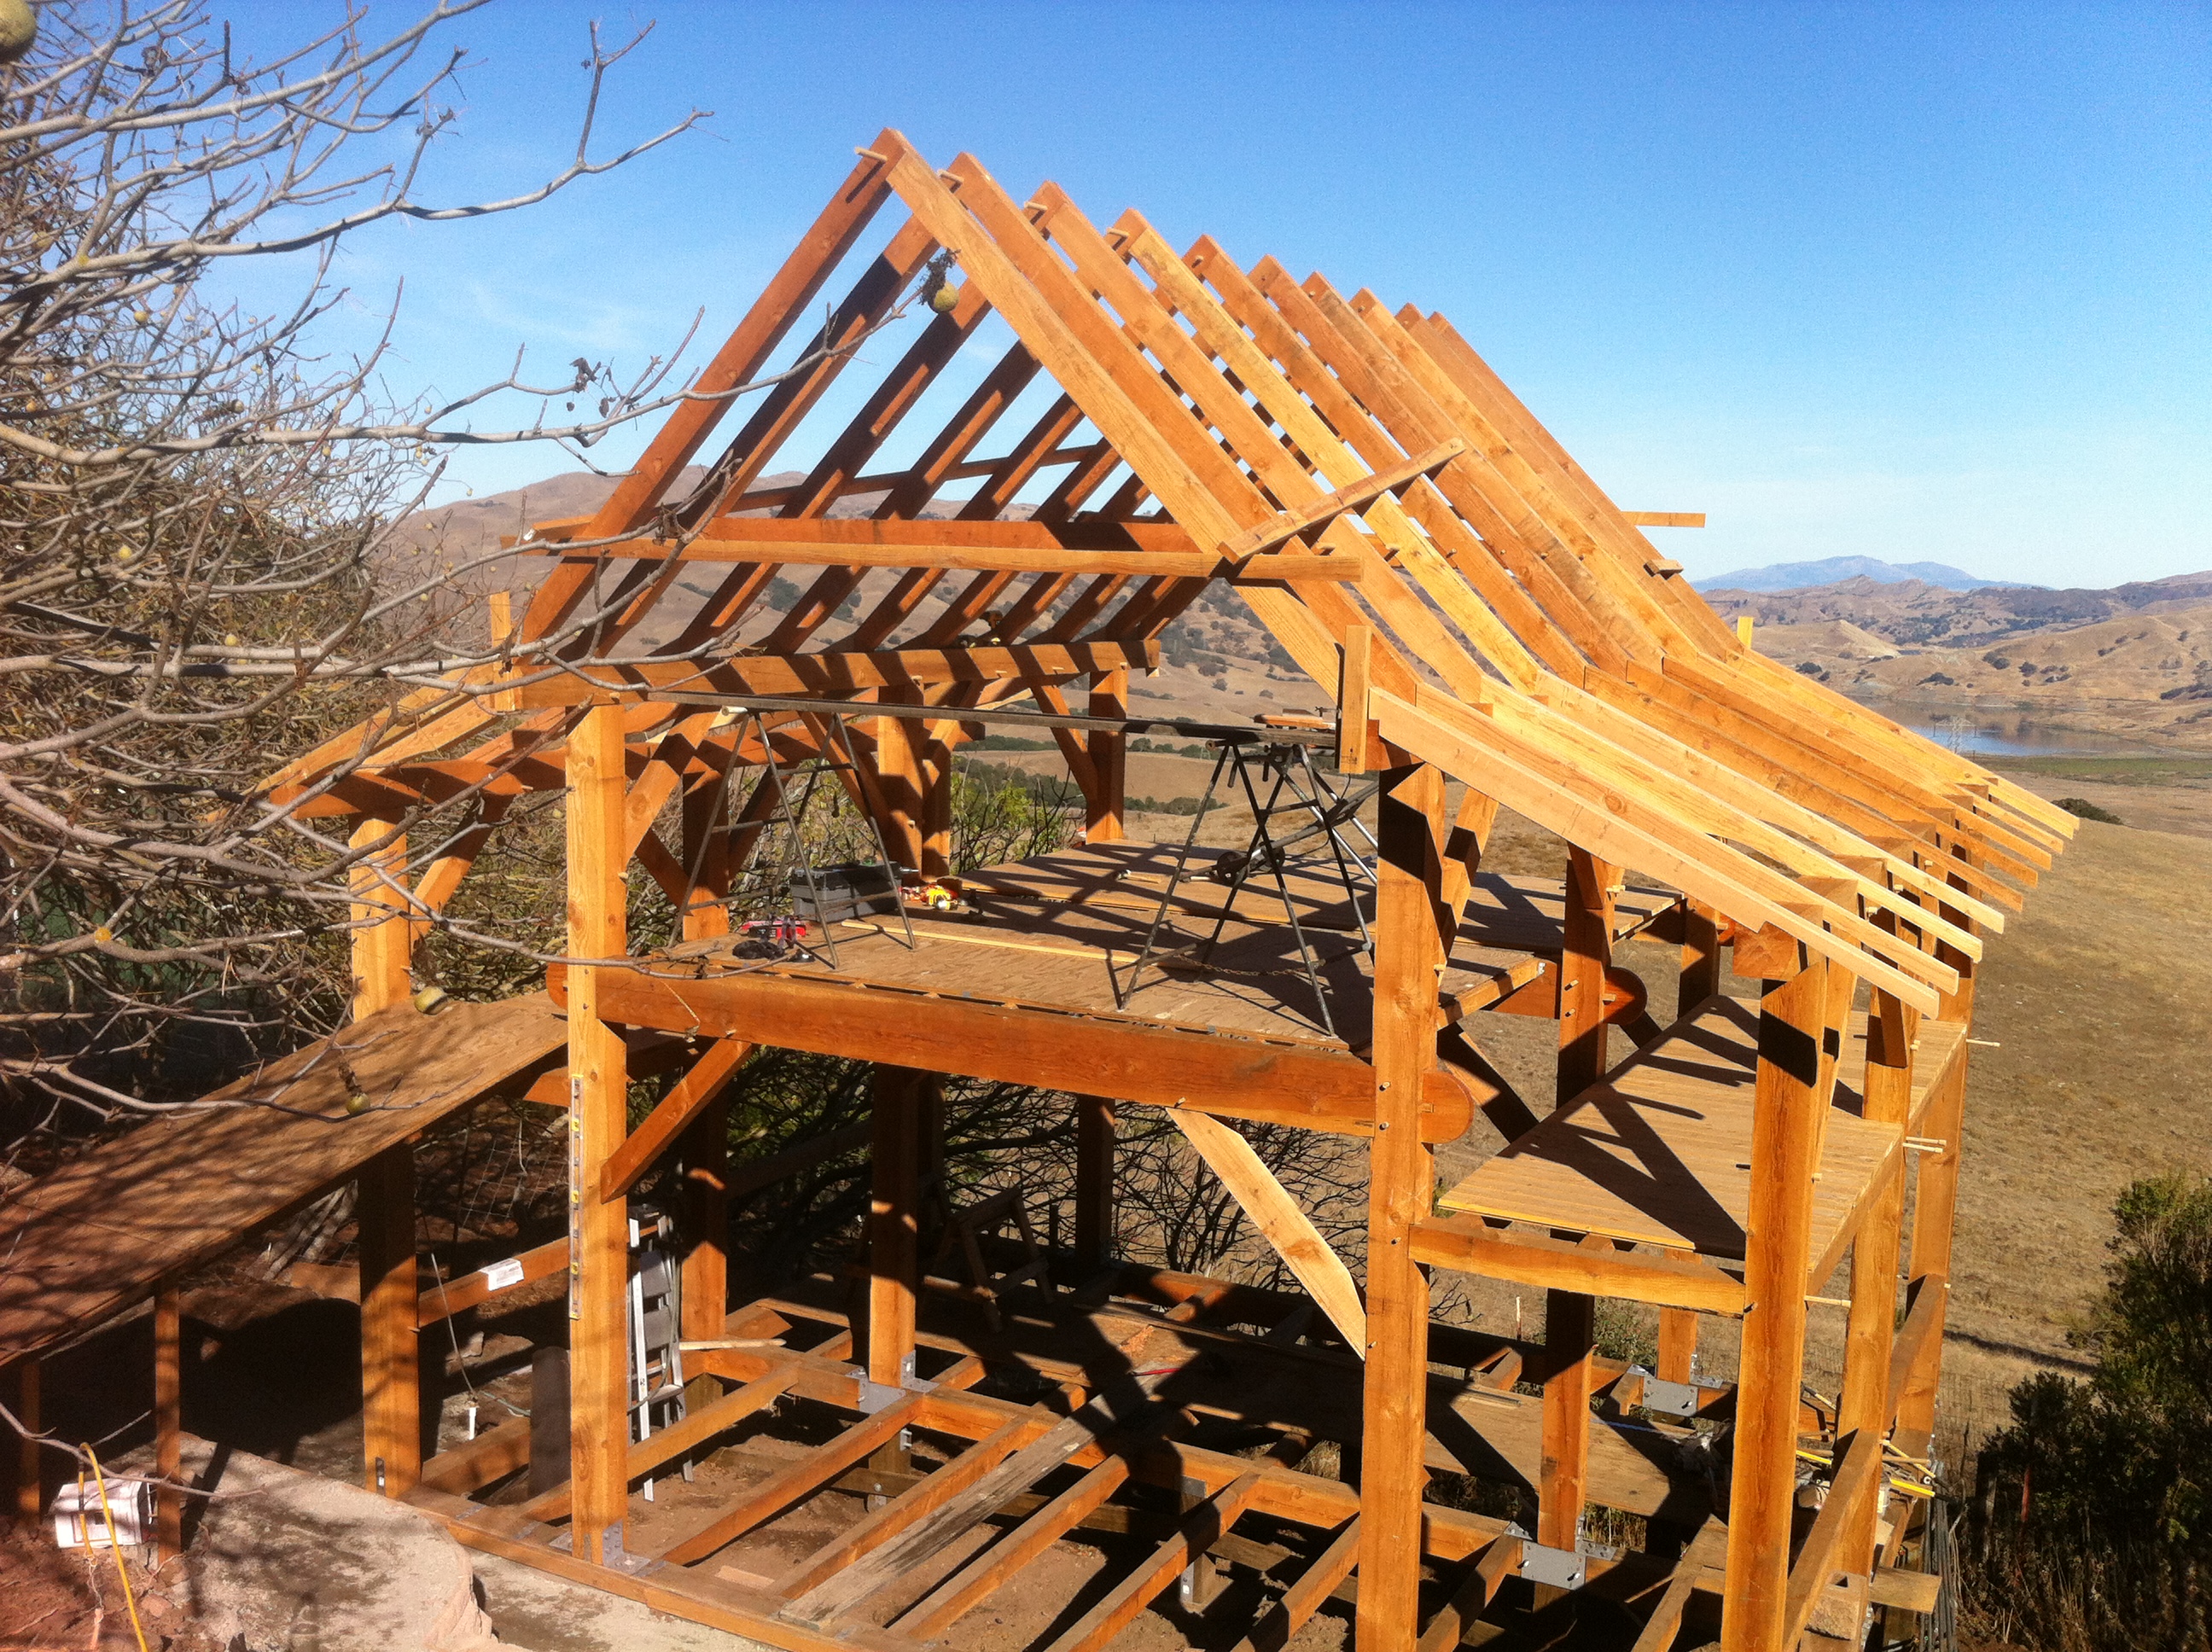
The rest of the rafters went up the first week of September.
The complete frame:
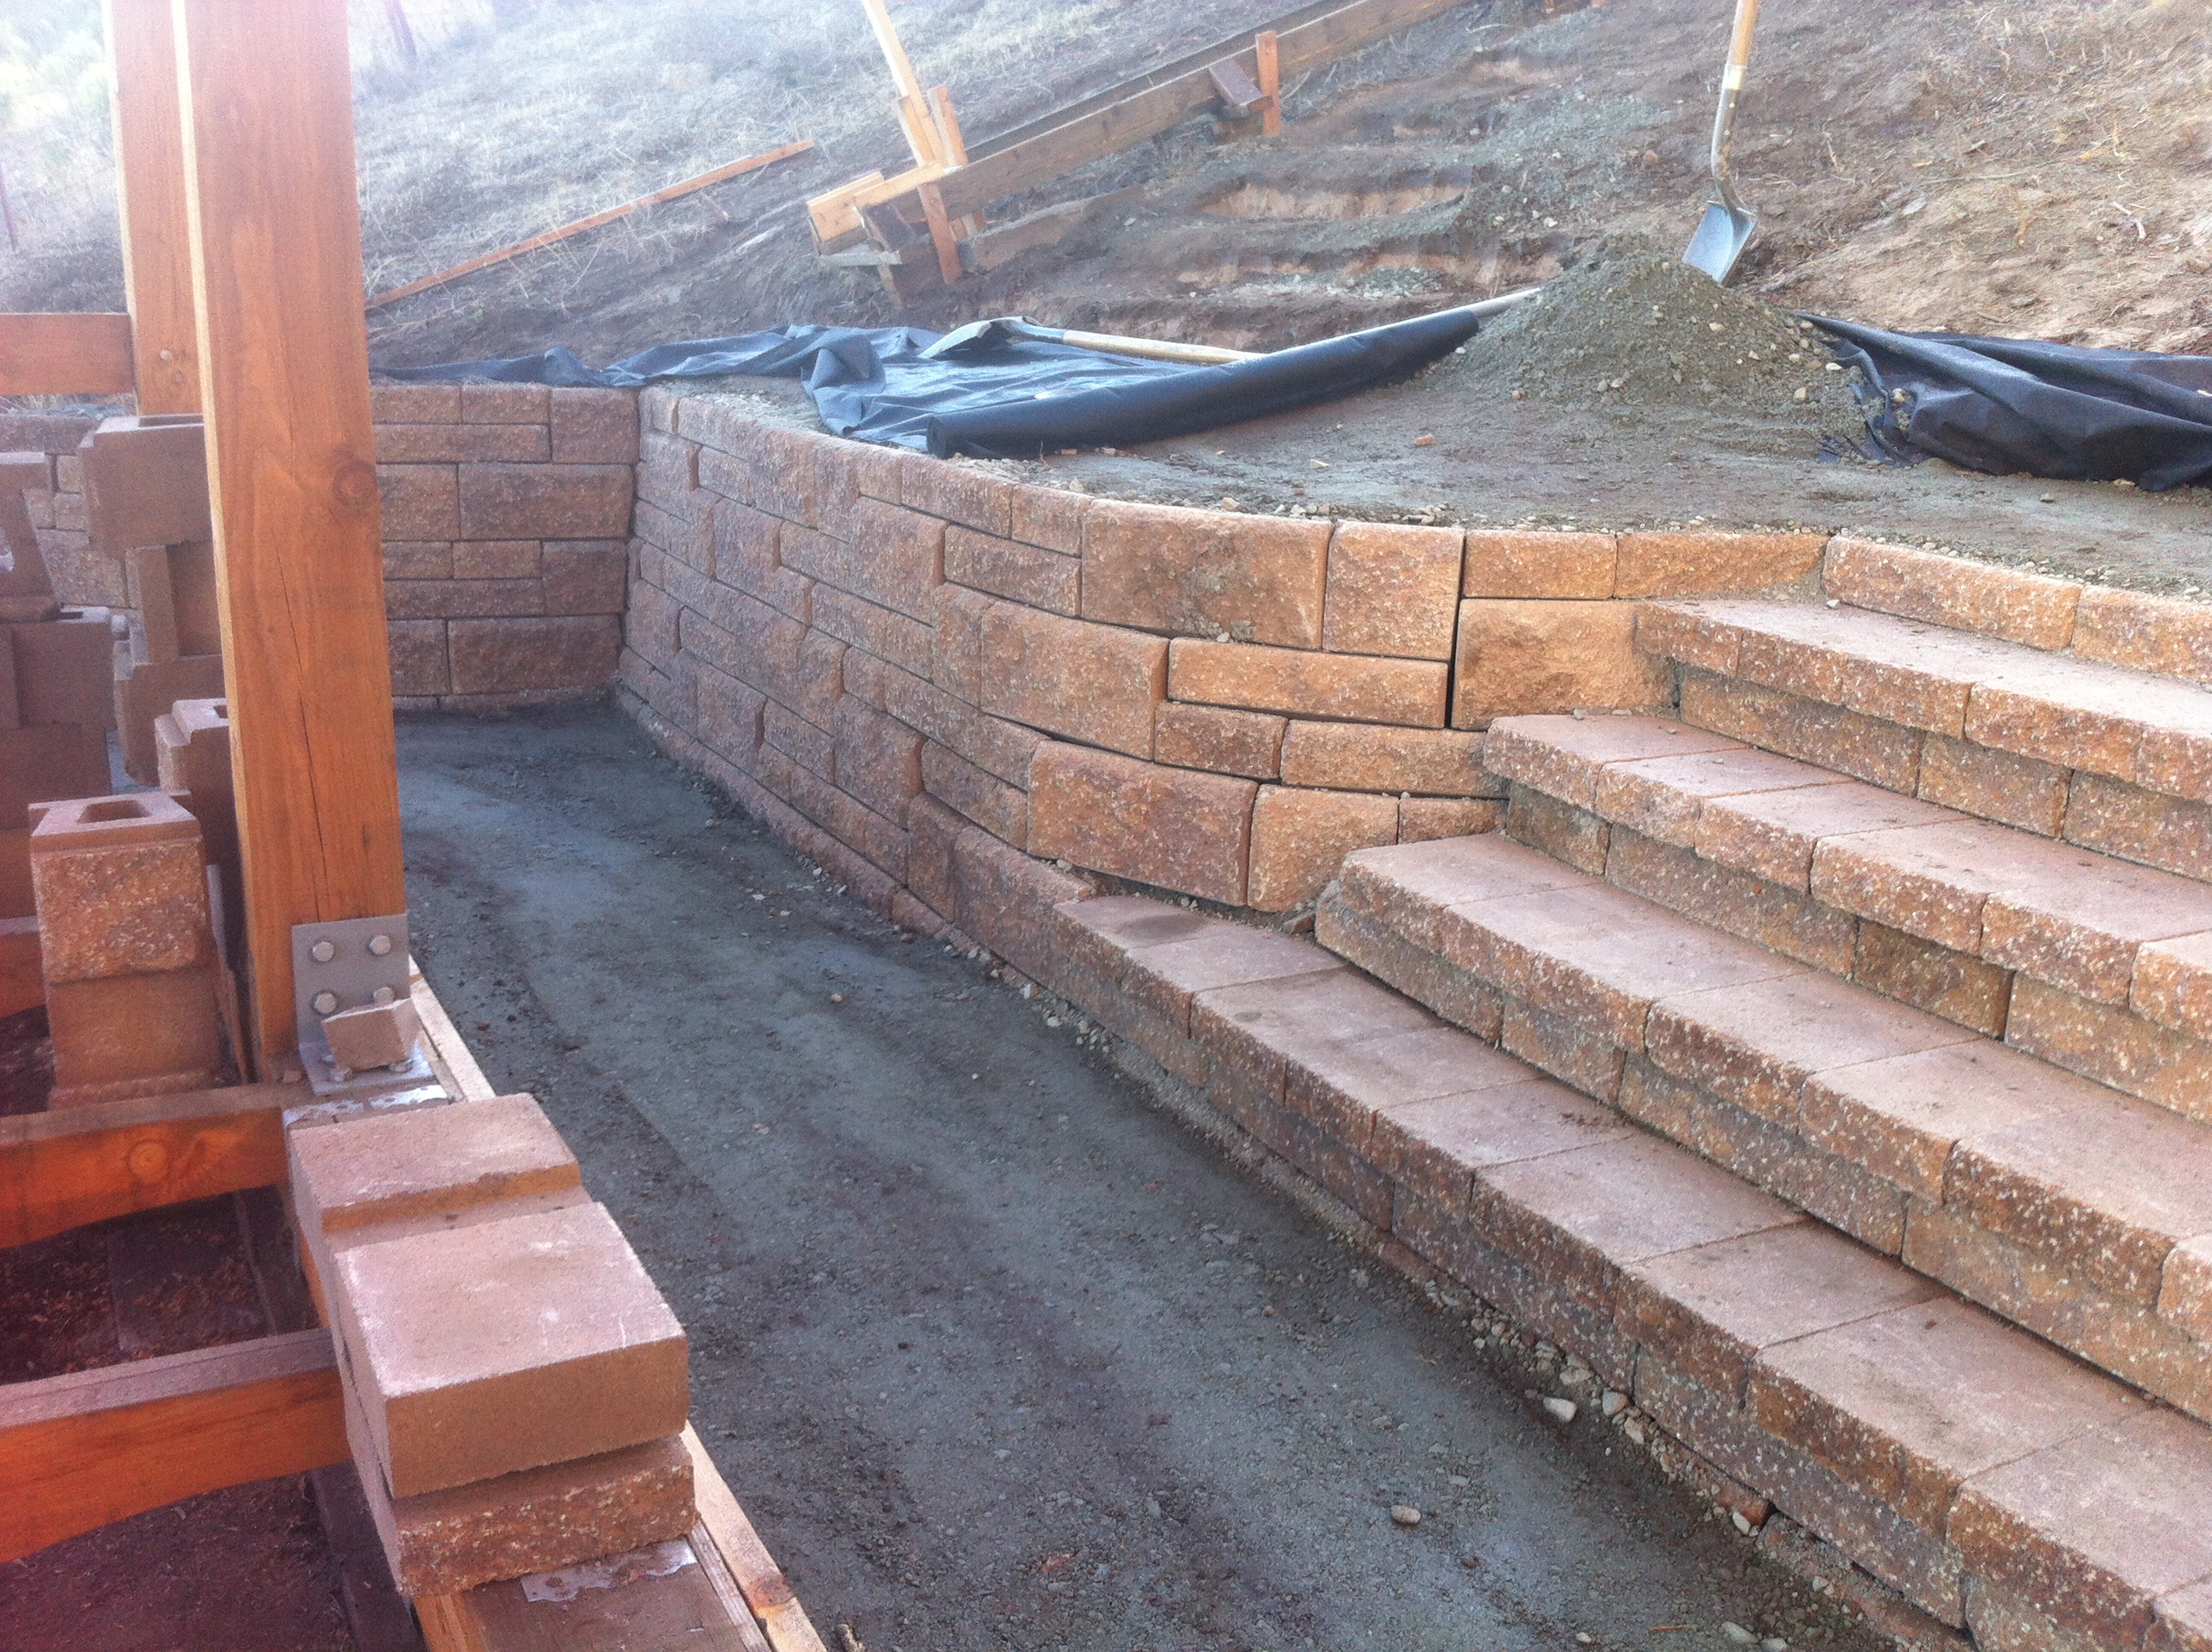
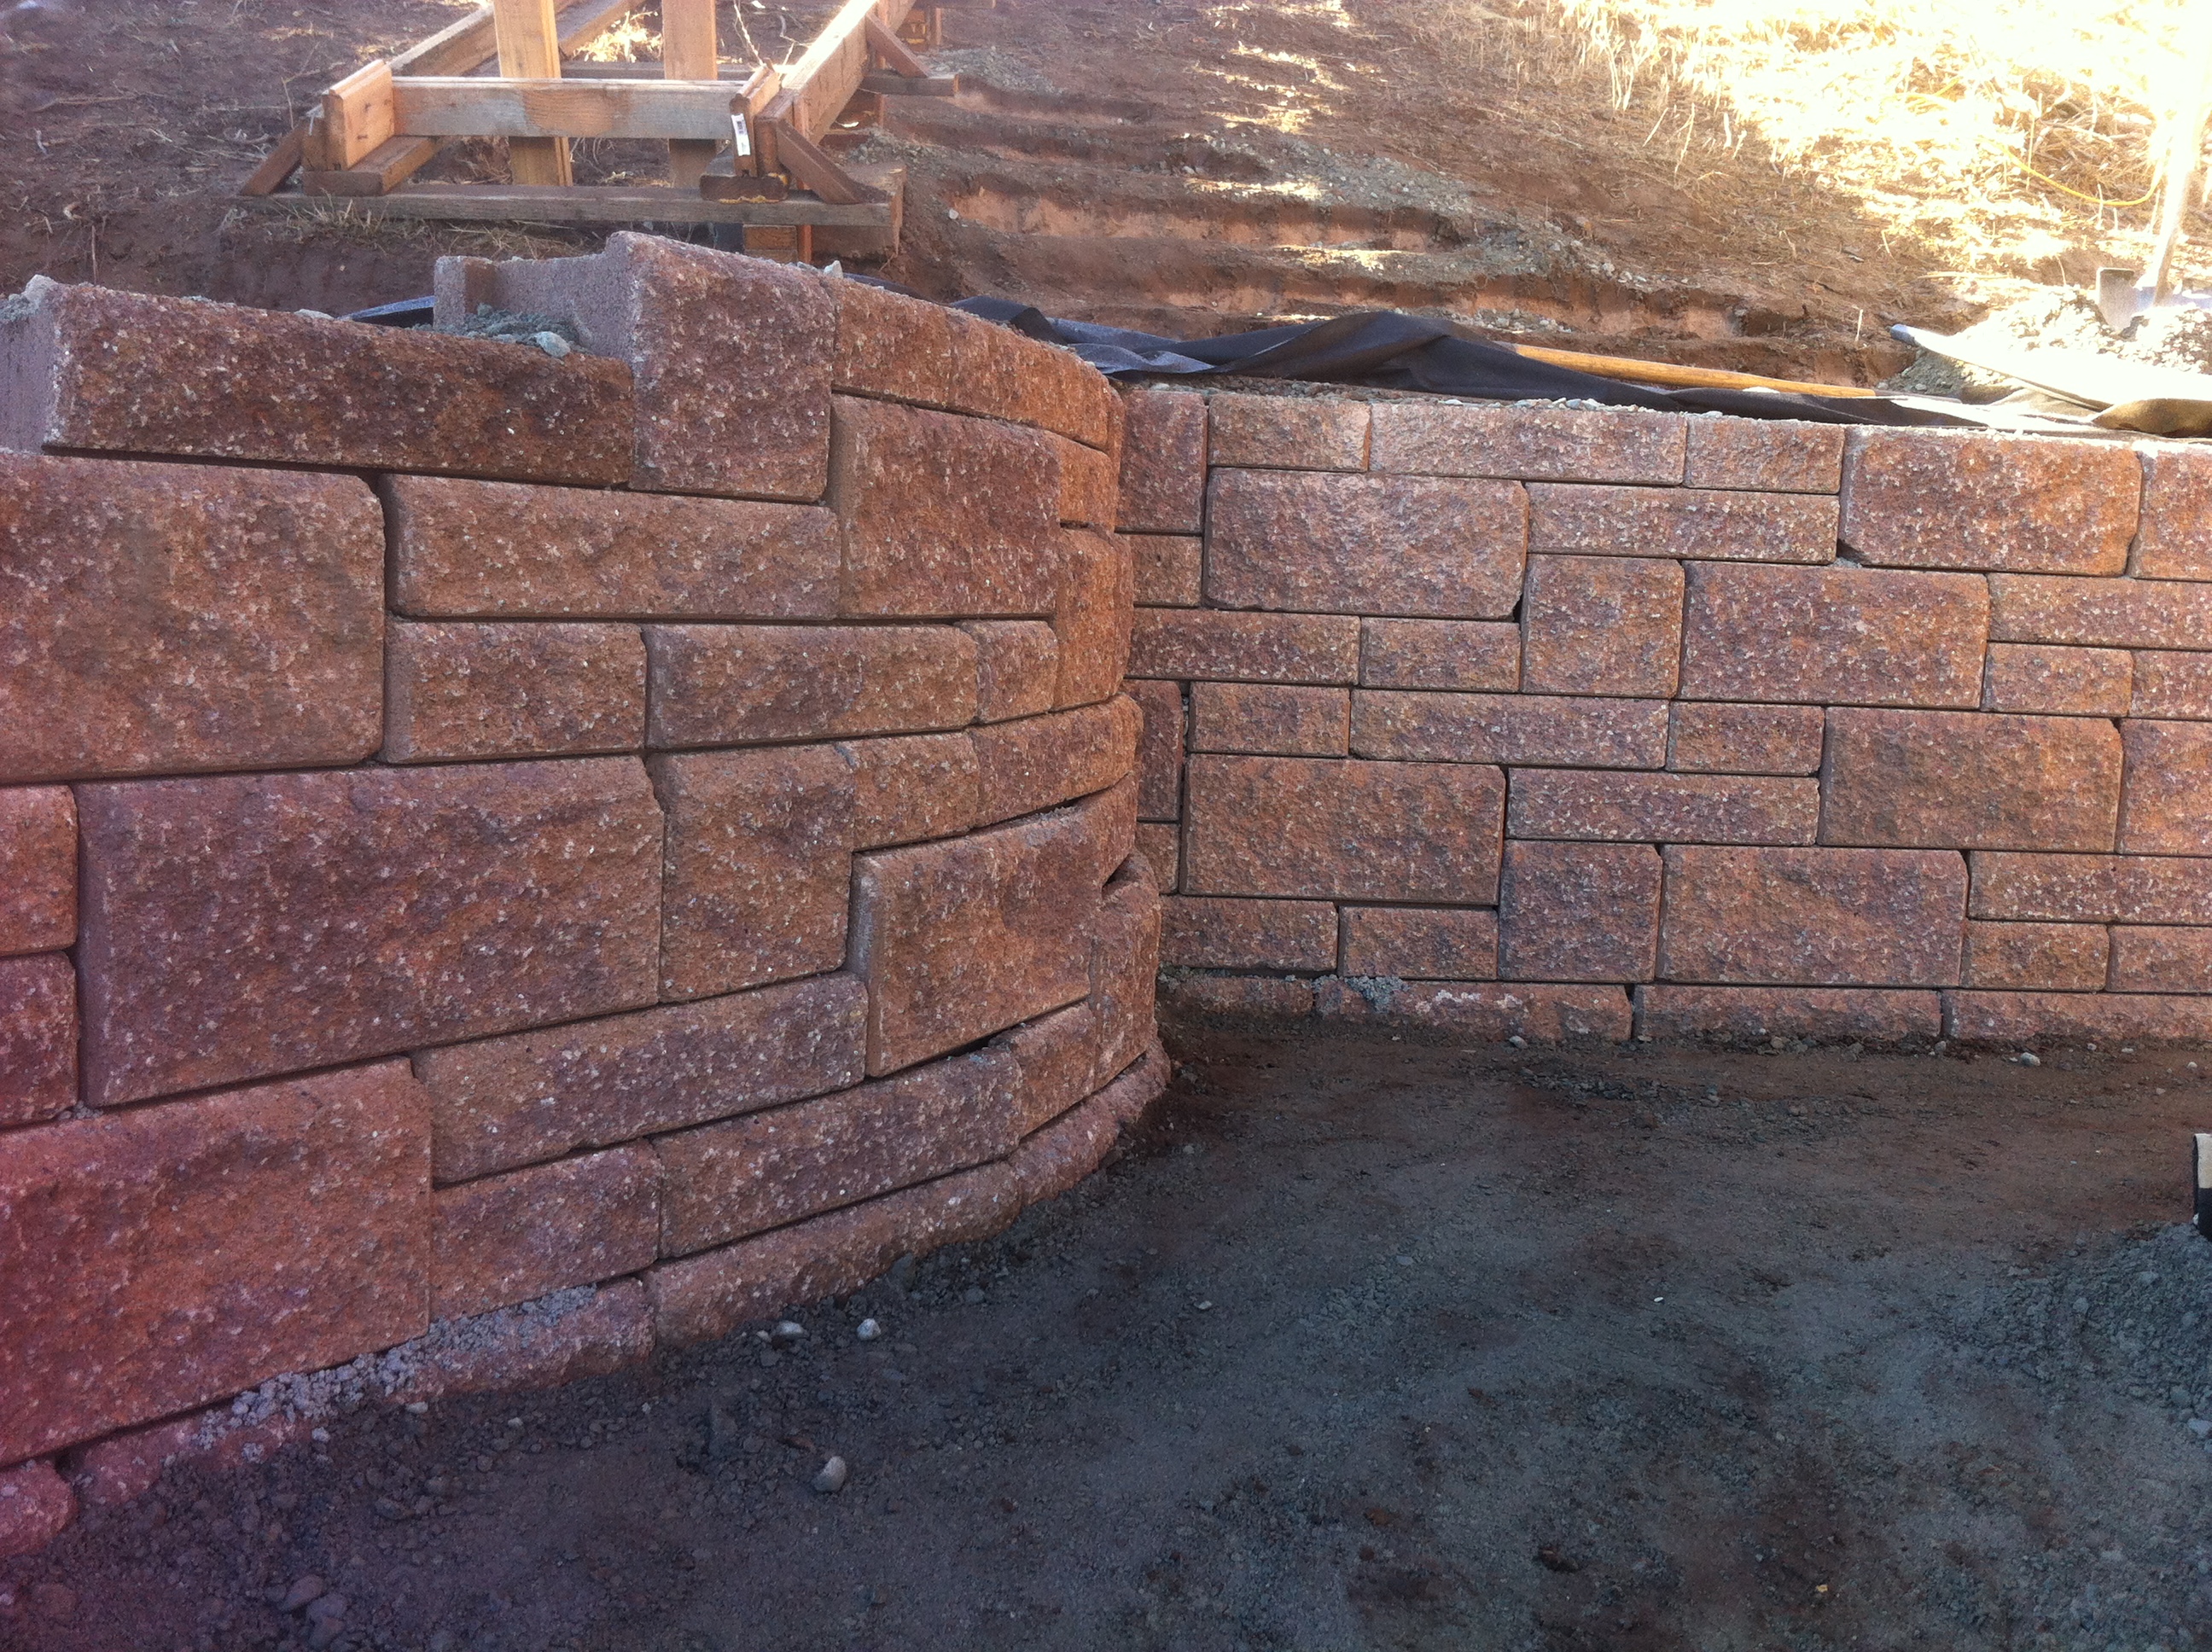
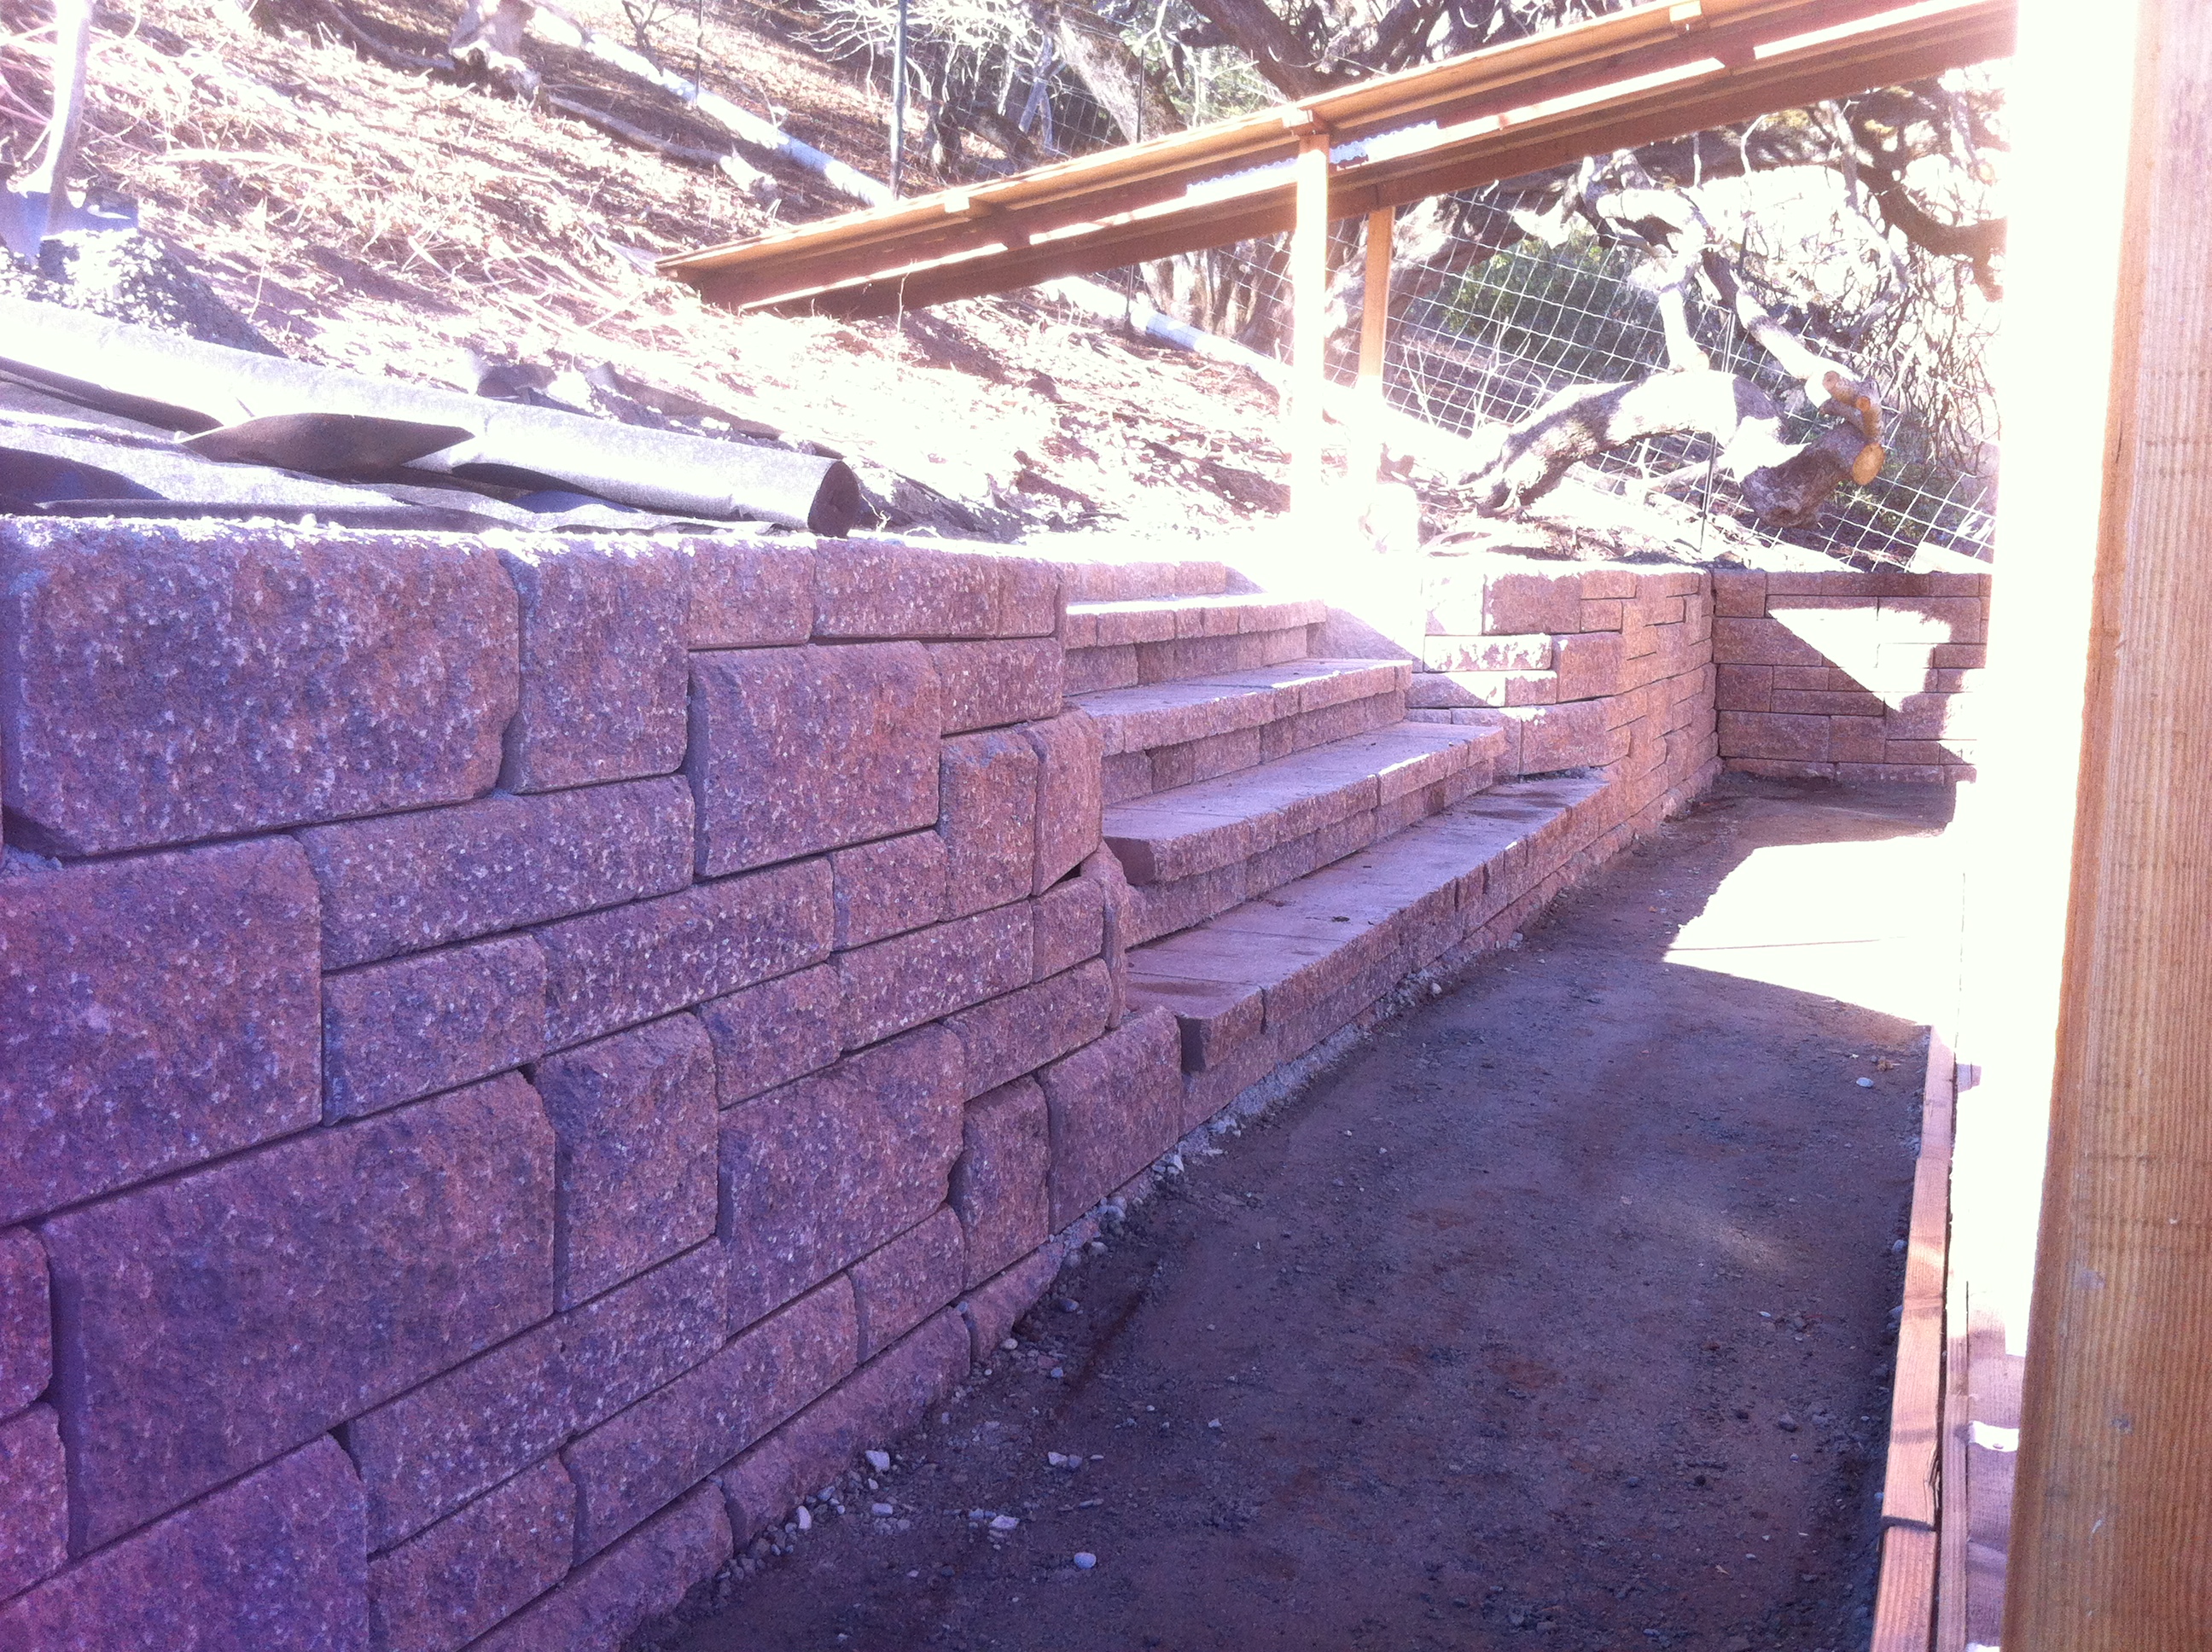
In early October, we built a stone block retaining wall on the uphill side with stairs leading down to the building:
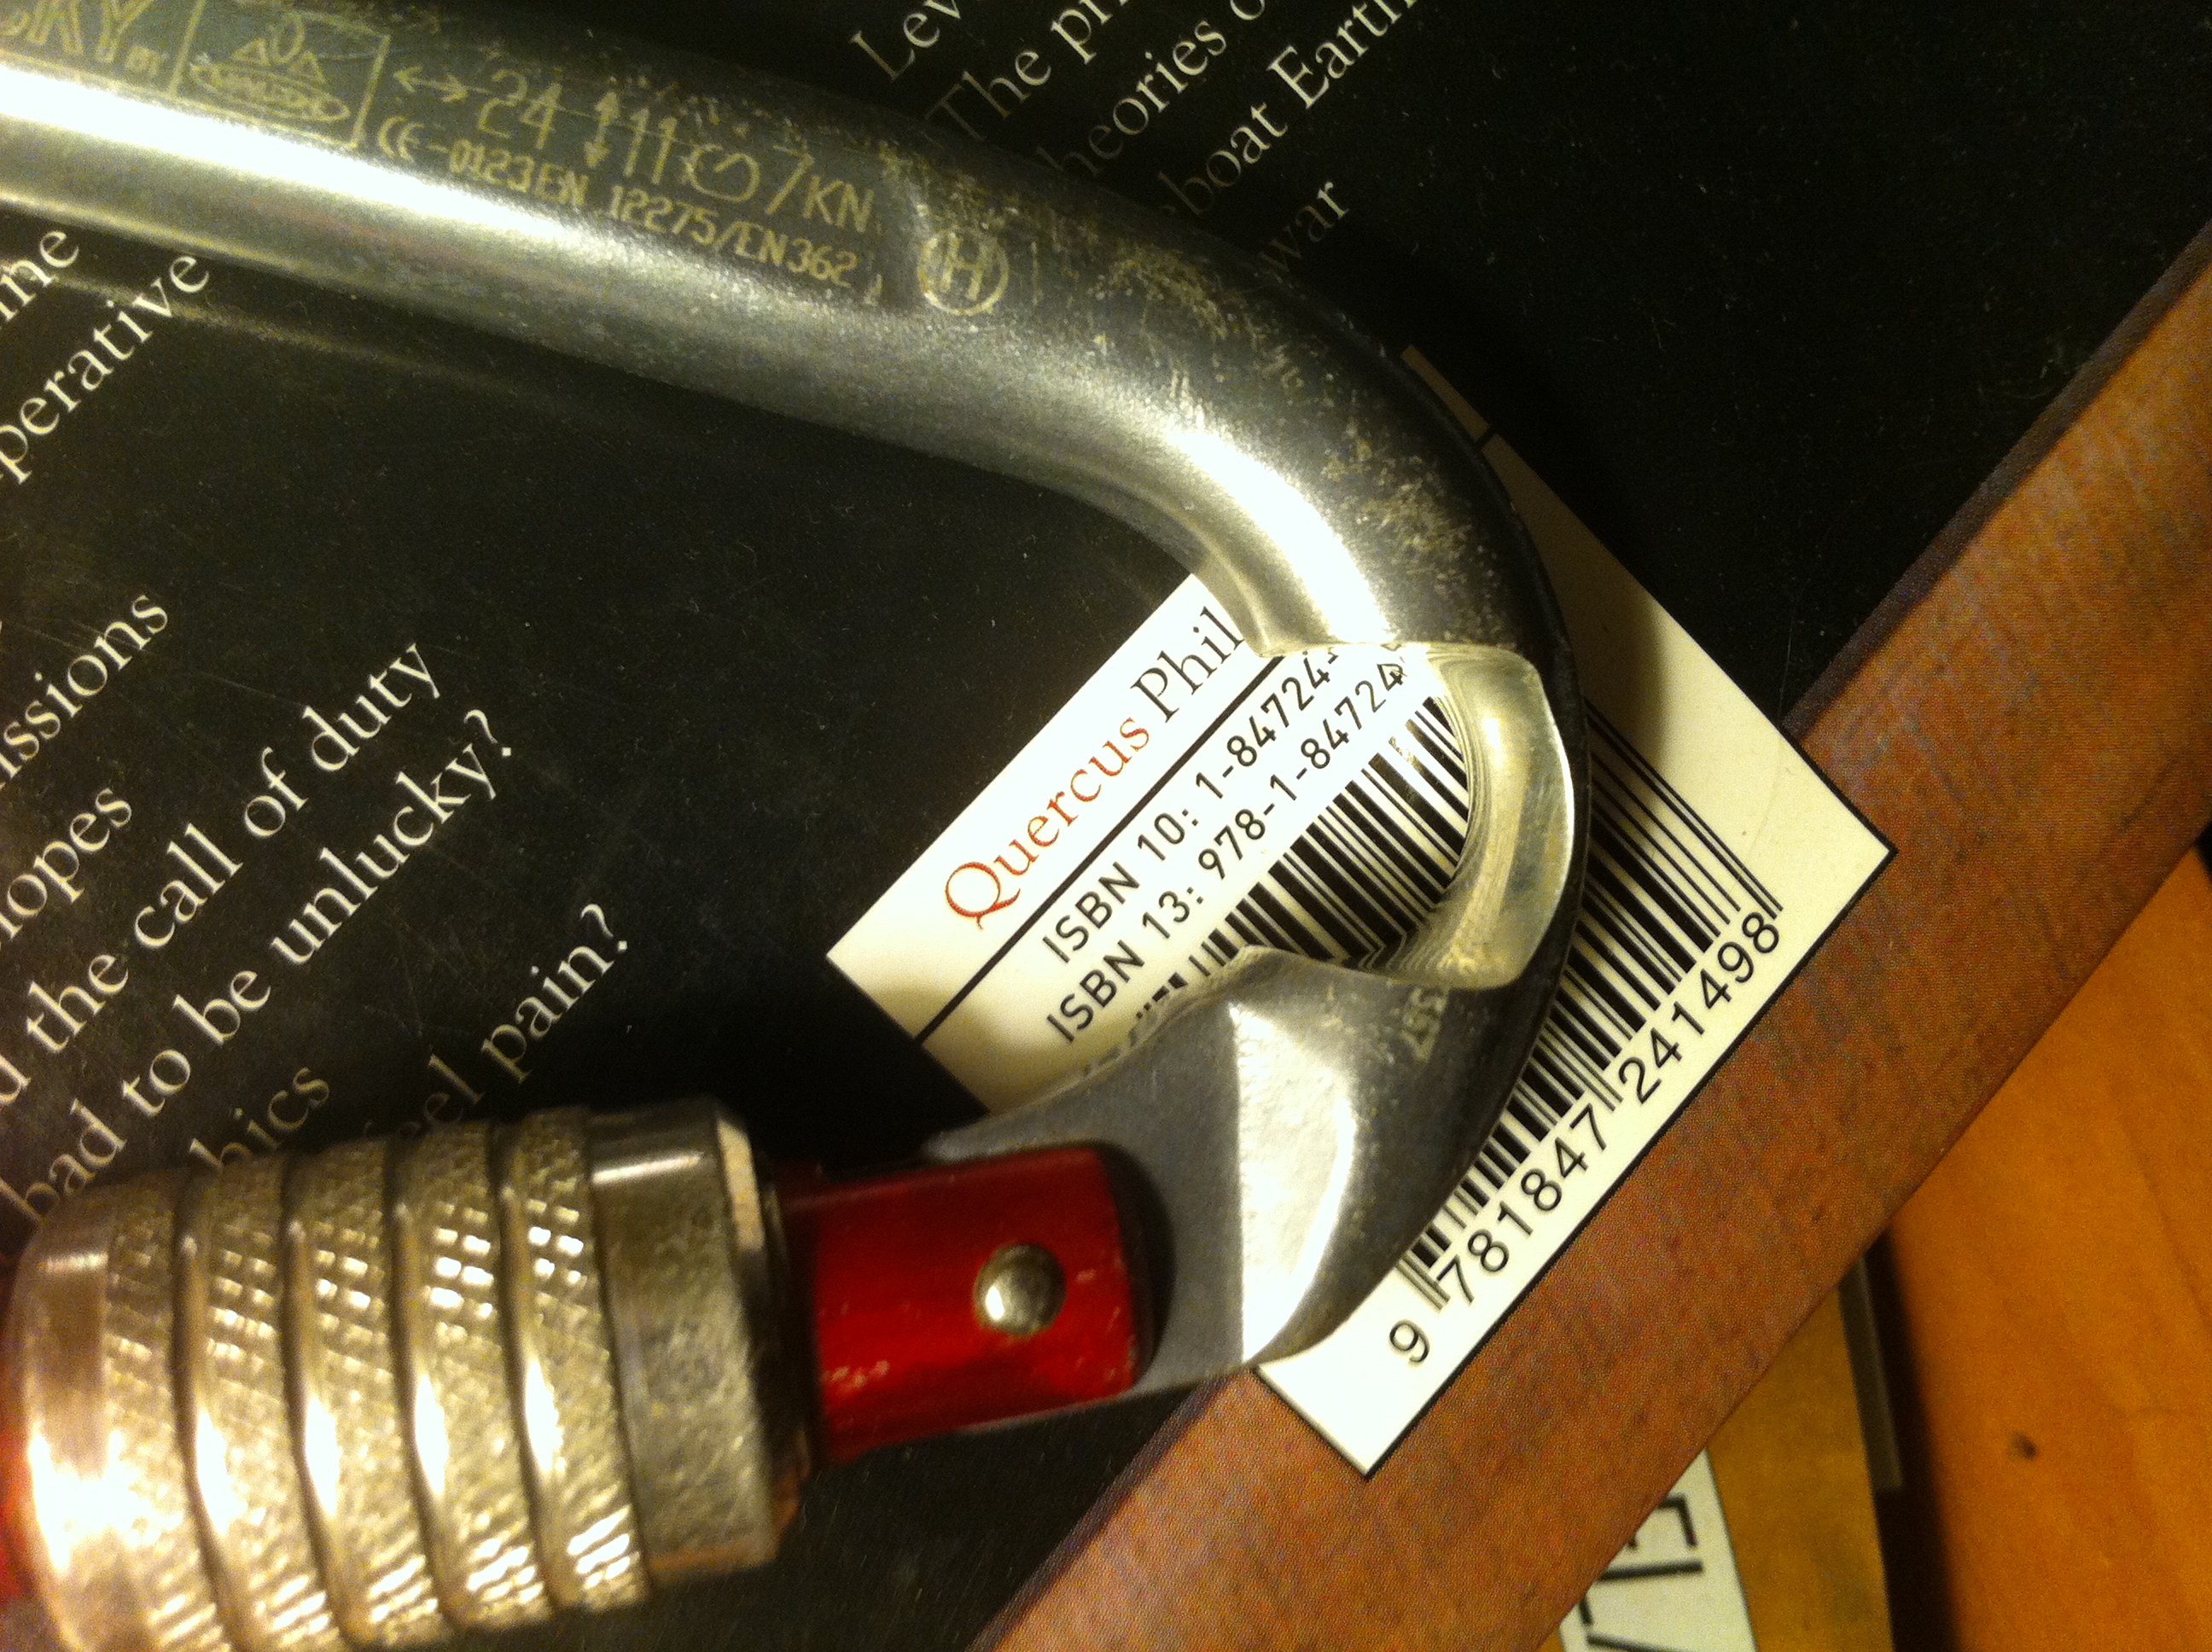
Lugging all of the block and wall rock down the hill with the railroad took a lot out of my carabiners. This is what our lives were hanging on (plus a backup biner!). Who knew rope could chew through metal faster than the metal could wear down the rope:
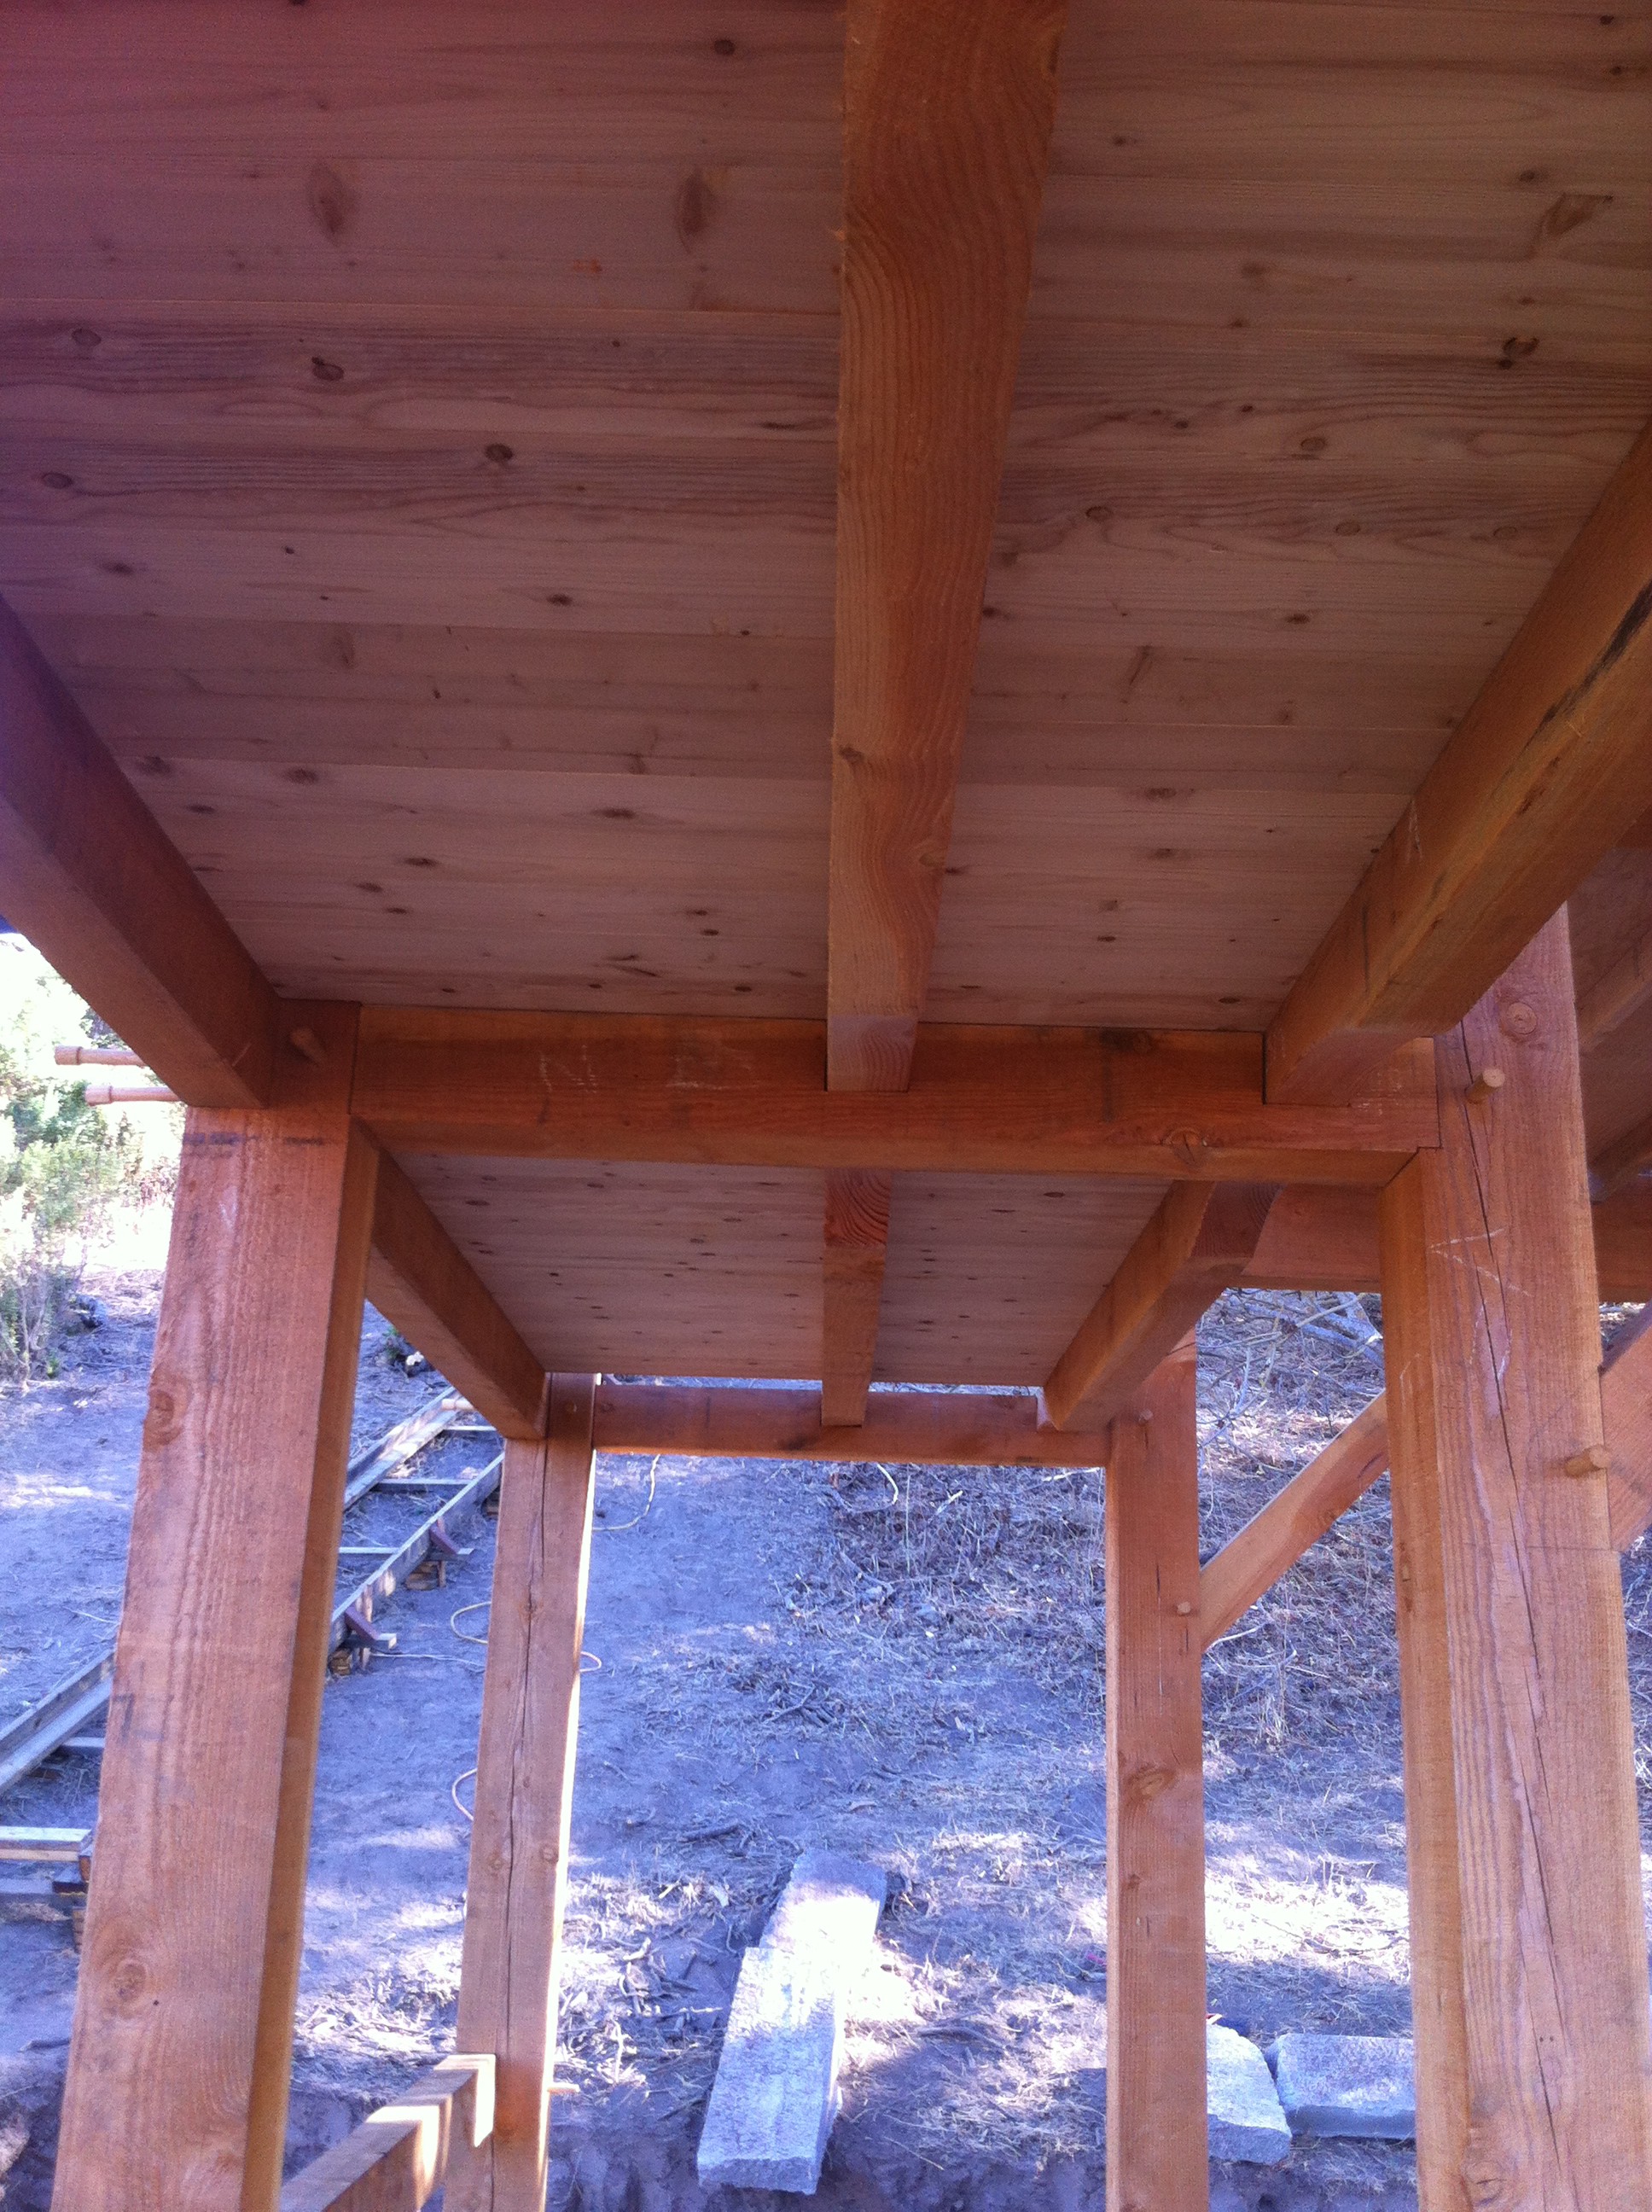
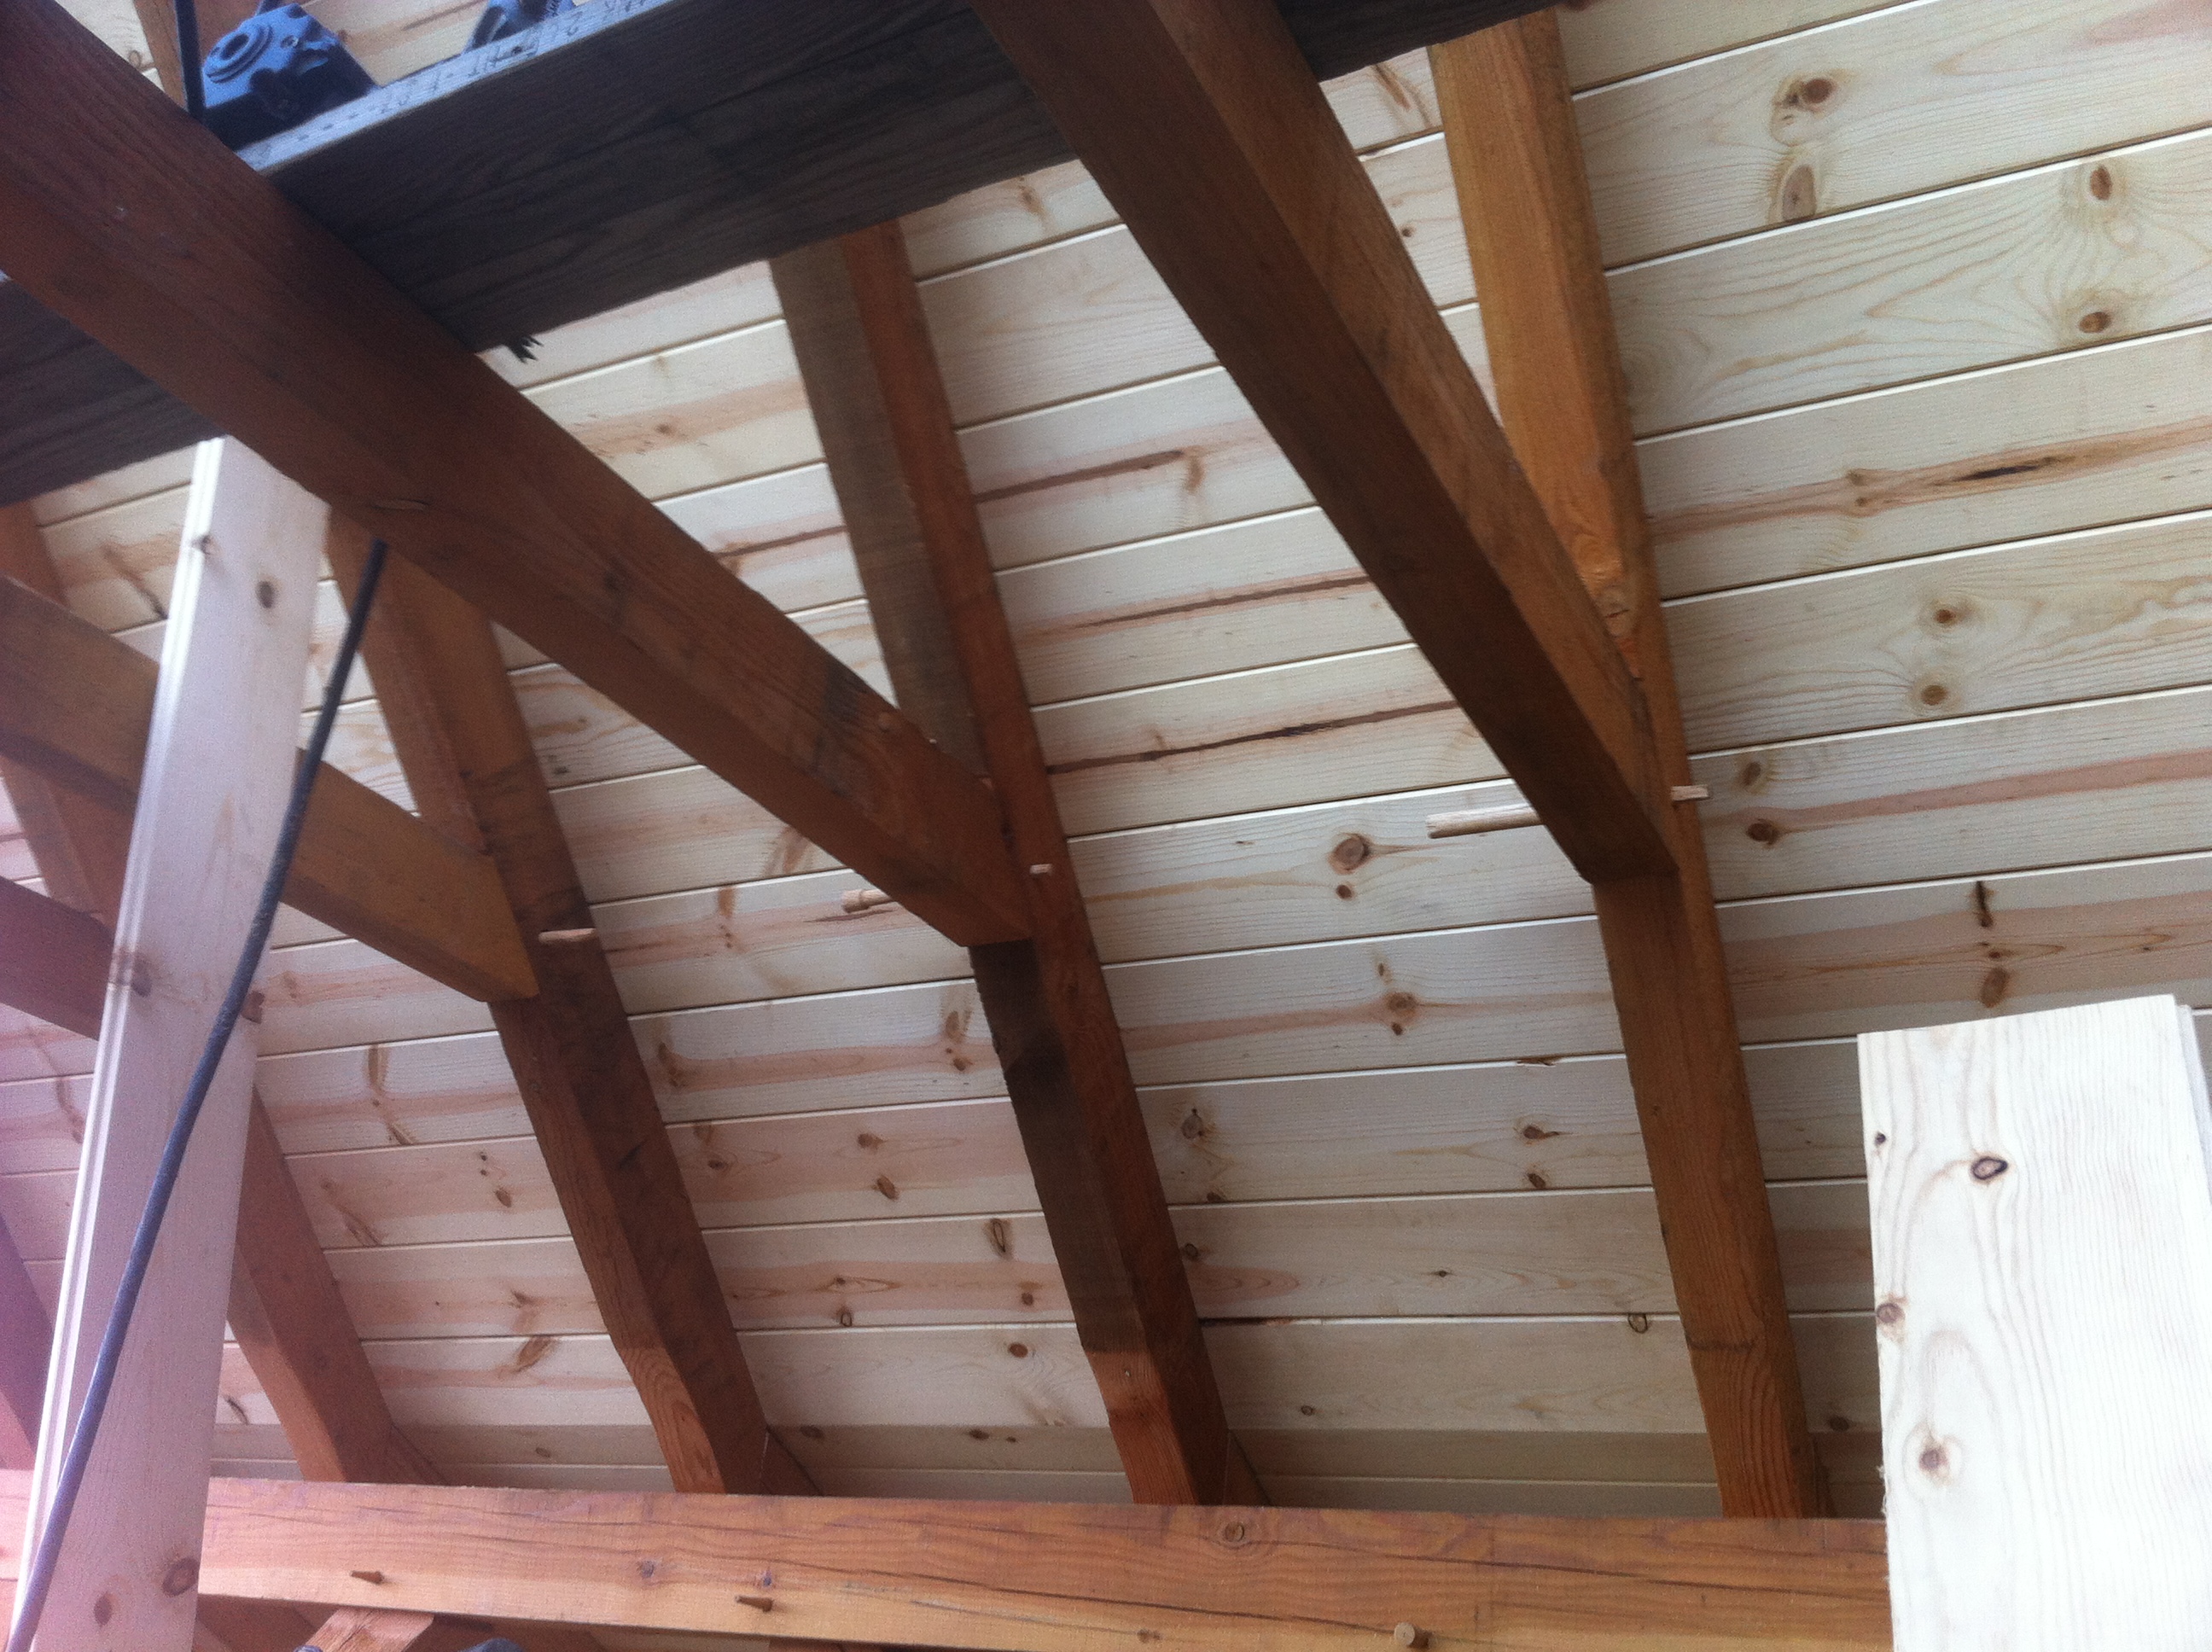
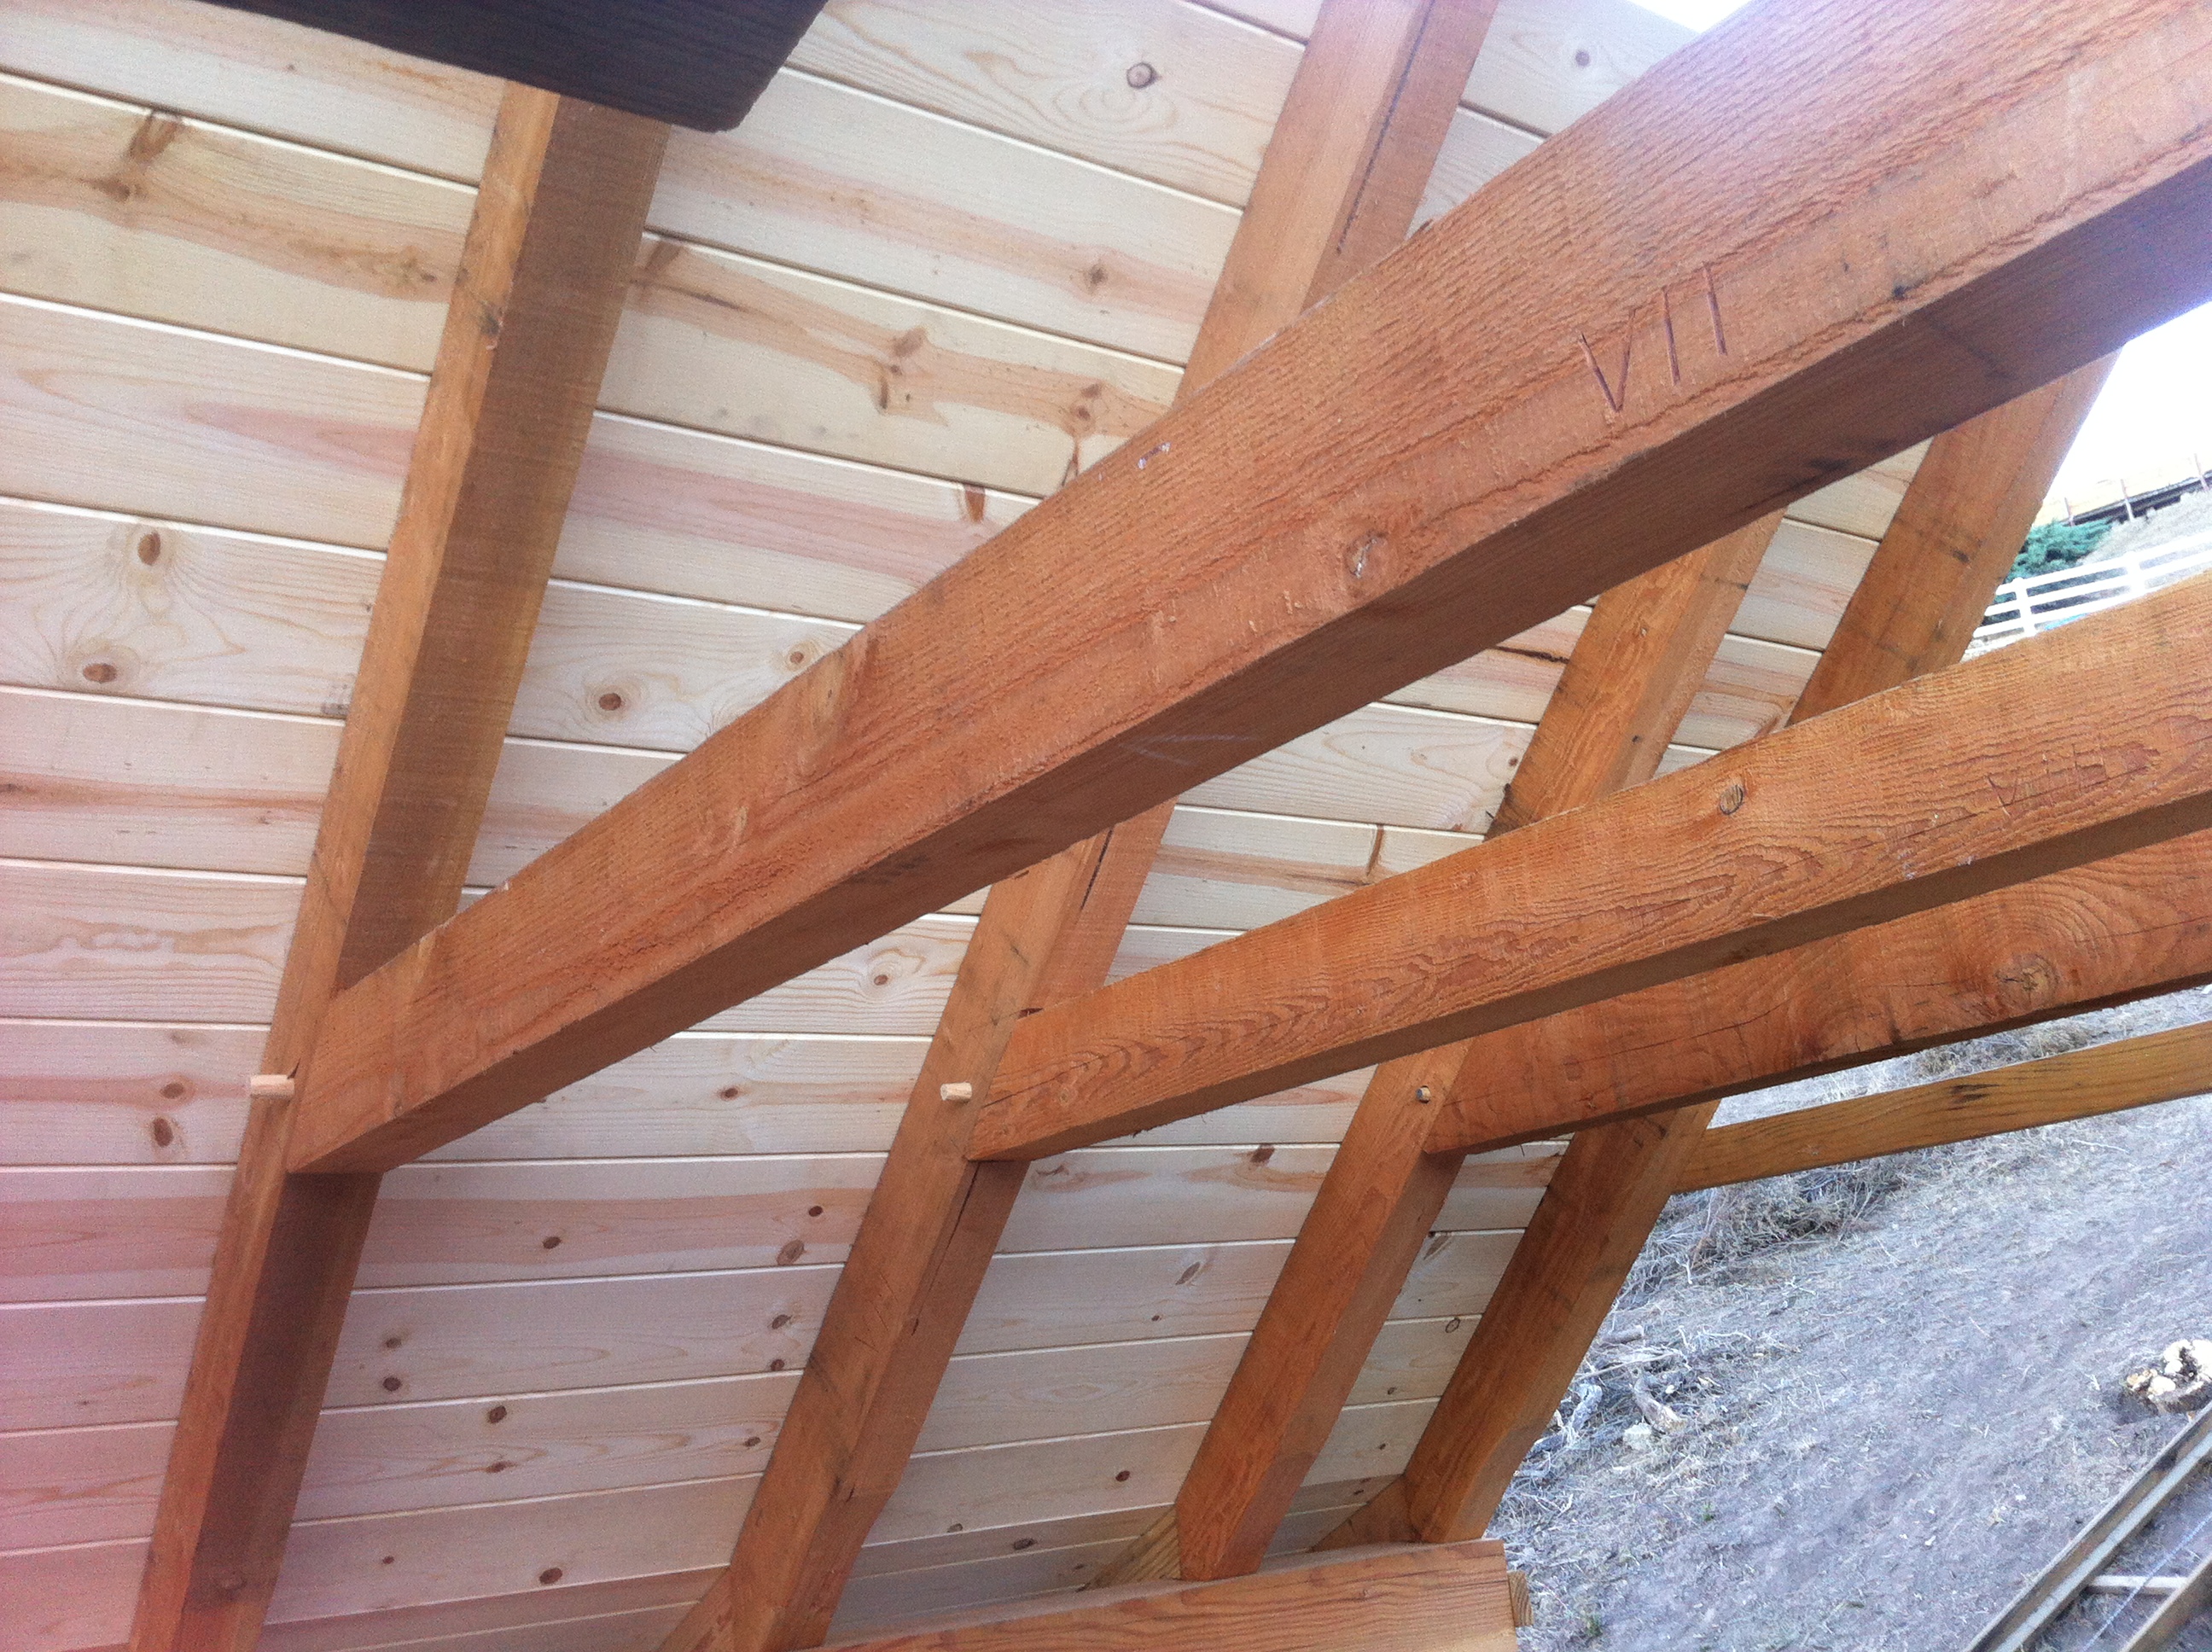
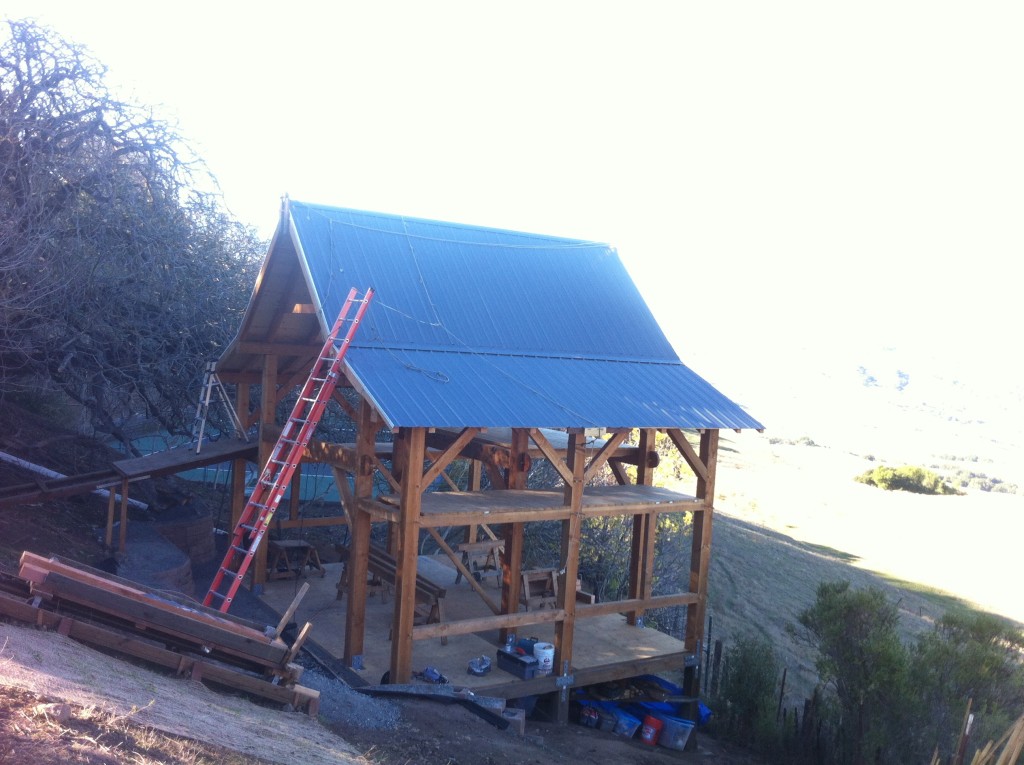
We decked out the ceiling in mid-October with tongue and groove pine 2x8s.
In late October we put on the underlayment: Shark’s Skin. Similar to an ice and water shield, this stuff sticks even to things you wish it wouldn’t stick to. It can withstand weather for up to six months without the final roofing.

The metal roofing went on in November. It was tricky to lay the panels on the 12:12 pitched portion of the roof. Climbing harness, quick draws, and all those climbing knots came in handy!
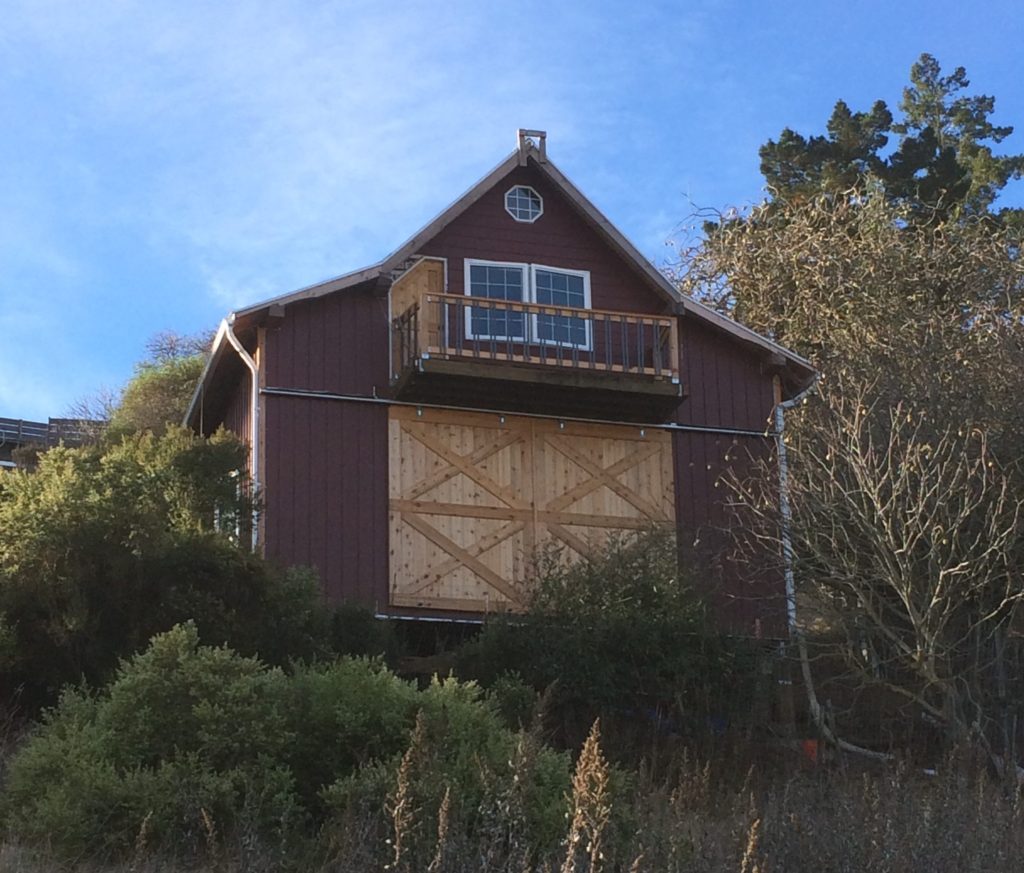
I built a loft balcony in December and started running the electrical, sheathing, and wrapping the walls.
Since I wanted the timber frame to be visible from the inside, I pinned the drywall to the outside of the frame and nailed a light 2×2 frame (furring strips) to the outside of the drywall. The 2×2 furring strips create a chase way for the electric and water, as well as provide support for both the drywall and sheathing. Once the furring strips were in place, the drywall was screwed to the strips from the inside and the OSB sheathing from the outside. These home-made drywall-2×2-sheathing sandwich panels worked well and were much cheaper than ordering custom SIPS panels. Living in California, I did not bother blowing in insulation to fill the panels; however, this is still an option for future improvements.
Drywall (purple board), 2×2 furring strips, OSB sheathing. Home-made panel that is installed on the outside of the timber frame
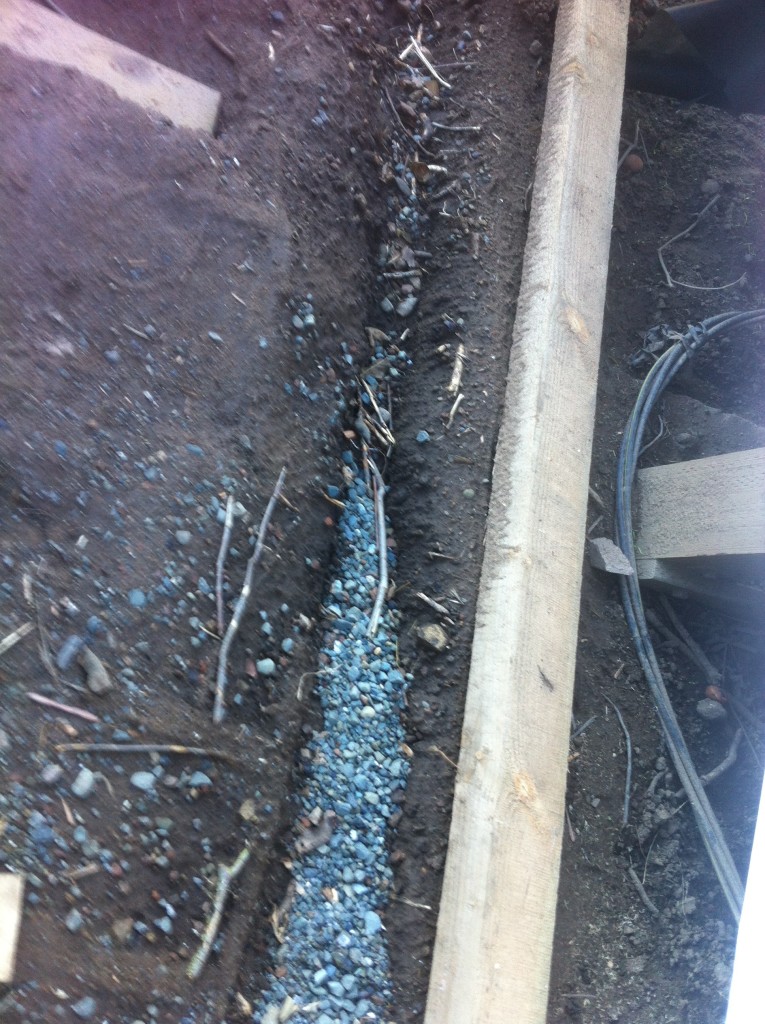
El Niño finally arrived and prioritized making an additional drainage system to prevent further runoff of the soil surrounding the foundation. I decided to plant barley as a measure of erosion control on the hill.
In late February, I finished sheathing and wrapping all four sides of the house. The electrical and lights were connected and tested in March. We mounted the windows in early April and by mid-April, I finished making the sliding barn doors.
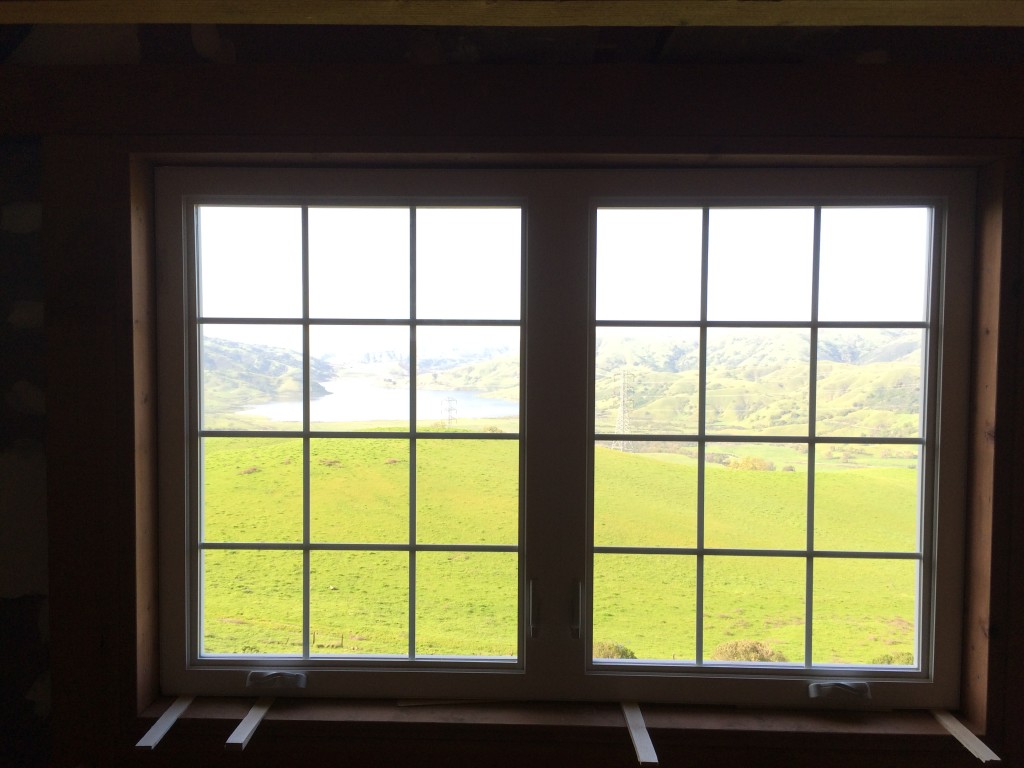
Loft window (6’x4′)
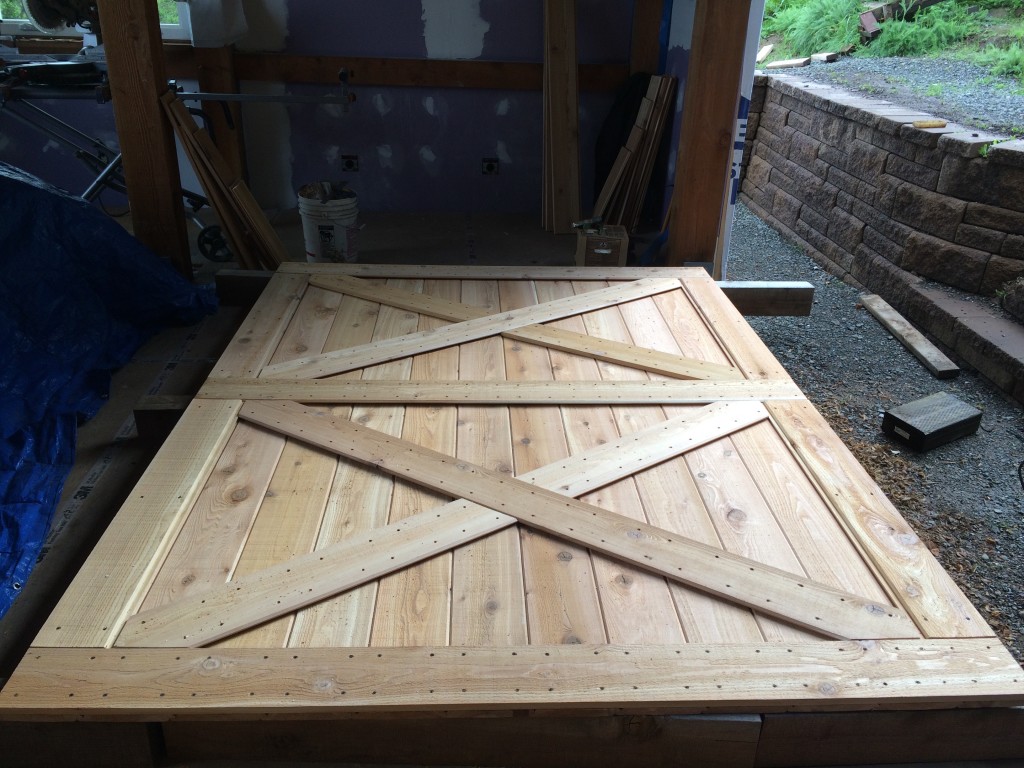
Half of the barn door (6′ wide x 10′ tall)
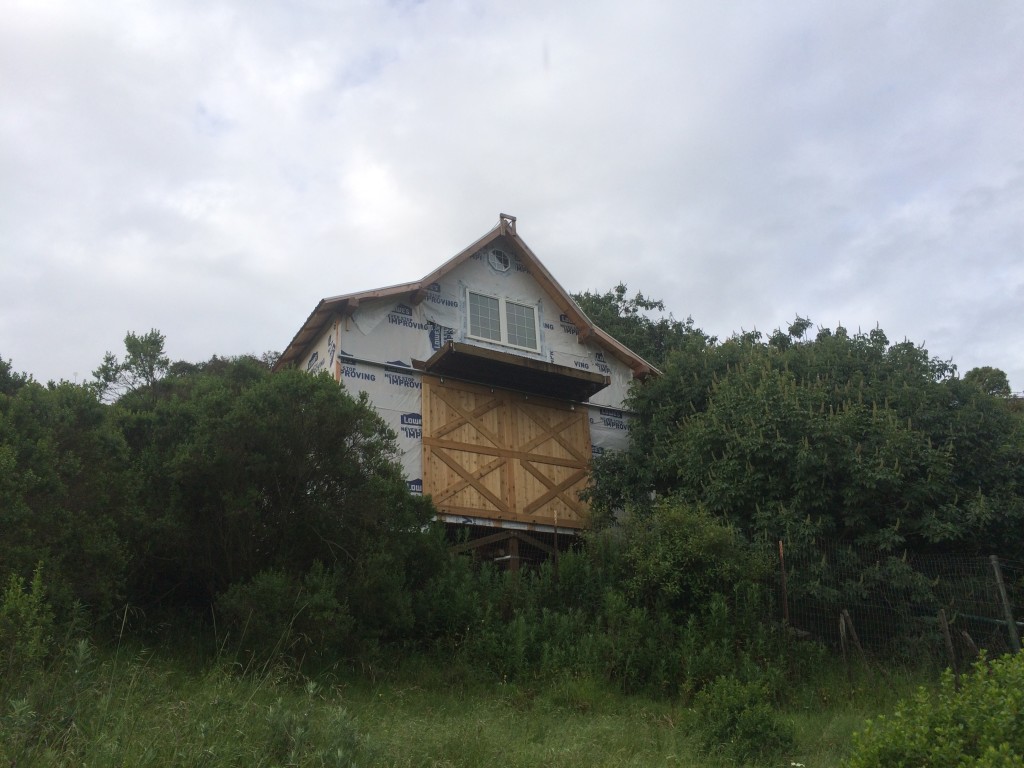
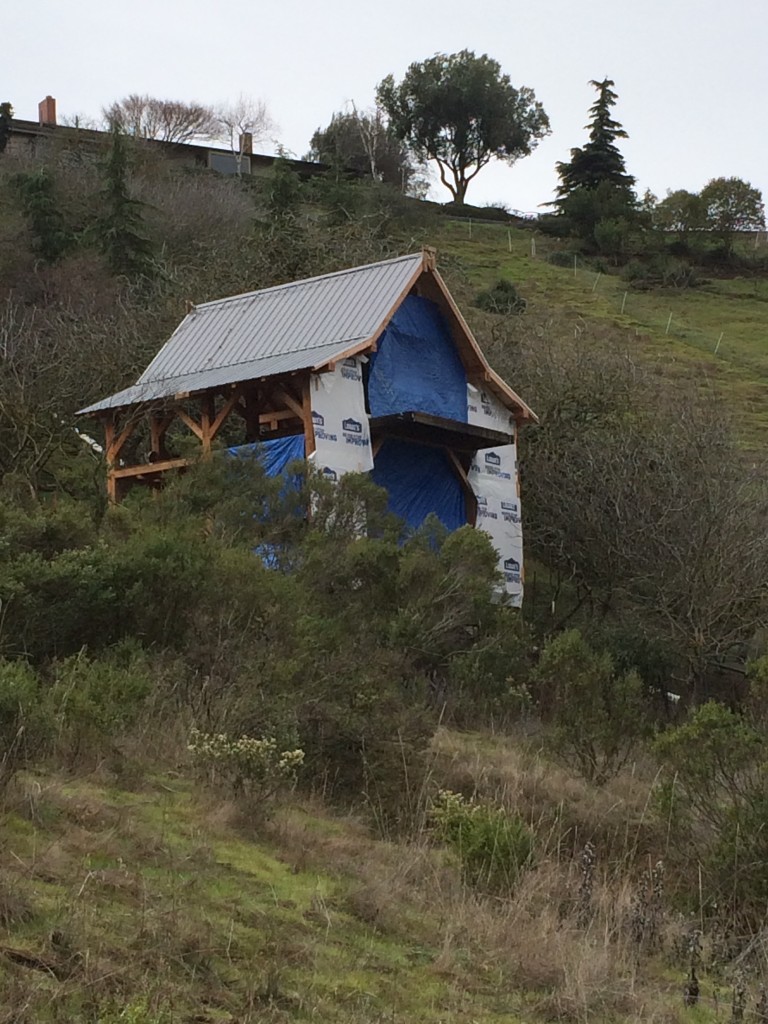
Back side of the house after wrapping
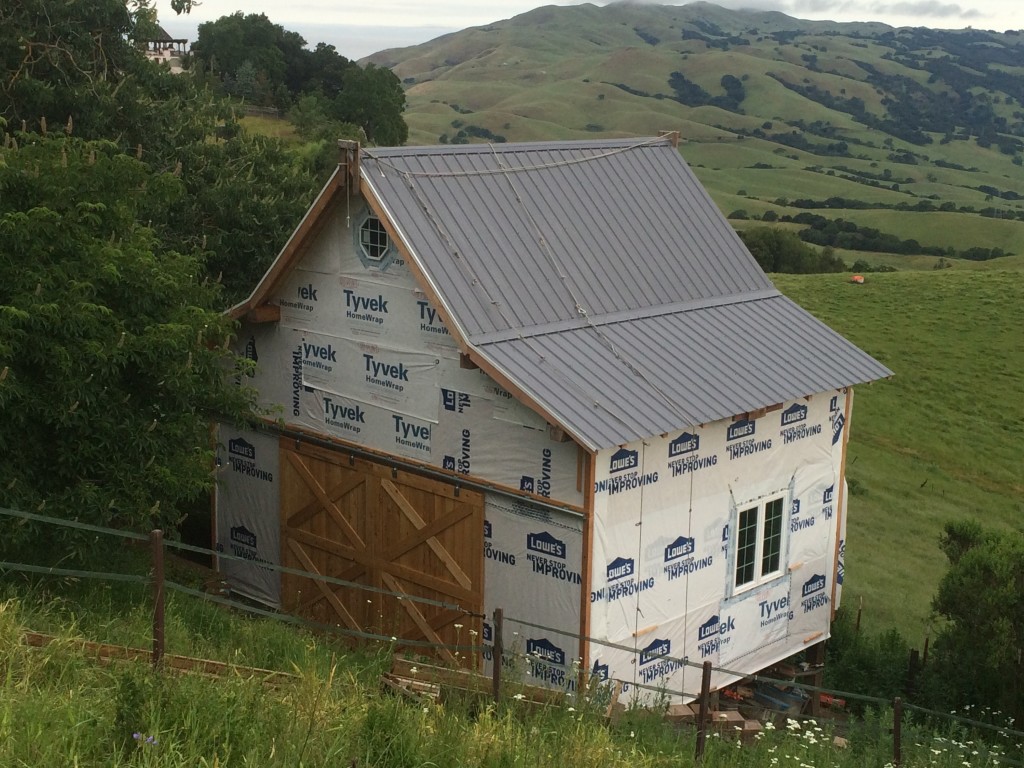
Front of the house after wrapping
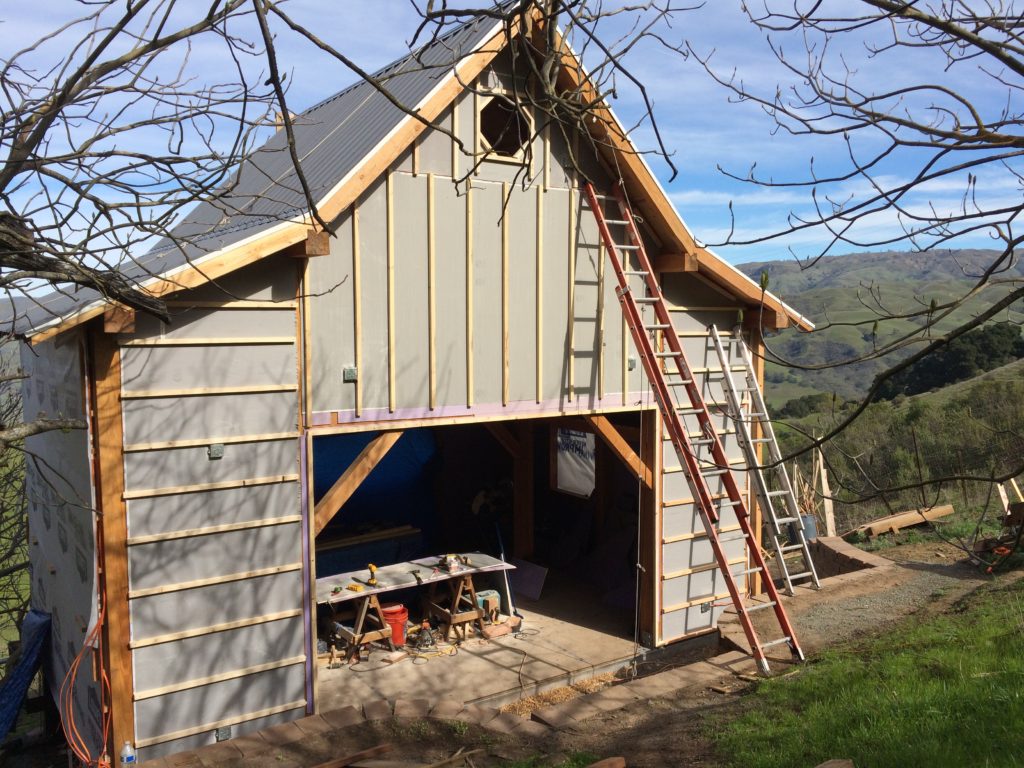
I chose Hardy Board (cement board) for the siding because of its resistance to fire and insects. I finished hanging the siding before taking off for a long backpacking trip through Scandinavia and Eastern Europe.
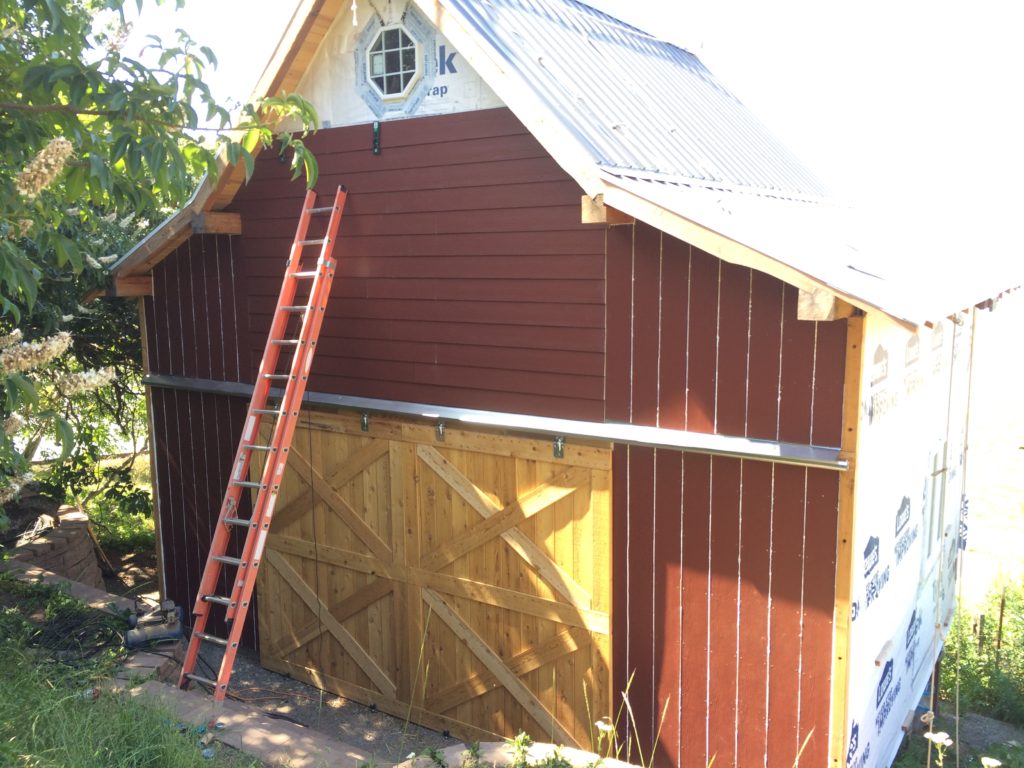
Front of the house, mid-siding
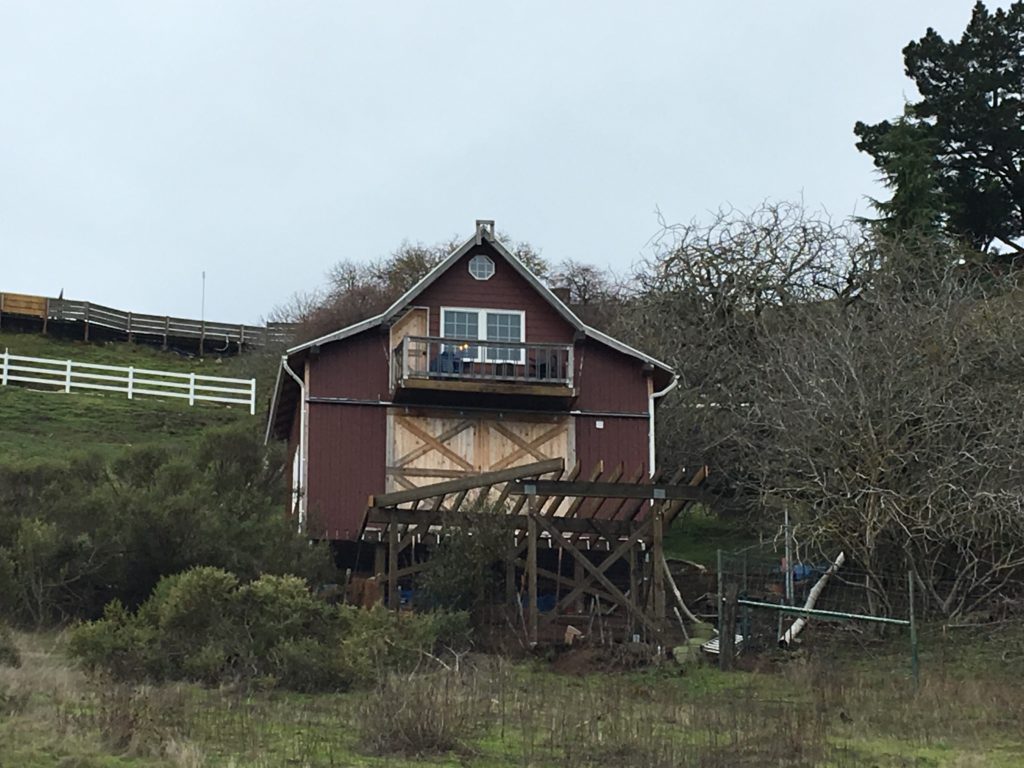
Backside of the house facing the reservoir
The sail boat was the first project to move in to the new woodshop.
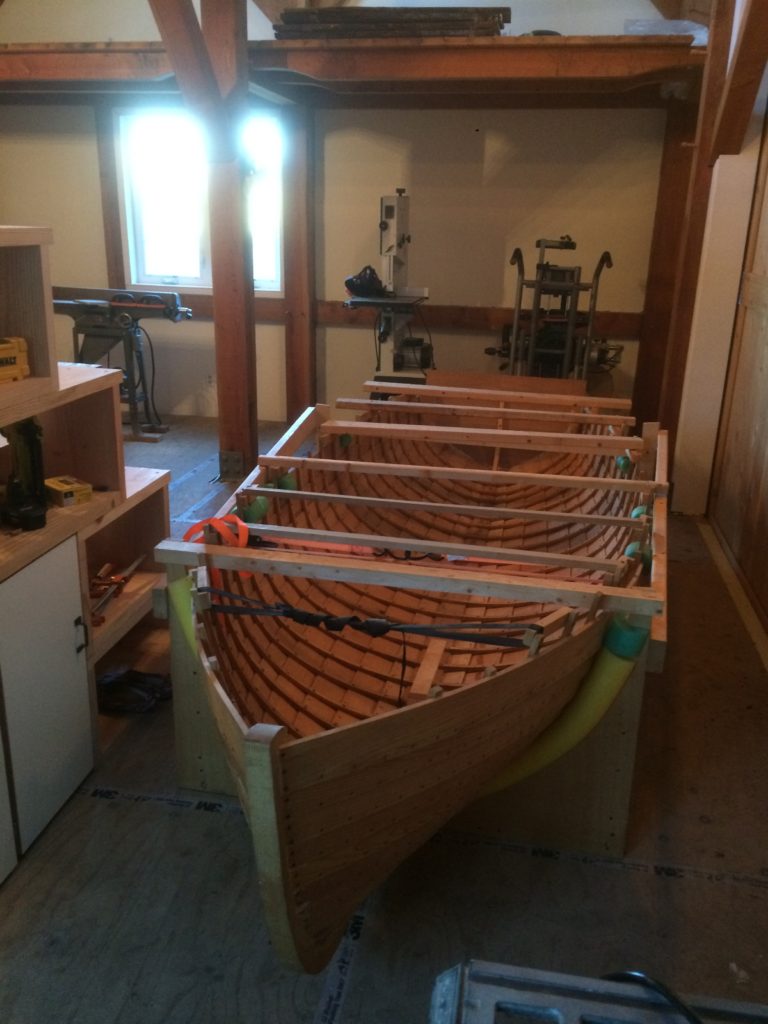
Sailboat moves into the woodshop
Another long hiatus (a 6 month mission with Doctors with Borders in Central African Republic) put the project on hold until June 2017.
Upon my return, I officially moved into the house. I started working on the interior (stairs, drywall, partition walls, plumbing, tiling the bathroom, building the kitchen, and miscellaneous furniture). Shower was the first priority as relying on the gym facilities every morning got old fast.
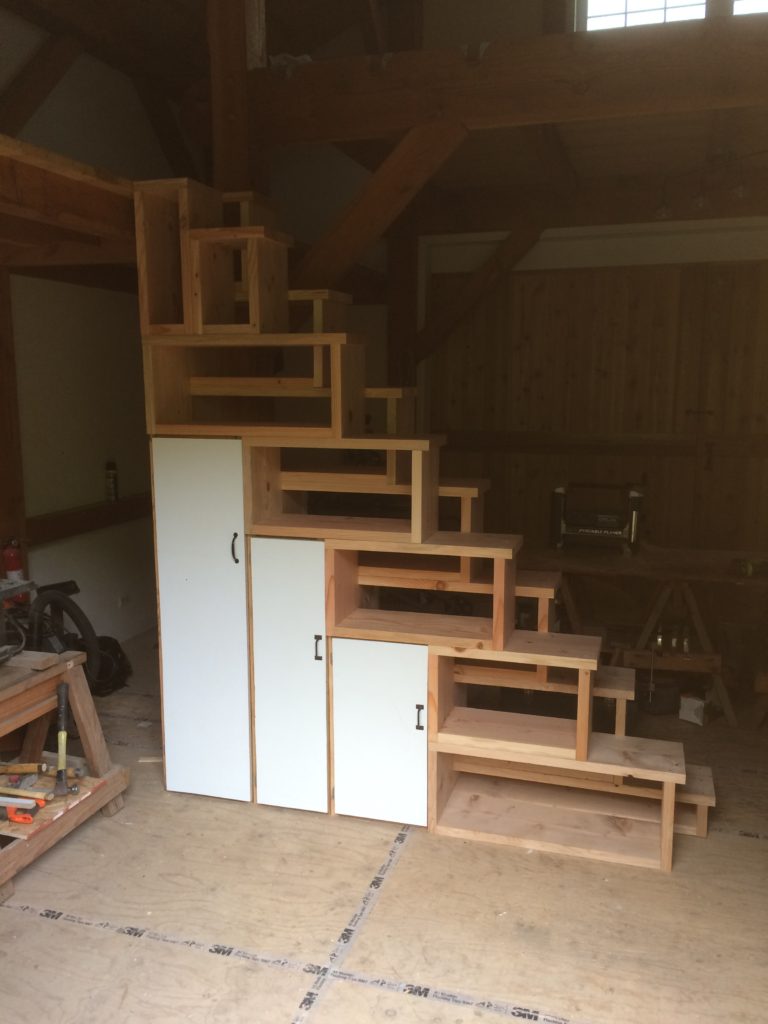
Stairs from the shop floor to the mezzanine level. Stairs require user to alternative feet at each step (same rise but half the run). Cupboards inside the stairs can be used for tool storage or plants
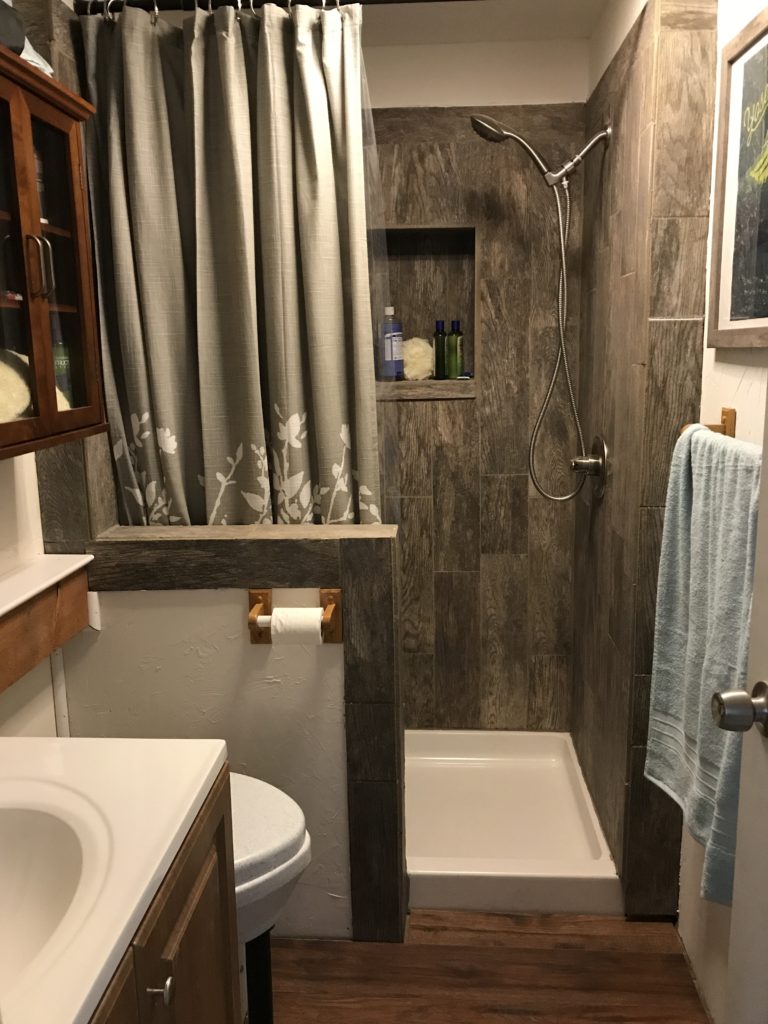
Bathroom was the first fully finished room: composting toilet (Nature Head), tiled shower, laminate flooring.
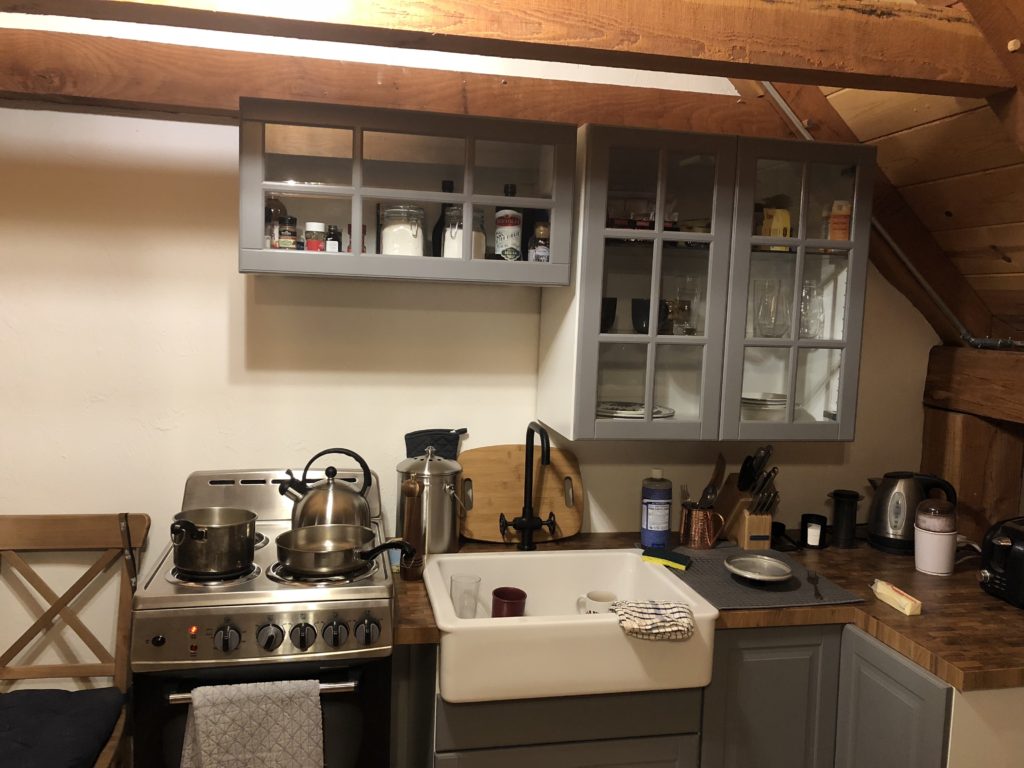
The kitchen on the loft level of the house (cabinets and sink are IKEA)
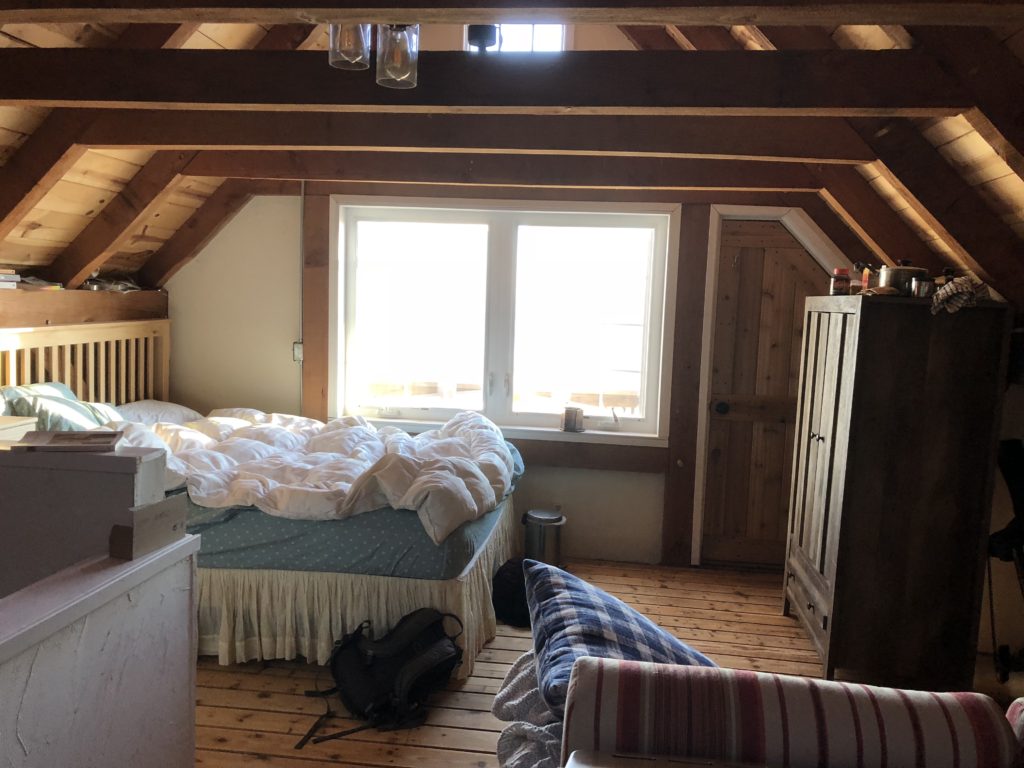
Bed and couch on the loft level of the house
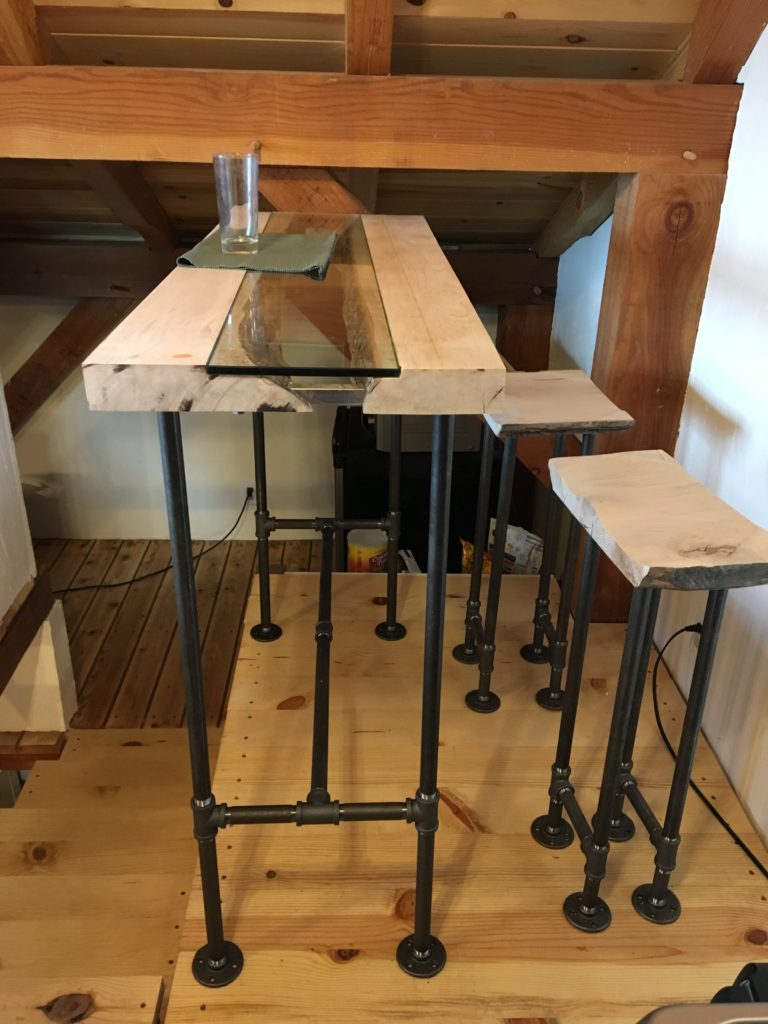
I had some maple slabs left from the Boston move that I used to build this kitchen bar table and bar stools. The legs are 3/4 pipe. The glass is routed in and sits on the inside lip of the maple slabs
In late 2018, I decided to build a deck off the back side of the house (the reservoir side). With help from family, I poured the deck foundation in October 2018, and with the help of friends built the deck frame in December 2018.
Deck frame (18 x 20 footprint). 6×6 PT posts, 2×12 support beams, 2×10 PT joists.
The decking was finished in January 2019 (6×6 redwood).

I decided to build the rail out of redwood and cable rail.
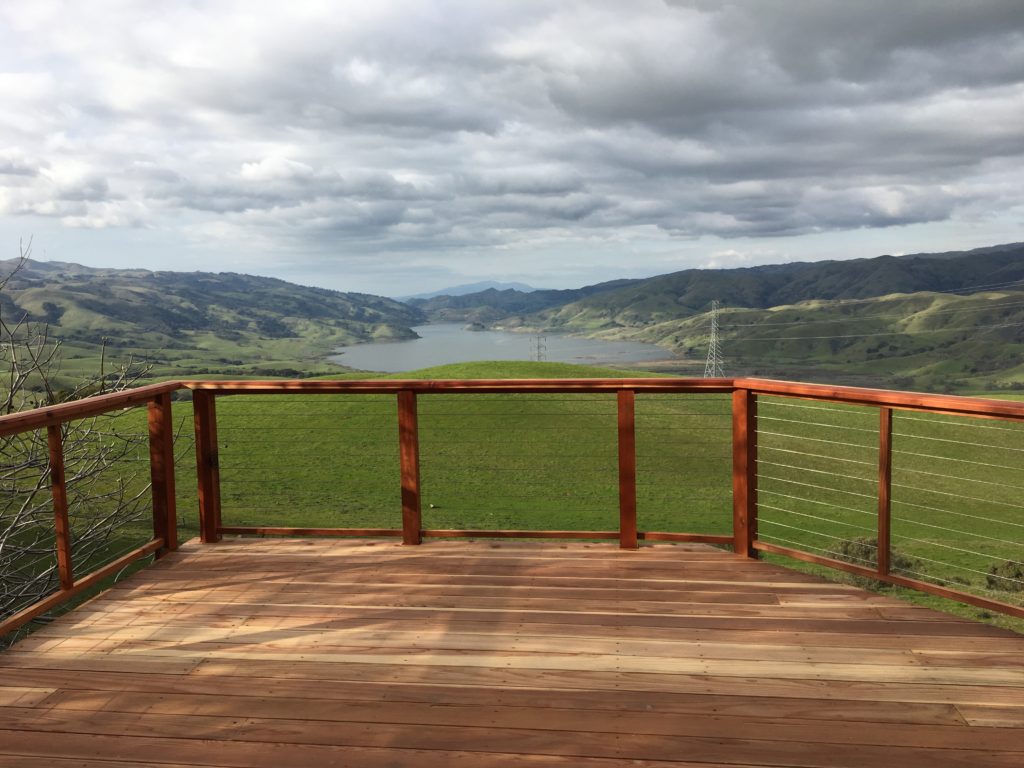
Deck railing
Hot summer nights prioritized building the deck pergola and outdoor bedroom.
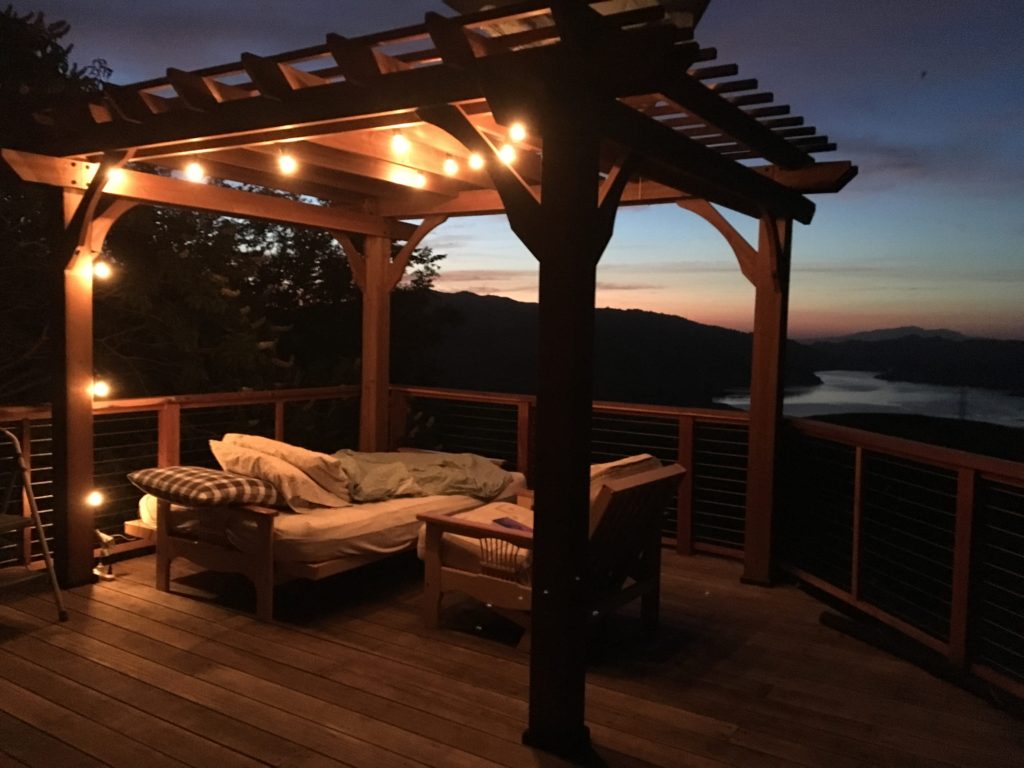
100 degree days make it much more pleasant to sleep outside. All that’s missing is a mosquito net!
Ongoing work include flooring and cabinetry at the shop level (first floor), trim and finish work, extraneous furniture (coffee table, workbench, etc).